Perfecting the Art of the Classic Contoured Look: A Comprehensive DIY Guide
The Sculptor’s Secret: Mastering the Classic Contoured Look from Scratch
There’s something timeless, almost cinematic, about the way light dances across a perfectly contoured face. It’s not just a makeup trick—it’s sculptural storytelling, an illusion of dimension that breathes life into your bone structure. Done well, contouring doesn’t scream makeup. It whispers elegance. It suggests confidence. And perhaps most importantly, it teaches you how to frame your beauty rather than mask it.
Before contouring found its way into everyday routines, it lived backstage. Models, drag performers, and film stars knew the power of creating light and shadow with creams and powders, but the secret stayed behind the scenes. It wasn’t until the rise of social media and beauty influencers that contouring exploded into the mainstream—sometimes exaggerated, sometimes misunderstood, but always compelling.
Today, we’re going to strip it down to what makes it work—and then build it back up, better than ever.
Whether you’re new to contouring or looking to refine your technique, this is not just a tutorial—it’s a full blueprint for sculpting with confidence. From product textures to face shapes, color theory to brush control, we’ll dive deep into every element that gives the classic contoured look its polished edge.
The Purpose of Contouring
Let’s start with the why. Contouring is not just about adding angles. It’s about rebalancing proportions, defining structure, and enhancing features in a way that feels authentic to you. It’s not a one-size-fits-all method. A jawline that needs softening on one person may need enhancing on another. The point is not to chase a single ideal, but to elevate your structure.
By manipulating light and shadow, contouring brings forward the areas you want to emphasize (like cheekbones, temples, the center of your nose) and subtly recedes others (such as the jawline, sides of the nose, or forehead) to create an elegant sculptural balance.
When applied strategically, contouring becomes invisible. You see its effect without seeing its edges. That’s the magic.
Step 1: Know Your Canvas — Understanding Face Shape
Before you even touch a brush, study your face. Pull your hair back, look in natural light, and trace the silhouette of your features. Are you oval, heart, square, round, or diamond-shaped?
This step is often skipped, but it’s foundational. Knowing your face shape changes everything:
Round faces benefit from vertical contouring to add length.
Square faces often aim to soften sharp angles, especially at the jaw.
Heart-shaped faces usually contour the temples and chin to balance the forehead.
Oval faces require the most subtle contouring, mainly to enhance natural definition.
Diamond faces focus on reducing width at the cheeks while lifting the temples and chin.
This is your roadmap. Contouring without this understanding is like painting blindfolded.
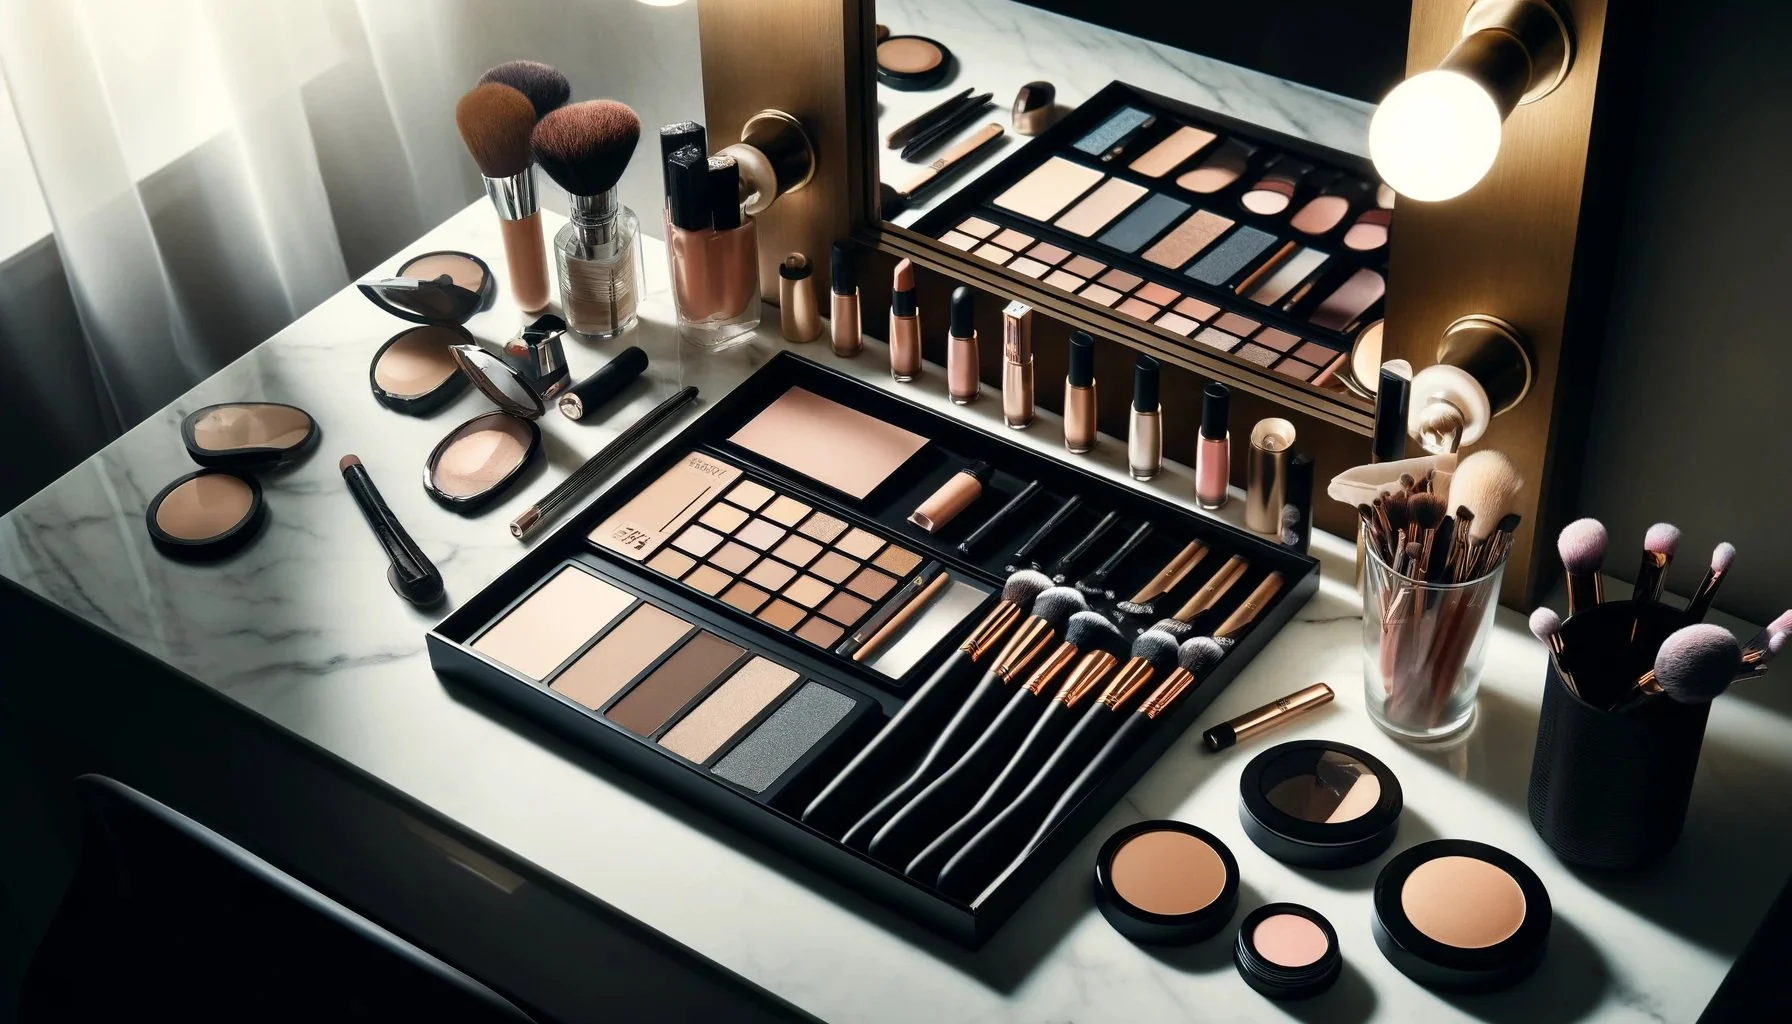
Step 2: Selecting the Right Formulas
Now let’s talk texture.
There are three main types of contour products: creams, sticks, and powders.
Creams blend seamlessly into skin, offering a more natural, dewy finish. Best for dry to normal skin types and beginners who want more time to blend.
Sticks are ultra-pigmented and precise but require some control. They offer great buildability and work well for dramatic looks.
Powders are ideal for oily skin types or for setting cream contour. They offer more flexibility for layering and are perfect for refining the shape.
For a classic contoured look that’s both blendable and long-lasting, a cream contour base set with powder contour offers the best of both worlds. Think of it like foundation and setting powder—but for sculpting.
Step 3: Mastering Color Theory
This step is overlooked far too often. Your contour shade should never resemble bronzer. Bronzer warms up the skin. Contour should mimic shadow—which means it leans cool or neutral.
Choose a contour shade that’s:
1–2 shades deeper than your natural skin tone
Cool or neutral in undertone (grayish-brown, taupe, or muted beige)
Matte finish with no shimmer or sheen
Highlighter, on the other hand, should mimic light. This means radiant finishes, satin or glow—not glitter. It should match your undertone. If you’re warm-toned, go for golden champagne hues. If you’re cool-toned, try pearl or icy shades.
Step 4: Layer Like a Pro — The Underdrawing Method
Start sculpting underneath your foundation. This method, called underdrawing, gives your face a lifted and subtly sculpted look that never appears cakey or overdone.
Map your face using cream contour before foundation.
Use a fine brush or beauty sponge to apply product in thin lines or strokes.
Then apply your foundation over the top using a damp sponge or a stippling brush.
The result? A soft-focus effect where your shadows and highlights melt into the base like second skin.
This technique works wonders for everyday makeup and photographs beautifully.
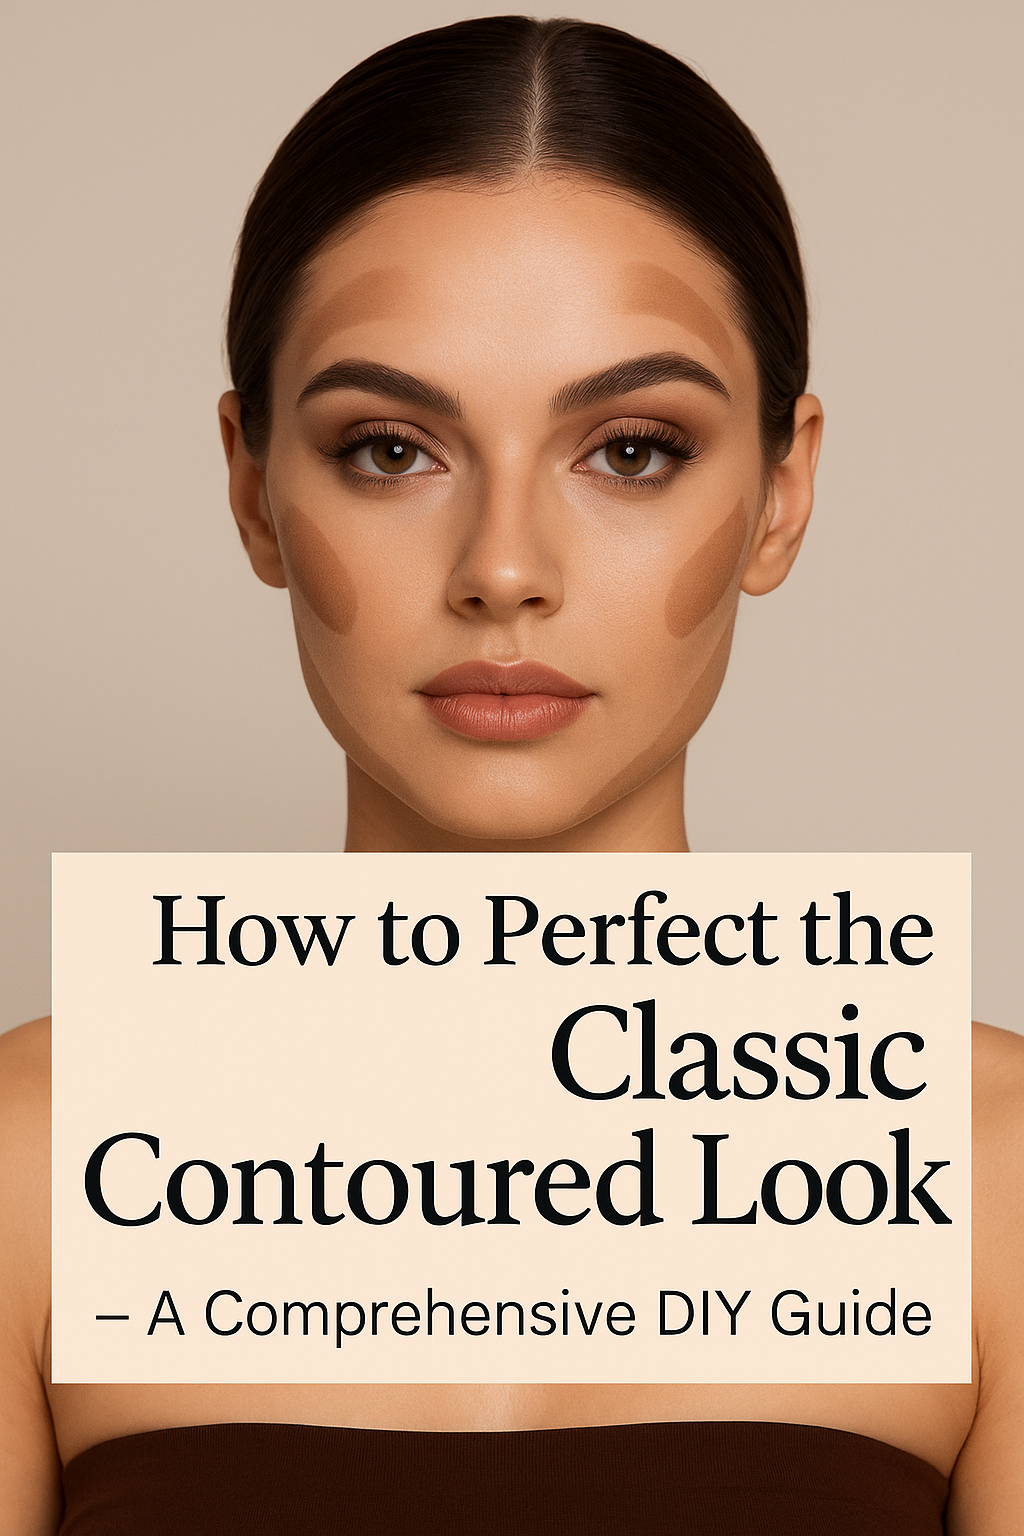
Step 5: Precision Placement
Here’s the universal structure for placement:
Cheekbones: Start from the top of your ear and angle downward beneath the cheekbone. Stop two fingers away from the corner of your mouth.
Jawline: Contour under the chin and along the jaw for definition. Blend downward to avoid a stark line.
Nose: Use a narrow brush and contour the sides of the nose bridge, then highlight the tip and center bridge. Go light—it’s easy to overdo.
Forehead: Apply near the temples and hairline, especially if you want to reduce forehead height or create a rounded effect.
Chin: Add a soft contour under the chin to lift and recede. If your chin is narrow, skip this step.
Use a damp sponge or duo-fiber brush to diffuse every line until it blends into a natural gradient.
Step 6: Highlighting and Brightening
Highlighter is the yin to contour’s yang. Once you’ve added dimension with shadows, bring light back into the center of your face:
Under the eyes (in an inverted triangle for brightness)
Center of the forehead
Bridge of the nose
Center of the chin
Above the cheekbones
Beneath the brow arch
Cream or liquid highlighter looks more natural, while powder offers that Instagram-level pop. For everyday wear, aim for radiance over reflection.
Step 7: Set, Refine, and Lock It In
Use a fine setting powder to lock everything in. Choose translucent if you want a skin-like finish, or a banana-toned setting powder for brightening. Press it in gently with a puff or sponge—never swipe.
To finish, add powder contour over the areas you previously sculpted. This doubles the staying power and refines the shape with precision.
Add a touch of blush to marry the highlight and contour, giving warmth and life back to your cheeks.
Mist your face with a setting spray and watch the whole look melt into a seamless glow.
Mistakes to Avoid
Even seasoned beauty lovers fall into these traps:
Using bronzer as contour: They are not interchangeable.
Dragging the contour too far down the cheeks: It pulls the face down.
Skipping blending: You should never see harsh lines.
Choosing the wrong undertone: Avoid orange or red tones in contour.
Using shimmer to contour: Only use matte products to create shadows.
The Transformation Mindset
What makes the classic contoured look so irresistible is not just the structure it creates but the attitude it inspires. It’s the kind of makeup that transforms your mood along with your features. You don’t just look sculpted. You feel pulled together. You move through the world with an extra flick of your wrist and a confident lift in your gaze.
It’s the power of precision—of taking the time to create your own angles and drama.
And the best part? This look is endlessly adaptable. Dial it down for brunch. Crank it up for editorial shots. Subtle or sculptural, it becomes what you want it to be.
Ready to Craft Your Own Contour Masterpiece?
If you're craving a visual step-by-step to guide your hands while this article guides your strategy, you're in for a treat. What follows is a detailed DIY breakdown of the classic contoured look, complete with a full-length video tutorial and a mapped routine that makes this entire process feel effortless. Whether you're contouring for the first time or refining your daily routine, the tutorial below walks you through it with clarity and precision.
Let’s sculpt.
Perfecting the Art of the Classic Contoured Look: A Comprehensive DIY Guide
@glamartistryhub Repost from @shellsmakeuphair@Shelley Cicekci • NOSE CONTOUR that works for most nose shapes! 🙌🏼 Hopefully this helps someone who struggles to get their nose contour just right 🤗 Products used: @bellamebeautyofficial Perfecting concealer shade 9 & Down to Earth Luxe palette @charlottetilbury Airbrush Flawless Finish powder @patricktabeauty Nose Contour brush SEINT beauty multitasker brush The rest of the face is all Bellame makeup & Patrick Ta Dimension II eyeshadow palette ♥️ Comment INFO for the links to my makeup 🤗 #nosecontour #makeuphacks #makeupover40 #bellamebeautyofficial #redheadmakeup #skincareinfusedmakeup #glowingskin #beautyhacks ♬ original sound - glamartistryhub
The Complete Step-by-Step Guide to Achieving the Classic Contoured Look
Contouring is not about layers of product or harsh stripes on your cheeks. It is about sculpting light and shadow into your features with such control and finesse that the result feels effortless. What follows is a deep, detailed walkthrough of the technique—not for the faint of heart, but perfect for anyone who wants to master the most empowering illusion in makeup.
This tutorial assumes a clean, moisturized, and primed base. You can tailor each step based on your face shape and product preference, but the fundamentals remain the same.
Step 1: Build Your Base With Balance
Apply your foundation evenly across the face. Whether you use a brush, sponge, or fingers, the goal is even skin tone with your natural texture still shining through. Opt for a medium coverage product that blends easily and matches your neck. Avoid full coverage unless you are going for a truly editorial finish.
Pat foundation into areas that need evening out and use a sheer touch along the edges of the face. Do not overload the nose or cheeks, since they will receive product during the contouring steps.
Set nothing yet. This keeps the skin workable and allows contour and highlight to blend seamlessly into the base.
Step 2: Map Your Shadows
Use a cream contour that is one or two shades deeper than your skin tone with a cool or neutral undertone. Use a thin brush, a dual-ended contour wand, or your fingertips depending on your control and product type.
Begin with the hollows of the cheeks. Feel your cheekbone and draw a line just underneath it, starting from the top of the ear and angling toward the mouth. Stop halfway across the cheek—never drag the product all the way to the corner of your lips.
Frame the forehead by applying product at the top near the hairline. This works to shorten the forehead or give it a warmer gradient when hair is pulled back.
Shape the jaw by adding contour along the bottom edge, tracing from just under the ear and gliding along the jawline. Connect this under the chin if you want a lifted look or to minimize shadows.
Slim the nose by drawing two narrow lines along the bridge. These lines should start near the inner brows and descend straight toward the tip. Add a short line underneath the nose tip to lift it. Optional: Add a tiny line horizontally across the bridge midway down to shorten the look of a long nose.
Blend all these shadow zones using a damp sponge or buffing brush. Move the sponge upward in small dabs. Never drag the product down—this defeats the lift you are trying to create.
Step 3: Sculpt With Light
Now add light to the high planes of the face.
Use a brightening concealer or cream highlight one to two shades lighter than your skin tone. Apply it in the following areas:
Under the eyes, in a triangle shape that extends slightly toward the cheeks
Center of the forehead, directly between the brows
Down the bridge of the nose, between the shadow lines you previously placed
Center of the chin
Top of the cheekbones, right above where the contour was blended
Below the contour line, especially on the cheeks and jaw for sharp contrast
Blend this highlight into the skin using tapping motions with a sponge or brush. Blend upward and outward. The goal is not stark lines but smooth light zones that gradually diffuse into the surrounding skin.
Optional: If you want a natural finish, skip shimmer at this stage and stick with matte or satin textures.
Step 4: Lock the Canvas With Precision Powder
Set your base with fine, colorless setting powder. Use a powder puff or dense brush and press the powder into areas that are likely to crease or move—under the eyes, around the nose, and along the chin.
Use a loose banana powder or brightening powder to reinforce the highlight zones under the eyes and jawline. Let the powder sit for a few minutes if desired before gently sweeping away excess. This optional baking technique can create a super sharp finish if done lightly.
Add a powder contour over the same areas you sculpted earlier. Choose a cool or neutral matte powder and apply it with a soft angled brush. The goal here is to reinforce depth while keeping the layers light.
Build slowly and blend thoroughly. Work in gentle circles and tap off excess before applying. You want to sculpt shadows, not paint stripes.
Step 5: Blend Dimension With Warmth
A flawless contour needs warmth to avoid looking hollow or lifeless. This is where bronzer and blush step in—not to replace contour, but to support it.
Sweep bronzer lightly across the perimeter of your face. Use it on the forehead, upper cheekbones, and temples. Let it overlap slightly with your contour for a soft transition. Choose a warm tone that flatters your undertone, but make sure it has a matte or satin finish.
Add blush to the apples of your cheeks and sweep it upward toward the temple. This movement keeps the face lifted and balanced. Cream blush can be applied before powder if you want a dewy look, or after if you want a more classic matte finish.
Avoid placing blush too close to the nose or mouth—keep it elevated and pulled back.
Step 6: Refine With Strategic Highlight
A final touch of highlighter brings skin back to life. Avoid shimmer overload. Opt for a luminous powder or cream with a pearl or champagne finish.
Apply to the following areas:
Tops of the cheekbones
Center of the nose bridge (but not the tip if you have oily skin)
Brow bone just below the arch
Cupid’s bow
Optional: inner corners of the eyes for a touch of light
Use your fingertip, a fan brush, or a dense pencil brush to apply the product in small, specific areas. Buff gently into the skin to avoid glittery residue.
If you’re layering a powder highlighter over cream, mist the skin first to enhance glow and reduce texture.
Step 7: Blend the Edges Into Reality
Step back from the mirror and assess your work. Use a clean fluffy brush or dry sponge to diffuse any visible lines. Blend the perimeter of your forehead, jaw, and cheeks to melt everything together.
If any contour looks harsh, tone it down with your foundation brush or sponge using the leftover product. If the highlight is too intense, soften it with a touch of powder.
This final blending pass is what separates polished from patchy. It’s the difference between looking sculpted and looking obvious.
Step 8: Finish the Look With Setting Spray
Set everything in place with a fine mist setting spray. This melts powders into creams and locks your sculpted face in for the day or night.
Choose a formula that suits your finish—dewy for glow, matte for control, or long-wear for events.
Spray from a distance, let it dry naturally, and resist the urge to fan your face immediately. Let the mist settle to seal in your masterpiece.
Step 9: Optional Tweaks and Enhancements
Once your full face is done, you can tweak your contour with finishing details:
Add a tiny bit of contour to the eye socket to tie the look together
Smudge a little powder contour around the hairline for a photo-ready frame
Use the edge of your sponge to “cut” under the cheek contour one last time for crisp definition
Layer a liquid illuminator on top of your cream highlighter for runway radiance
These are optional but powerful ways to elevate the final result.
Step 10: Maintain the Illusion
Classic contouring is a technique that evolves as your face moves and the day wears on. It should never feel mask-like or painted. Instead, it should feel breathable, touchable, and effortless.
Throughout the day, blot gently if needed but avoid reapplying powder in heavy layers. The more seamless your base, the longer it will last without touchups.
Good contouring enhances your features without announcing itself. That is the true artistry.
Contouring is not just about structure. It is about presence. It draws power from restraint, elegance from shadows, and glow from just the right touch of light. A well-contoured face does not demand attention—it earns it, quietly, confidently, and unapologetically. The technique becomes second nature over time, a skill that refines itself with every brushstroke. Once mastered, it becomes more than makeup. It becomes part of how you move through the world.

Perfecting the Art of the Classic Contoured Look: A Comprehensive DIY Guide
Contouring is not a trend. It is an intimate ritual of self-sculpting, a way to define how the world sees you before you ever say a word. It teaches restraint and precision, demanding just enough product to suggest structure without revealing the technique. There is power in that subtlety. You are not painting on someone else's beauty ideal—you are chiseling your own reflection into something sharper, bolder, more unmistakably yours. A good contour doesn’t change your face. It frames the story you are already telling, elevating every glance, every smirk, every turn of the head into a moment that lingers. Master it once, and you’ll never see your own bone structure the same way again.
Welcome to the canvas of your face—a place where shadows and light dance to create sculpted elegance. Today, we’ll unlock the secrets of contouring, transforming your features with precision and grace. Imagine cheekbones that could cut glass, a jawline that defies gravity, and a nose that plays hide-and-seek with imperfections. Whether you’re a makeup aficionado or a curious beginner, let’s embark on this journey.
Now, let’s explore the resources that will empower you to perfect the classic contoured look:
IPSY: How to Contour: A Complete Tutorial From Makeup Artists
Dive into a complete tutorial from makeup artists. Learn the basics of contouring, from defining cheekbones to sculpting your jawline. Discover which products work best and customize your contour to suit your unique face shape. Expert insights await!
InStyle: Contouring 101: How to Lift and Sculpt Your Face
Blending is key! Explore the crucial step of seamlessly blending contour to create depth. Remember, a well-blended contour transforms your face into a seamless work of art.
Byrdie: How To Contour Your Face for a Lifted, Sculpted Appearance
Ashley Rebecca shares her expertise. Blend your contour in a circular motion with a fluffy brush. Sweep along the forehead, down to the cheekbones, and along the jawline, mimicking the numeral “3” on both sides of your face. Effortless chic awaits.
Remember, contouring isn’t about masking your features; it’s about enhancing what makes you uniquely beautiful. As you wield your brushes and powders, infuse intention into each stroke. Your face is your canvas—sculpt it with confidence.
Happy contouring! 🌟🎨✨