
Achieving the Halo Eyes: A Step-by-Step Makeup Guide

Achieving the Halo Eyes: Why This Look Is the Crown Jewel of Modern Glam
There is something celestial about eyes that seem to shimmer from the center outward. Halo eyes—sometimes called spotlight eyes—are not just a trend, they are a rite of passage for anyone who wants their makeup to shift from pretty to powerful. This isn’t just another shadow placement technique. It is a method of sculpting light and drama across the lid, creating a luminous, rounded intensity that makes any eye shape feel magnetic. And once you learn how to master the halo, no other eyeshadow layout feels quite as sculptural or show-stopping.
Let’s be honest—most of us learned eyeshadow placement through old-school diagrams showing light on the brow bone, medium on the lid, dark in the crease. Serviceable? Sure. But transformative? Rarely. Halo eyes rewrite that formula. They bring the glow to the center and anchor the sides with contrast. The effect is dimensional and dreamy, like a soft spotlight cast across your gaze. It opens the eyes, adds a burst of glam, and lets you control where you catch the light.
This technique has been championed by editorial artists and runway stylists for years, but it's also become a secret weapon in real life. That’s because halo eyes adapt. They can be subtle and ethereal or molten and intense. You can build them out of soft pinks and champagnes for daytime, or smoldering metallics and deep neutrals for a night that doesn’t end. Whether your palette is dreamy or dangerous, the halo effect bends to fit your mood.
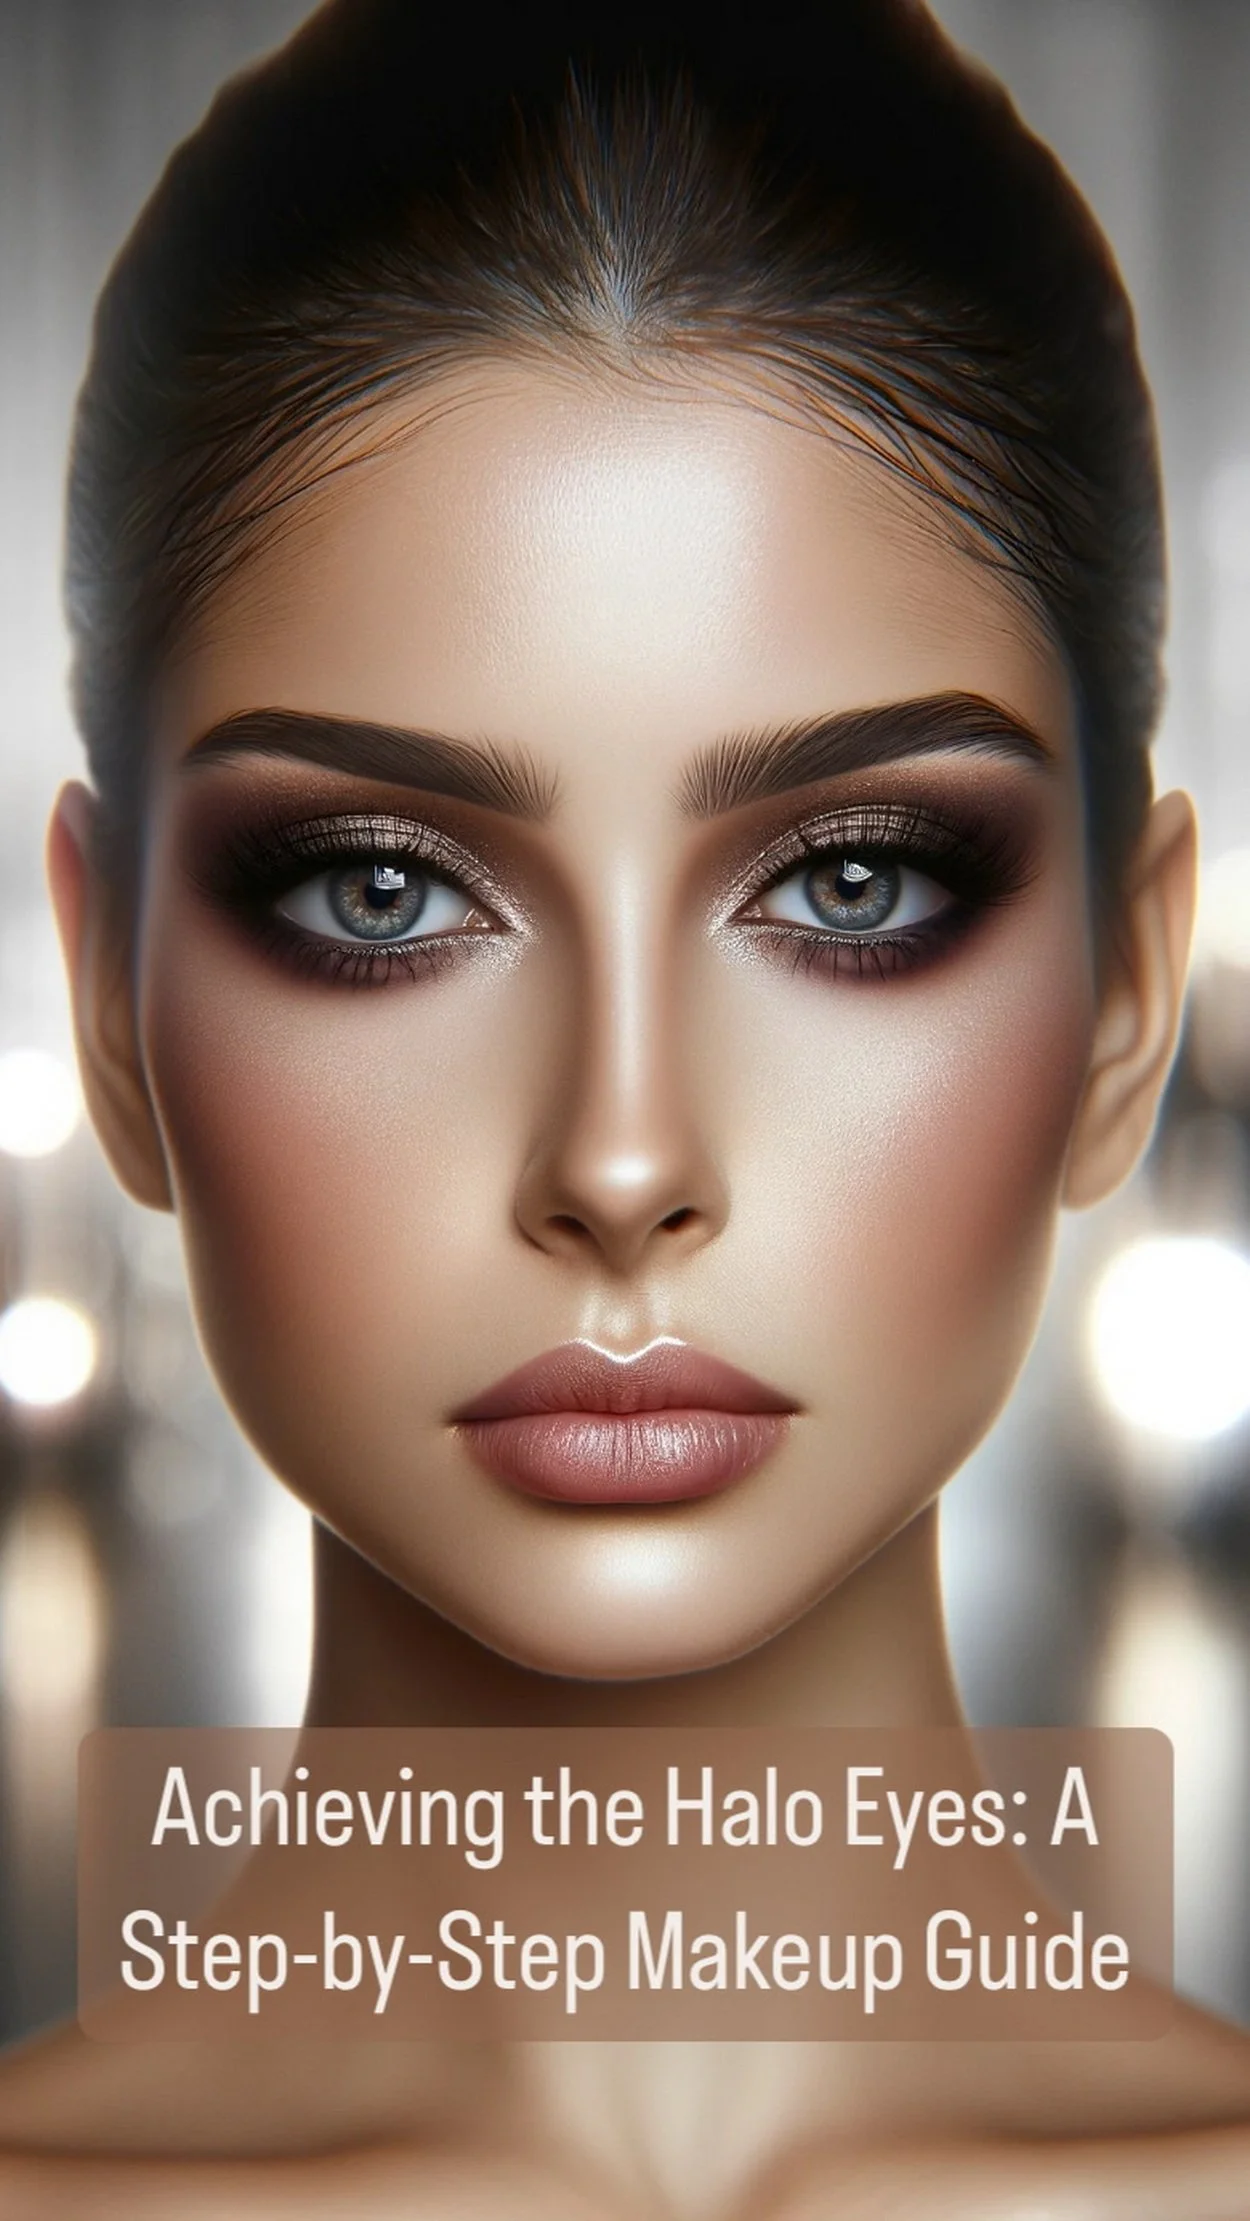
At its heart, the halo technique is about structure. It's about creating light and shadow, not unlike contouring—but for your eyes. It’s a three-zone effect: the inner and outer corners are darkened to deepen the socket, while the center is left bright, reflective, or glowing. This center placement of shimmer or highlight becomes a visual magnet. It draws the eye in and keeps it there.
This structure makes it ideal for hooded eyes, almond eyes, round eyes, and even downturned eyes. Why? Because the contrast in light plays tricks on perception. It lifts, rounds, and widens the eye in ways a traditional gradient never quite can. And when you want your eye look to stand out in photos—on Instagram, at your wedding, or just on a night where you need to be unforgettable—this is the trick to reach for.
But let’s not make it sound too clinical. Halo eyes are also deeply romantic. Think candlelight reflecting off a ballroom chandelier. Think dusk sky catching its last rays of firelight. There’s a softness to this structure. A glow. A secret hidden in plain sight.
What makes this look so versatile is how it interacts with color. You can use this technique with cool silvers and icy lavenders, warm rusts and copper foils, or soft neutrals and champagne pearls. Even matte looks can take on a halo effect when you keep the lightest shade in the center velvety and bright. Add glitter, gloss, or wet metallic shimmer and the effect goes into full celestial territory.
There’s also a psychological appeal. The halo placement puts light directly at the center of the eye—your most expressive feature. It centers attention, literally and metaphorically. It says “look at me” without screaming it. It feels more intentional than a smoky eye and more editorial than a cut crease. It has presence.
For makeup minimalists, the halo can still be achieved in just a few moves: one midtone shade for contouring the corners, one highlight shimmer patted onto the center of the lid, and a touch of mascara. For maximalists, this look is a playground. Multichrome foils, rhinestone embellishments, glossy overlays, dramatic lashes, and deep socket work can push the look into full editorial art.
But what truly defines the halo eye is not the colors or tools—it’s the placement. Everything hinges on where that central pop of brightness lands. And the magic happens when you blend just enough to marry the tones but not so much that you lose the contrast. It’s a delicate balance that gets easier each time you practice.
Tools matter here, but technique matters more. You’ll want at least three shadows—dark, medium, and light—and a few good brushes. A fluffy brush to soften the edges, a small dome brush for detailed placement, and a flat brush or fingertip for pressing shimmer right into the center. Some artists swear by using setting spray or mixing mediums to intensify the central shimmer. Others prefer to go dry for a soft glow. Both approaches work. It just depends on the level of radiance you want.
When done right, halo eyes give off an almost wet-lid look without actual gloss. They mimic the depth and reflection of real light across a curved surface. They give life to matte shadows, boost shimmer to center stage, and let your eyes look lit from within.
Let’s talk about common mistakes. First, skipping the inner corner depth. Many people only darken the outer third and forget that a true halo needs that bookend effect. Second, failing to blend the transitions. You want a gradual fade between shades—not sharp edges. Third, using a shimmer that’s too close in tone to the contour shades. If your center pop doesn’t stand out, the whole effect gets muddy. Go bolder or brighter than you think. Your lid can handle it.
Halo eyes are also an opportunity to play with undertones. A warm copper pop paired with chocolate corners feels rich and luxurious. A cool champagne paired with slate gray contours feels polished and sharp. A lavender center surrounded by deep plum adds romantic tension. Even emerald or teal can have their place here. Try it once and you’ll never stop tweaking your combinations.
This look pairs beautifully with nearly every lip. A bold red for drama. A soft pink for balance. A nude gloss to let the eyes take full attention. You can even pull one of your eye shades into the lower lash line or lips for a unified color story. When your halo eye is complete, your whole face begins to feel more pulled together. It’s the kind of look that works with sleek buns, undone waves, statement earrings, or no jewelry at all. It’s the kind of look that fits both bridal elegance and rooftop cocktails. It’s universally flattering without being cookie cutter.
If you’ve ever admired the way a sunset melts across the sky, or the way light flickers in a candlelit room, you’ve already been seduced by the idea of a halo. The beauty of this technique lies in how it mimics the real behavior of light, bringing depth and softness together in a single gesture.
There’s also something empowering about mastering a technique that professionals use so often. It’s like learning a little secret. One you can take with you to every party, every dinner, every time you need to turn heads. When someone compliments your makeup and says, “your eyes are glowing,” that’s not just product. That’s technique.
And it’s worth mastering. Even if your first few attempts are imperfect. Even if the shimmer falls out or the blending feels patchy. Every time you build a halo eye, you’re learning how to work with your own features—your lid shape, your brow bone, your style. Over time, you’ll know exactly where to place the light and how to frame it. You’ll build your own signature way of doing it, and no two looks will ever be exactly alike.
In the world of beauty, there are trends, and there are timeless techniques. The halo eye belongs to the latter. Because long after the viral styles fade, light and shadow will always matter. And knowing how to wield both is the foundation of all good artistry.
If you’ve never tried the halo effect before—or tried and gave up—it’s time to revisit it with fresh eyes. Don’t be intimidated by the idea of precision. Think of it more like storytelling. You’re creating a focal point. A place where the gaze lands and lingers.
You’re giving your face a spotlight moment. And once you find the right combination for your eyes, skin tone, and mood, that spotlight becomes a signature.
Ready to create your own halo eye masterpiece?
Below is the full tutorial that breaks the look down into simple, achievable steps using tools and products you may already have at home. Whether you’re using a basic drugstore palette or your favorite pro-level kit, you’ll find that the principles are the same. All it takes is a little technique, a little time, and a willingness to glow where it matters most—center stage.

Achieving the Halo Eyes: A Step-by-Step Makeup Guide
Halo eyes tutorial coming soon … 📽️🎞️ https://t.co/Lx4WjFWoWs pic.twitter.com/hQLOoRW3Yv
— Glam Artistry Hub (@glamartistryhub) April 14, 2024
Mastering the Halo Eye: A Step-by-Step Journey to Spotlight-Worthy Eyes
The halo eye is not simply about shimmer in the center—it’s a methodical layering of shadow and light that sculpts the eyelid into a luminous stage. Done right, it makes the eyes seem bigger, rounder, and infinitely more captivating. But creating a true halo effect isn’t about grabbing a shimmer and going for it. It’s about patience, blending, and understanding the architecture of the eye. This is the full process from bare lid to mesmerizing finish.
Step 1: Begin With the Architecture of Light
Every halo eye begins before a single speck of pigment hits the skin. You are not painting over your eyes—you are building a canvas that absorbs, reflects, and bends light. Begin by cleansing the lid and under-eye area. Apply an eye cream only if it’s light and fast-absorbing. Anything too rich will break down the shadow.
Apply an eyeshadow primer from the lash line to just above the crease. If you want to sculpt higher, bring the primer all the way to the brow bone. The goal here is grip, tone correction, and a base that doesn’t shift. Blend with a fingertip or flat brush, then lightly tap on a translucent powder to remove excess moisture while maintaining tackiness.
A halo eye’s success begins with a smoothed, prepped surface.
Step 2: Establish Your Transition Zone
Now define your structure. This step is often overlooked but makes the biggest difference in the finished look. Select a matte eyeshadow that is one to two shades deeper than your natural skin tone, preferably with a neutral undertone. Using a fluffy crease brush, begin sweeping the shade above the crease, not in it. Think of this as the scaffolding for everything that comes next.
Blend the shade from the outer socket to the inner third, creating a symmetrical haze that tapers as it nears the nose. You are not trying to carve anything out just yet—this is about subtle warmth and giving the deeper shadows something to melt into.
This soft transition band becomes the invisible gradient behind the drama.
Step 3: Build the Outer Corner
Now you begin to create drama. Choose a richer matte shade—think chocolate, plum, charcoal, or espresso—and use a denser blending brush to press pigment into the outer third of the eyelid. Use short pressing motions to build depth and then gentle circular strokes to soften just the top edge.
Bring this shadow slightly into the crease and let it bleed outward at a slight angle for lift. You are starting to shape the eye here, so don’t rush. Layer pigment in controlled passes. The key to this look is contrast, not chaos.
The outer edge should be intense but never harsh.
Step 4: Mirror That Depth on the Inner Corner
Dip back into the same shade you used on the outer third, and now apply it to the inner third of the eyelid. Most people hesitate here, worried about closing off the eye, but this is essential. The halo effect is created by bookending the lid in shadow and carving out a void in the middle where light will later land.
Place the pigment low on the inner corner, keeping it just beneath the crease. This avoids muddiness and keeps the lid looking dimensional. Use a tiny dome or pencil brush to maintain control and avoid overblending the center.
You’re sculpting a tunnel of shadow with light waiting at the end.
Step 5: Deepen With a Secondary Shadow (Optional)
For extra dimension, layer a second, even deeper shade—something close to black, eggplant, or rich forest green—into the very corners of your inner and outer zones. Keep it tight. Think detail work. This adds drama and complexity, especially under artificial lighting.
Use a precision detail brush and blend only where the darkest shadow meets the existing contour. This keeps the eye rich and saturated at the ends while preserving space for your spotlight shimmer.
This is what separates editorial halo eyes from everyday ones.
Step 6: Carve Out the Central Halo
Here is where the magic happens. You’re going to create that “pop” of light at the center of the eyelid. First, take a flat shader brush and apply a bit of concealer or eyeshadow base directly to the center of the lid, between your inner and outer depths. Tap to blend upward, but keep the shape slightly oval—not too wide, not too tall.
This brightened space is your canvas for shimmer, glitter, foil, or metallic. It amplifies the pigment and makes the light bounce more dramatically. Let it dry slightly before you move on.
Think of this as spotlight placement—it’s where every gaze will land.
Step 7: Apply Your Center Shimmer
Choose a high-impact shimmer, foil, or duochrome shadow. Metallic golds, champagne pearls, opalescent pinks, or crushed diamonds work beautifully. If you want a softer effect, satin shimmer is equally valid. Press the pigment directly onto the blank center with a clean finger or wet flat brush. Do not swipe—press.
Build in layers until the shimmer radiates intensity. Then feather out the edges slightly with a fingertip or small blending brush to blur the boundary between light and shadow.
You want the light to radiate—not to streak.
Step 8: Balance the Lower Lash Line
The lower lash line is often treated as an afterthought, but in a true halo eye, it becomes the echo that completes the composition. Start by mirroring your transition shade softly across the entire lower lash line.
Next, take your deeper matte shade and press it into the outer third and inner third of the lower lash line. Leave a small space at the center clean for your shimmer, just like on the lid.
Apply the same shimmer or foil shadow to the bare space between, and blend the edges just slightly. This creates a ring of reflection around your pupil, amplifying eye shape and color.
Now the halo wraps around your entire eye like a spotlighted crown.
Step 9: Add a Touch of Inner Corner Radiance
Choose a micro-shimmer or pearlized highlighter and dab it precisely into the tear duct area. This touch lifts the look and adds an ethereal quality, catching the light with every blink. A pale champagne, icy gold, or soft vanilla shimmer works well here.
Avoid applying too much—it should be a kiss of light, not a bold swipe. And keep it distinct from the shimmer in your halo center. They should complement, not compete.
This flicker at the tear duct is the final punctuation on your glow.
Step 10: Decide on Liner
Liner can either elevate or overwhelm a halo eye. For soft halo looks, skip liquid liner altogether and opt for tightlining the upper waterline with a black or dark brown gel pencil. This deepens the lash base and keeps the lid open and rounded.
If you want more impact, use a shadow to create a soft smoked line on the outer lash line, flicking it outward for lift. Avoid dragging liner all the way across the lid or it will flatten the halo and dull the center shimmer.
Precision is everything here—liner should enhance the contrast, not dominate it.
Step 11: Curl Lashes and Add Drama
Use a lash curler to lift the lashes and exaggerate the upward angle of your shadow blending. This opens the eye and makes the shimmer pop with each blink. Then layer your favorite mascara, concentrating on the center lashes to emphasize the spotlight.
Add a second or third coat, lifting from root to tip, and angle the brush outward on the side lashes to exaggerate the halo shape.
Want more drama? Strip lashes or half-lashes placed at the outer corner give shape. Cluster lashes at the center amplify the glow. Choose a lash style that aligns with your halo’s mood—soft and flirty, or bold and sculptural.
Step 12: Finish With Polish
Once your eyes are complete, go back and clean up with a damp beauty sponge or angled brush. Sharpen the outer corners of your eye makeup if needed. Add a touch of highlighter just above the cheekbone, letting it connect visually with the shimmer on your lids.
Lock in the look with setting spray. Dewy sprays enhance the shimmer. Matte sprays keep the shadows crisp and clean. Choose your finish based on the rest of your makeup look.
Then step back. Blink. Tilt your head toward the light. Admire the reflection of your own work.
Final Thoughts: A Look That Lives in the Light
You just crafted a halo eye—layer by layer, contour by shimmer, softness by intensity. The halo technique teaches more than just placement. It teaches balance. It teaches restraint. It teaches you how to wield light like a sculptor.
Wear it with soft gloss or a bold matte lip. Pair it with sleek hair or soft waves. This is not just a technique. It is a mood. A magnet. A moment.
Your halo is yours. Make it shimmer.
Achieving the Halo Eyes: A Step-by-Step Makeup Guide
The halo eye isn’t just a look—it’s a presence. It commands attention without raising its voice. It’s the kind of makeup that transforms the eyes into something cinematic, mysterious, unforgettable. And once you understand how to balance light and shadow across the lid with intention, every shimmer becomes more than sparkle—it becomes strategy.
Whether you're dressing for candlelight, camera flash, or just a moment of everyday glamour, the halo eye gives you permission to glow in the places that matter most. It's not reserved for professionals or influencers. It's yours. Sculpted with your fingers. Softened with your brushes. Framed by your lashes.
And now that you’ve built it from the ground up—with dimension, detail, and light—it’s no longer just a technique. It’s a signature.
So go ahead and wear it your way. Let your eyes become your spotlight. Let them speak before you do.
Because there’s nothing quite like catching your own reflection—and seeing a little bit of magic looking back.
Let’s delve into the captivating world of Halo Eye Makeup. Whether you’re a makeup maven or a curious beginner, these quality resources will guide you toward achieving stunning, ethereal eyes. So, my fellow beauty enthusiast, grab your brushes and let’s create some magic!
Halo Eye Makeup 101: How to Get the Look:
This comprehensive guide by Byrdie breaks down the halo eye technique. Imagine a bright, shimmering spotlight in the center of your eyelid, surrounded by a smoky, sultry halo. Celebrity makeup artists Alexx Mayo and Melissa Murdick spill the secrets, making it accessible for everyone. Get ready to elevate your eye game! 🌺
Halo Eye Makeup Technique: How To Perfect It:
Dive into this tutorial by City Beauty for a step-by-step breakdown of the halo eye. From eyeshadow selection to blending techniques, this resource has you covered. Whether you’re aiming for a subtle halo or a bold statement, you’ll find inspiration here. 🌟
L’Oréal Paris provides an affordable approach to mastering the halo eye. Follow their step-by-step tutorial and create mesmerizing eyes that command attention. Because who doesn’t want to be the center of the spotlight? ✨
Remember, the halo eye isn’t just makeup; it’s an art form. Embrace the luminous center, blend those edges, and let your eyes radiate celestial allure! 🙌🏼💫


