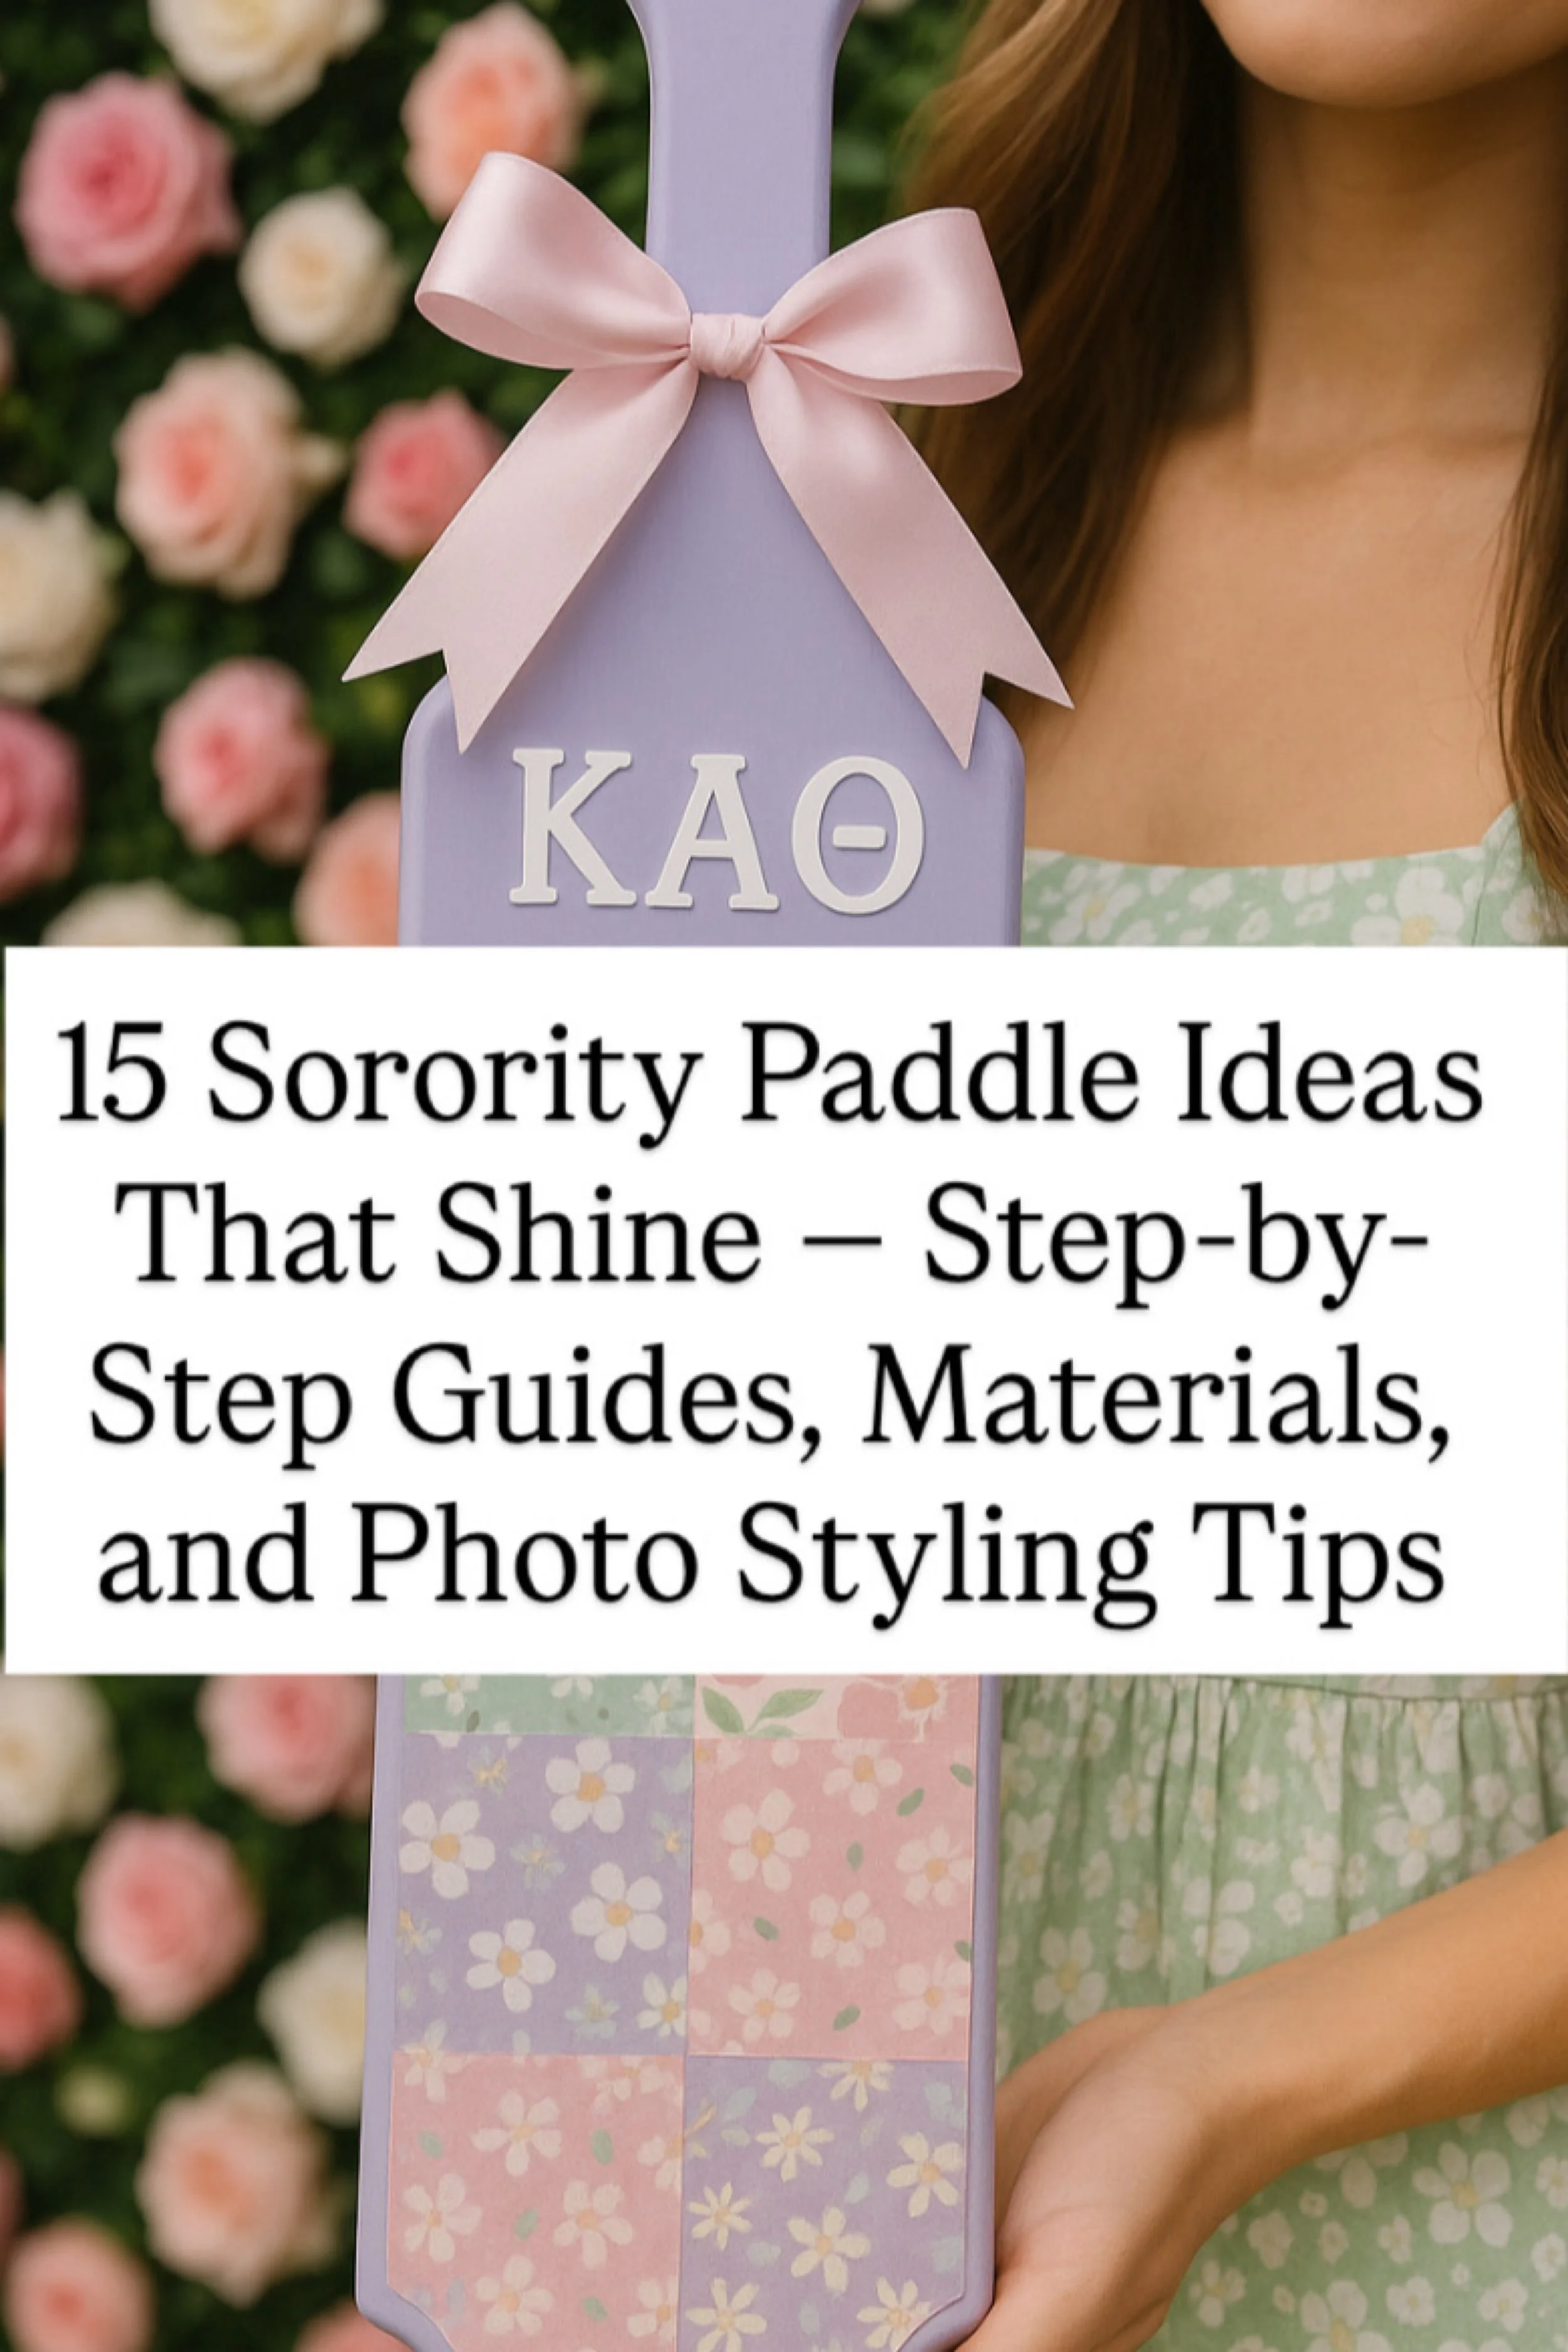
15 Sorority Paddle Ideas That Shine — Step-by-Step Guides, Materials, and Photo Styling Tips
Sorority Paddles With Presence
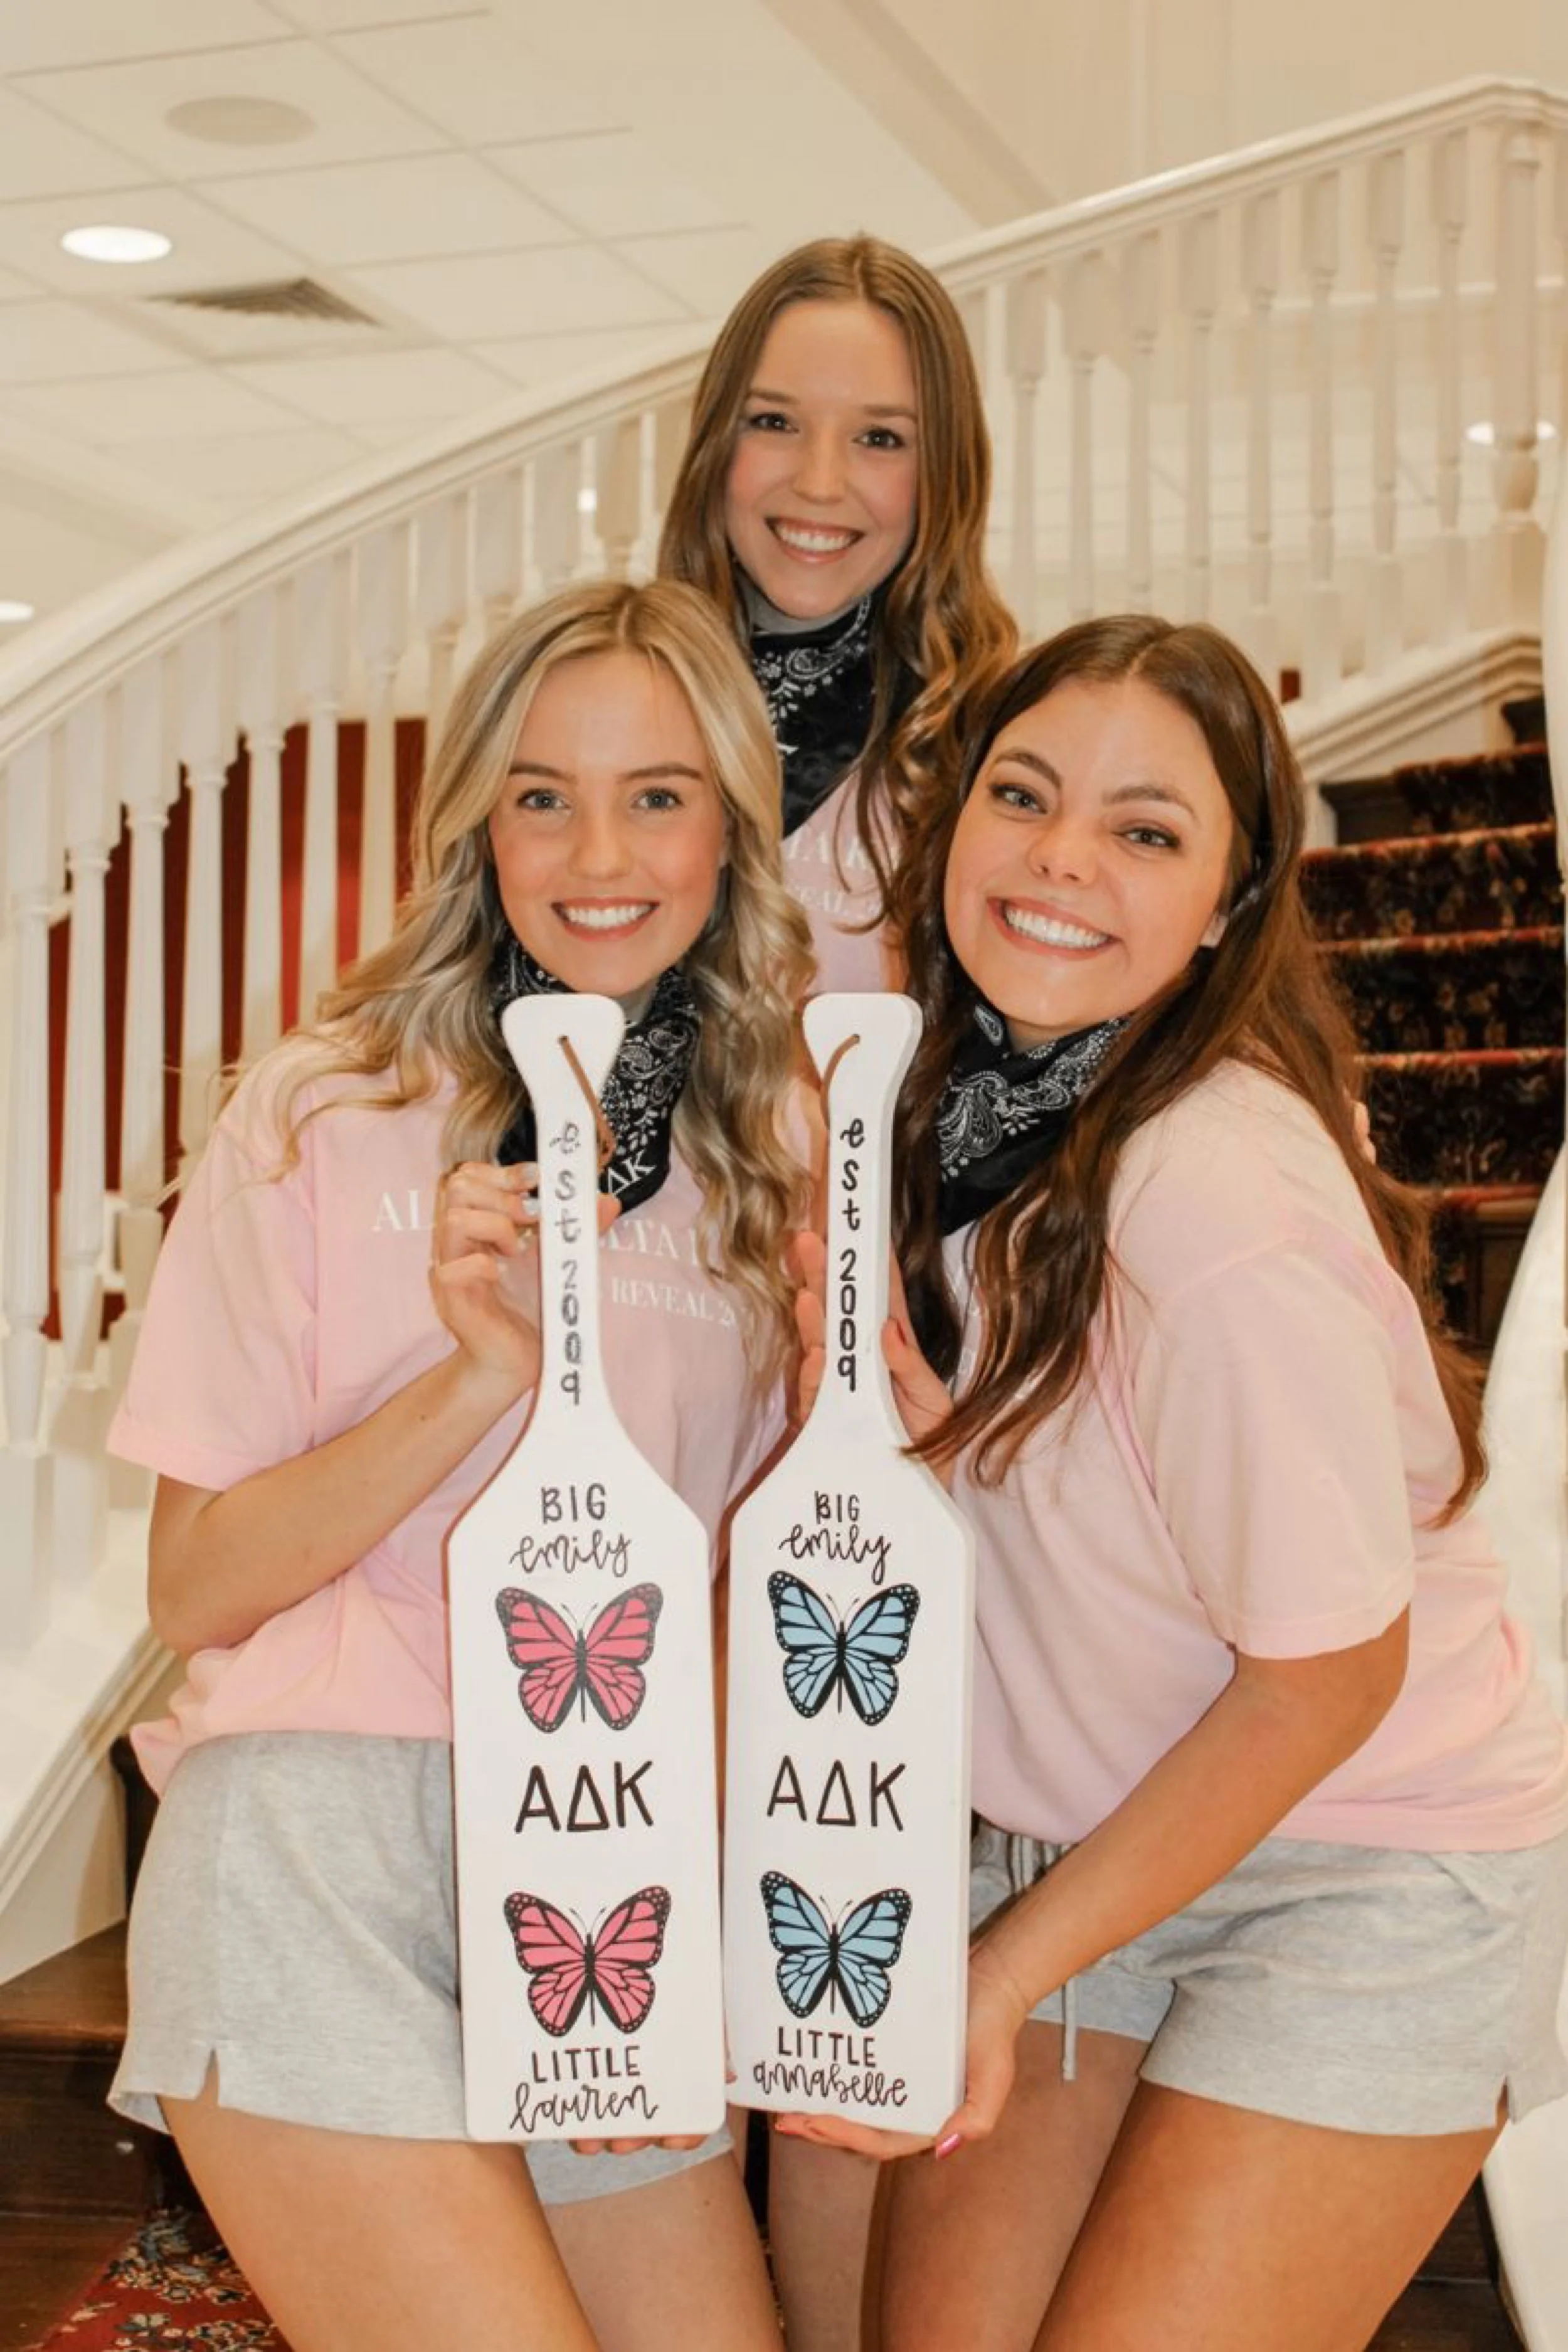
There are oceans of paddle pictures out there and most of them drift together until they look the same. Yours will not. This series is about turning a simple keepsake into a statement with personality, story, and presence. We will bring a little sparkle and subtle allure to both the paddle and the photo without crossing lines, keeping it classy and campus ready. Think creative Big Little moments where you are in the frame, not just the craft on a table. Think hands holding wet paint for a behind the scenes shot, a reveal hug at chapter, or a confident over the shoulder pose that lets the design and the bond share the spotlight. We will use movement, eye contact, and playful interaction to make every image feel alive. Settings matter too, so we will work with campus landmarks, mural walls, flower beds, porch steps, and warm golden hour light. Composition tricks will help the design read clearly in a vertical frame, with rule of thirds, leading lines, and a little negative space for captions. Color stories will echo letters, school colors, or your shared inside jokes so the paddle feels like it belongs to your duo. Each look treats the paddle like jewelry for the photo, sealed for durability and finished to shine.
Here is how the guide works. For each of the fifteen paddles you will get a materials list with shoppable links, clear prep notes, a detailed step by step build, sealing and finishing tips, and a mini photo playbook so you know how to pose and where to shoot. You will also get a Style it with section that suggests outfits, props, and small set pieces to elevate the photo. Consent and respect lead everything, so keep gifts private until the reveal and photograph with permission. Ready to make paddles that look amazing and photograph even better. Let us begin.
💡 Pro Tip: Why These Are Amazon Search Links (and Why “Add to Cart” Really Helps)
You might notice that every “Shop the Look” section uses Amazon search result links rather than one specific product. That’s not a glitch—it’s a strategy.
Items in fashion, beauty, and home sell out fast. Colors change. Styles get discontinued. Linking to a single item might leave you staring at a “Currently Unavailable” page—and nobody wants that.
With search result links, you’ll get:
• A fresh rotation of similar, in-stock finds
• Options that match your budget, size, and style
• Fewer dead ends and more discoveries
✨ Here’s how you can support this blog with zero extra cost:
If something speaks to you—even if you're still deciding—add it to your cart while you’re browsing. Amazon only credits creators like me if the item is added to your cart during that first visit.
It doesn’t cost you anything extra, but it makes a big difference in helping me keep this blog alive, ad-free, and full of hand-picked inspiration for your next obsession.
Thank you for being here. Thank you for shopping with intention. 💛

Paddle #1: Soft Pink Chi Omega with Ribbon Bow
Materials Needed
- Unfinished Wooden Paddle
- Acrylic Paint Set (white, pink, red)
- Foam Paint Brushes
- Painter’s Tape
- Alphabet Letter Stencils or vinyl lettering stickers
- Mod Podge Sealer
- Decorative Scrapbook Paper Pack
- Satin Ribbon
- Hot Glue Gun + Sticks
Step-by-Step Guide
Prep the Paddle
- Lightly sand the paddle for a smooth finish.
- Wipe with a dry cloth.
Base Coat
- Apply 2–3 layers of white acrylic paint with foam brushes.
- Let each coat dry for at least 20 minutes.
Add Scrapbook Panels
- Cut small rectangles of scrapbook paper in coordinating shades of pink.
- Use Mod Podge to glue them to the bottom third of the paddle in a patchwork style.
- Seal with a thin coat of Mod Podge on top.
Lettering
- Freehand the sorority name “Chi Omega” in cursive using a fine brush and deep pink paint, or apply vinyl decals.
- For the name “Ashley,” either stencil or use letter stickers for clean lines.
Finishing Touches
- Tie a satin bow and hot glue it securely near the handle.
- Add another coat of Mod Podge sealer to protect the design.
Photo Styling Tips
- Hold it across your lap like in the reference photo, but add soft props like a fluffy blanket or Greek letters in the background.
- Pose with your Big/Little in matching colors while each holding a paddle for a mirrored effect.
- Shoot during golden hour so the light softens the white base and makes the pink bow glow.
Style It With
- Pastel Cardigan for cozy, soft styling
- Gold Initial Necklace for a personal touch in reveal photos
- Mini Flower Hair Clips to match the pink scrapbook vibe

Paddle #2: Glittery Pink Butterfly & Rhinestone Paddle
Materials Needed
- Unfinished Wooden Paddle
- Hot Pink Acrylic Paint
- Fine & Chunky Glitter Mix
- Large Gem Stickers
- Butterfly Charms or Embellishments
- Alphabet Letter Stencils or Wooden Letters
- Mod Podge Gloss Sealer
- Craft Glue or E6000
Step-by-Step Guide
Base Paint
- Sand the paddle lightly.
- Paint the entire paddle with 2–3 coats of hot pink paint.
Glitter Layer
- While the last coat is slightly tacky, sprinkle fine glitter evenly across the paddle.
- Seal with Mod Podge gloss to lock in shine.
Lettering
- Use silver glitter letters (stickers or painted stencils) for “BIG CARINA LIL ESME.”
- Space them evenly down the shaft of the paddle.
Gem Placement
- Add heart-shaped gem stickers along the edges for symmetry.
- Use rhinestones in swirls across the middle.
Butterfly Accents
- Glue on butterfly charms at the top and bottom for balance.
Seal
- Add one final coat of Mod Podge gloss to protect all details.
Photo Styling Tips
- Pose with your paddle held vertically against a brick wall (like the reference image) for texture contrast.
- Wear a neutral hoodie or sorority letters to let the pink pop.
- For fun Big-Little shots, match in butterfly accessories or sparkly nails.
Style It With

Paddle #3: Photo Collage Paddle with Sorority Letters
Materials Needed
- Wooden Paddle Base
- Acrylic Paint Pack (pink, teal, white)
- Printed Photos (use glossy prints)
- Mod Podge Photo Transfer or Sealer
- Alphabet Wooden Letters
- Ribbon Roll
- Paint Pens
Step-by-Step Guide
Paint the Background
- Paint the base a patterned pink background or use scrapbook paper sealed with Mod Podge.
Add Sorority Letters
- Paint wooden Greek letters in teal and glue them vertically at the top.
Photo Placement
- Print and cut photos of Big and Little.
- Glue them near the bottom and coat with Mod Podge photo sealer.
Lettering
- Add “BIG” and “LIL” with painted wood letters.
- Write the pledge class season/year (“Spring 2012”) along the sides with paint pens.
Details
- Outline letters with white paint or metallic pens for extra pop.
- Add ribbon bow near the handle.
Photo Styling Tips
- Pose together with the paddle centered between both Big and Little in the photo.
- Use a chandelier or event hall background for a polished look.
- Coordinate outfits with matching colors (like pink or teal).
Style It With

Paddle #4: Funky Pop-Art Pink Paddle
Materials Needed
- Wood Paddle
- Neon Acrylic Paint Set
- Paint Pens & Markers
- Disco Ball Stickers
- Star & Heart Stencil Pack
- Sealer Spray
Step-by-Step Guide
Paint Base
- Paint paddle in bold pink acrylic.
- Let dry fully.
Draw Graphics
- Use paint pens to doodle lightning bolts, XO, hearts, and sorority name.
- Incorporate cartoon-style drawings like in the example.
Disco Ball Effect
- Paint a disco ball in silver with fine crosshatch lines, or use a disco sticker.
Names
- Write “BIG AVERY” and “LIL SHELBY” in bubble letters using paint pens.
Details
- Add outlines in white for contrast.
- Seal with clear acrylic spray.
Photo Styling Tips
- Pose with your paddle against a fun mural or neon sign for extra energy.
- Wear graphic tees or sorority spirit gear to keep the vibe casual and bold.
- A candid laugh shot works better than a stiff pose here.
Style It With

Paddle #5: Cute Llama Paddle with Pom-Poms
Materials Needed
- Unfinished Paddle
- White Acrylic Paint
- Acrylic Paint Pens (blue, red, yellow)
- Mini Pom-Poms
- Craft Glue
- Alphabet Stickers
- Clear Gloss Sealer
Step-by-Step Guide
Base Coat
- Paint paddle white.
- Let dry.
Llama Drawing
- Sketch llamas in blue outline, then fill in details with markers.
- Add fun features like eyes, tails, and smiles.
Pom-Pom Accessories
- Glue mini pom-poms where saddles would go for a 3D effect.
Lettering
- Add Big and Little names with bright colored letters.
- Incorporate sorority letters in the center.
Details & Finish
- Use flowers, hearts, or small doodles around llamas.
- Seal everything with clear gloss spray.
Photo Styling Tips
- Hug the paddle close to your face like the reference for a playful candid.
- Smile big — the llama design is meant to feel fun and lighthearted.
- For Big-Little reveal, gift with matching llama stickers or plushies.
Style It With

Paddle #6: Classic Bold Sorority Letter Paddle
Materials Needed
- Wooden Paddle Base
- Acrylic Paints (white, navy, yellow, red)
- Painter’s Tape
- Alphabet Letter Stencils
- Paint Pens
- Sealant Spray
Step-by-Step Guide
Paint Background
- Paint paddle in solid white.
- Let dry completely.
Add Lettering
- Use bold stencils for Greek letters down the center.
- Fill letters with chosen colors (example: blue outline with yellow fill).
Name Placement
- Write Big and Little names diagonally with paint pens.
- Keep colors coordinated with the letters.
Details
- Add small accent drawings like stars or flowers.
- Outline letters with black or metallic for sharp edges.
Seal
- Spray with gloss sealer for shine and durability.
Photo Styling Tips
- Pose in casual sorority gear holding paddle across your chest.
- Add playful hand lettering or doodles on the photo using editing apps.
- Works best in dorm hall or chapter house background to feel authentic.
Style It With

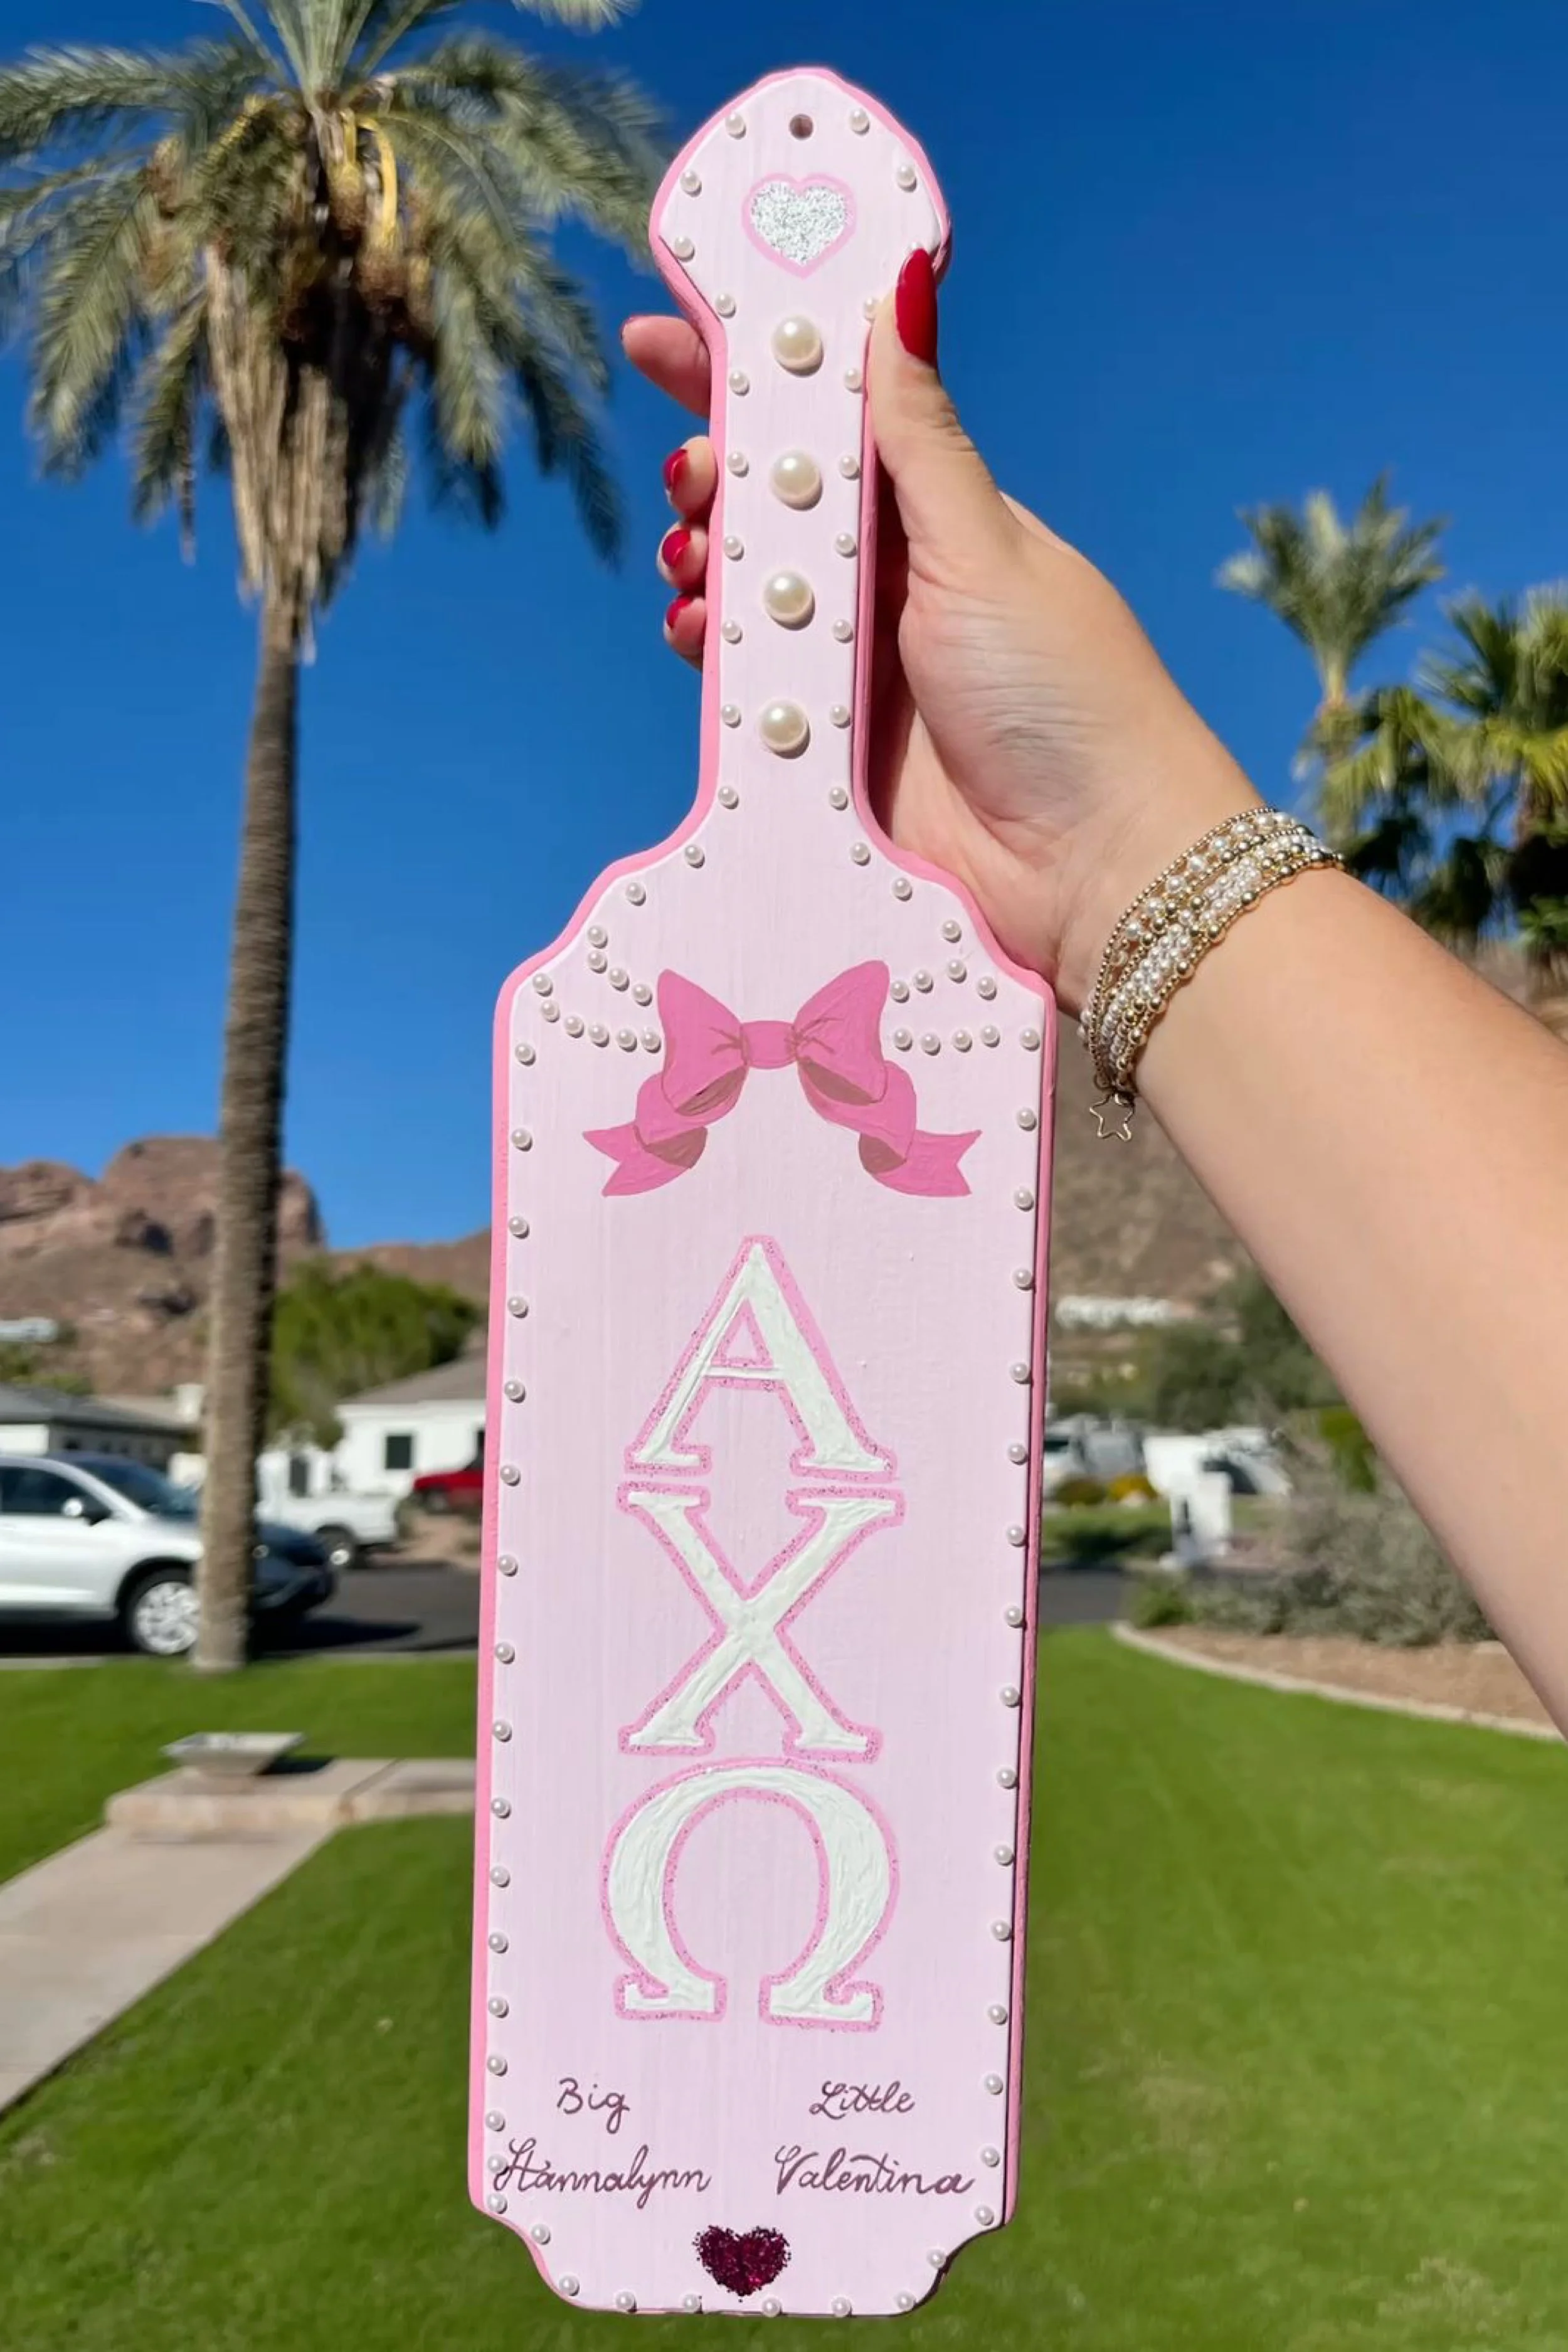
Paddle #7: Floral Patchwork Pastel Paddle
Materials Needed
- Unfinished Paddle
- Acrylic Paint Set (pastels: lavender, mint, blush)
- Floral Scrapbook Paper
- Mod Podge
- Alphabet Stickers or Vinyl Letters
- Satin Ribbon
- Hot Glue Gun
Step-by-Step Guide
Base Coat
- Paint paddle in a soft pastel color (lavender recommended).
- Let dry.
Patchwork Design
- Cut floral scrapbook paper into neat squares.
- Arrange them across the lower third in a quilt-style pattern.
- Seal with Mod Podge.
Lettering
- Place sorority name at top with vinyl letters or stickers.
- Add recipient’s name in bold at the bottom.
Ribbon Bow
- Tie pastel satin ribbon around the neck of the paddle.
- Secure with hot glue.
Seal
- Brush a thin coat of Mod Podge across the entire paddle.
Photo Styling Tips
- Place paddle against a flower wall for a spring vibe.
- For Big-Little reveal, pose holding matching bouquets while the paddle ties the look together.
- Capture detail shots of the patchwork in soft daylight.
Style It With

Paddle #8: Metallic Glam Paddle with Rhinestones
Materials Needed
- Wood Paddle
- Metallic Acrylic Paints (gold, silver, rose gold)
- Rhinestone Sticker Sheets
- Alphabet Glitter Letters
- Painter’s Tape
- Clear Gloss Sealer
Step-by-Step Guide
Base Paint
- Paint paddle in metallic rose gold.
- Let dry fully.
Lettering
- Use glitter letters for Big and Little names across the center.
- Outline with silver paint for a sharp effect.
Rhinestone Design
- Add rhinestones around edges or in a diagonal swirl.
- Press firmly to secure.
Borders
- Use painter’s tape to create clean metallic borders in gold or silver.
Seal
- Spray with gloss sealer to preserve sparkle.
Photo Styling Tips
- Hold paddle at an angle so rhinestones catch the light.
- Use a dark backdrop (like a black dress or velvet chair) to make metallics pop.
- Capture close-up shots of gems sparkling.
Style It With
Paddle #9: Sorority Crest & Tradition Paddle
Materials Needed
- Wood Paddle
- Acrylic Paints (chapter colors)
- Printable Sorority Crest Sticker/Decal Paper
- Paint Brushes
- Gold Leaf or Metallic Pen
- Sealant Spray
Step-by-Step Guide
Background Color
- Paint paddle in your sorority’s traditional color.
- Allow to dry completely.
Add Crest
- Print crest on waterslide decal paper or sticker paper.
- Apply it to the paddle and seal with Mod Podge.
Lettering
- Hand paint or stencil Greek letters in metallic gold.
- Write “Big” and “Little” with smaller script below.
Details
- Add borders or laurels with metallic pens.
- Optional: write chapter founding date or motto.
Seal
- Finish with a spray sealant for durability.
Photo Styling Tips
- Pose with paddle in front of your sorority house for heritage vibes.
- Frame it in hands at chest height for a proud, classic look.
- Add matching pins or badges in the shot.
Style It With

Paddle #10: Glitter Ombre Paddle
Materials Needed
- Wood Paddle
- Acrylic Paints (2 gradient colors)
- Glitter Pack
- Sponge Brushes
- Alphabet Stickers
- Clear Epoxy Resin
Step-by-Step Guide
Ombre Base
- Blend two colors (example: pink fading into purple) with sponge brushes.
- Let dry.
Glitter Layer
- While second coat is tacky, sprinkle glitter from top to bottom for a cascading ombre sparkle.
Lettering
- Place sorority letters in bold alphabet stickers or paint them in metallic.
- Add Big/Little names across the handle or base.
Seal with Resin
- Pour a thin coat of epoxy resin across paddle for a glossy finish.
- Let cure 24 hours.
Optional Accents
- Add rhinestones or gem borders for extra shine.
Photo Styling Tips
- Photograph paddle lying flat on a reflective surface (like a glass table) so ombre shimmer bounces.
- Wear matching ombre outfits with Big and Little for a coordinated photo.
- Use flash photography to maximize glitter shine.
Style It With

Paddle #11: Pastel Gradient with Clouds
Materials Needed
- Wood Paddle
- Pastel Acrylic Paint Set
- Foam Brushes
- White Paint Pen
- Alphabet Stencils
- Glitter Spray Sealer
Step-by-Step Guide
Base Gradient
- Blend pastel shades (blue, pink, lavender) in vertical or diagonal gradient.
- Use foam brushes to feather transitions smoothly.
Cloud Accents
- Dab white acrylic with sponge to create fluffy clouds.
- Add tiny stars or moons if desired.
Lettering
- Use stencils or freehand sorority letters in metallic paint.
- Add Big and Little names in cursive using paint pens.
Optional Sparkle
- Spray light glitter sealer over the paddle for a dreamy effect.
Finish
- Let dry completely before handling.
Photo Styling Tips
- Photograph outdoors with the sky behind you to echo the theme.
- Pose lying in the grass with paddle across your chest for whimsical vibes.
- Big and Little can coordinate by wearing soft pastel outfits.
Style It With
Paddle #12: Bold Neon Graffiti Paddle
Materials Needed
Step-by-Step Guide
Base Coat
- Paint paddle black for strong contrast.
- Let dry.
Neon Graffiti Layers
- Stencil sorority letters in neon shades (pink, green, yellow).
- Overlap words like “Big” and “Little” in graffiti style.
Doodle Details
- Use paint markers to add stars, hearts, arrows, or comic-style lines.
Highlighting
- Add white outlines to neon lettering for a street-style pop.
Seal
- Finish with matte sealer to preserve colors.
Photo Styling Tips
- Shoot paddle against a graffiti wall for maximum effect.
- Big and Little can wear neon accessories or glow bracelets.
- Take night shots under blacklight to make neon glow.
Style It With

Paddle #13: Minimalist Chic Paddle
Materials Needed
- Wood Paddle
- Matte White Acrylic Paint
- Black Paint Pen
- Gold Leaf Pen
- Alphabet Vinyl Stickers
- Matte Finish Sealer
Step-by-Step Guide
Paint Base
- Coat paddle in matte white paint for a crisp, clean look.
Lettering
- Add Greek letters in simple black vinyl.
- Write names in clean script using black paint pen.
Gold Accent
- Draw thin gold outline around paddle edges.
- Add gold underline beneath names.
Finishing Touches
- Keep design minimal — less is more here.
- Seal with matte clear spray.
Photo Styling Tips
- Pose against a plain wall in neutral-toned outfits.
- Style paddle with delicate rings or bracelets in frame.
- This design works beautifully in flat lay photography.
Style It With

Paddle #14: Boho Inspired Paddle
Materials Needed
Step-by-Step Guide
Background
- Paint paddle in a warm beige or soft terracotta.
- Dry fully.
Macrame Accent
- Tie a mini macrame knot section near handle using cord.
- Add wood beads and feather charms for detail.
Lettering
- Hand paint Greek letters in white or cream.
- Add Big/Little names in earthy cursive.
Details
- Paint mandalas, arrows, or boho floral outlines in corners.
Seal
- Finish with clear matte sealer.
Photo Styling Tips
- Shoot outdoors in natural light with greenery background.
- Style Big/Little in boho dresses, hats, or sandals.
- Add blankets and candles in photo setup.
Style It With

Paddle #15: Jewel Tone Glam Paddle
Materials Needed
- Wood Paddle
- Jewel Tone Acrylic Paints (emerald, sapphire, ruby)
- Gold Paint Pen
- Rhinestone Mix
- Alphabet Stencils
- High-Gloss Resin
Step-by-Step Guide
Base Coat
- Paint paddle in deep emerald or ruby tone.
- Let dry.
Lettering
- Use gold paint pen for sorority letters.
- Add Big and Little names in elegant script.
Rhinestone Accents
- Apply rhinestones along edges or around letters for regal effect.
Borders
- Outline paddle with metallic gold line for definition.
Resin Finish
- Pour thin resin coat for glossy jewel-like surface.
- Let cure overnight.
Photo Styling Tips
- Shoot paddle under chandelier lighting for sparkle.
- Style in a formal outfit (dresses or suits) for elegant reveal photos.
- Capture flat lay photos with jewelry and velvet fabric.
Style It With
Wrapping It Up
There are thousands of sorority paddle photos out there, but only a handful stand out. The difference is in the details — not just how you decorate the paddle but how you present it, pose with it, and capture the energy of your Big Little bond. Each of these fifteen paddle guides shows you how to turn basic supplies into something personal, creative, and photo-ready. With the right paints, embellishments, and finishes, your paddle becomes more than just a craft project — it becomes a keepsake that carries memories, pride, and style.
When it is time to show it off, think beyond the flat lay. Paddles look more alive in your hands, in motion, and in settings that mean something to you and your sisterhood. Whether you pose on the front steps of your chapter house, at golden hour on campus, or in coordinated outfits during reveal, every photo can be part of the story. Capture wide shots, close-ups, and candid smiles. Mix in props like flowers, balloons, or even matching accessories. Most importantly, keep it authentic — the paddle is a symbol, but the bond is what really shines through.
So go bold, go playful, and put just a little extra flair into the photos. With these designs and styling tips, your paddles will not just sit in a pile of lookalikes. They will stand out, sparkle, and tell your story.