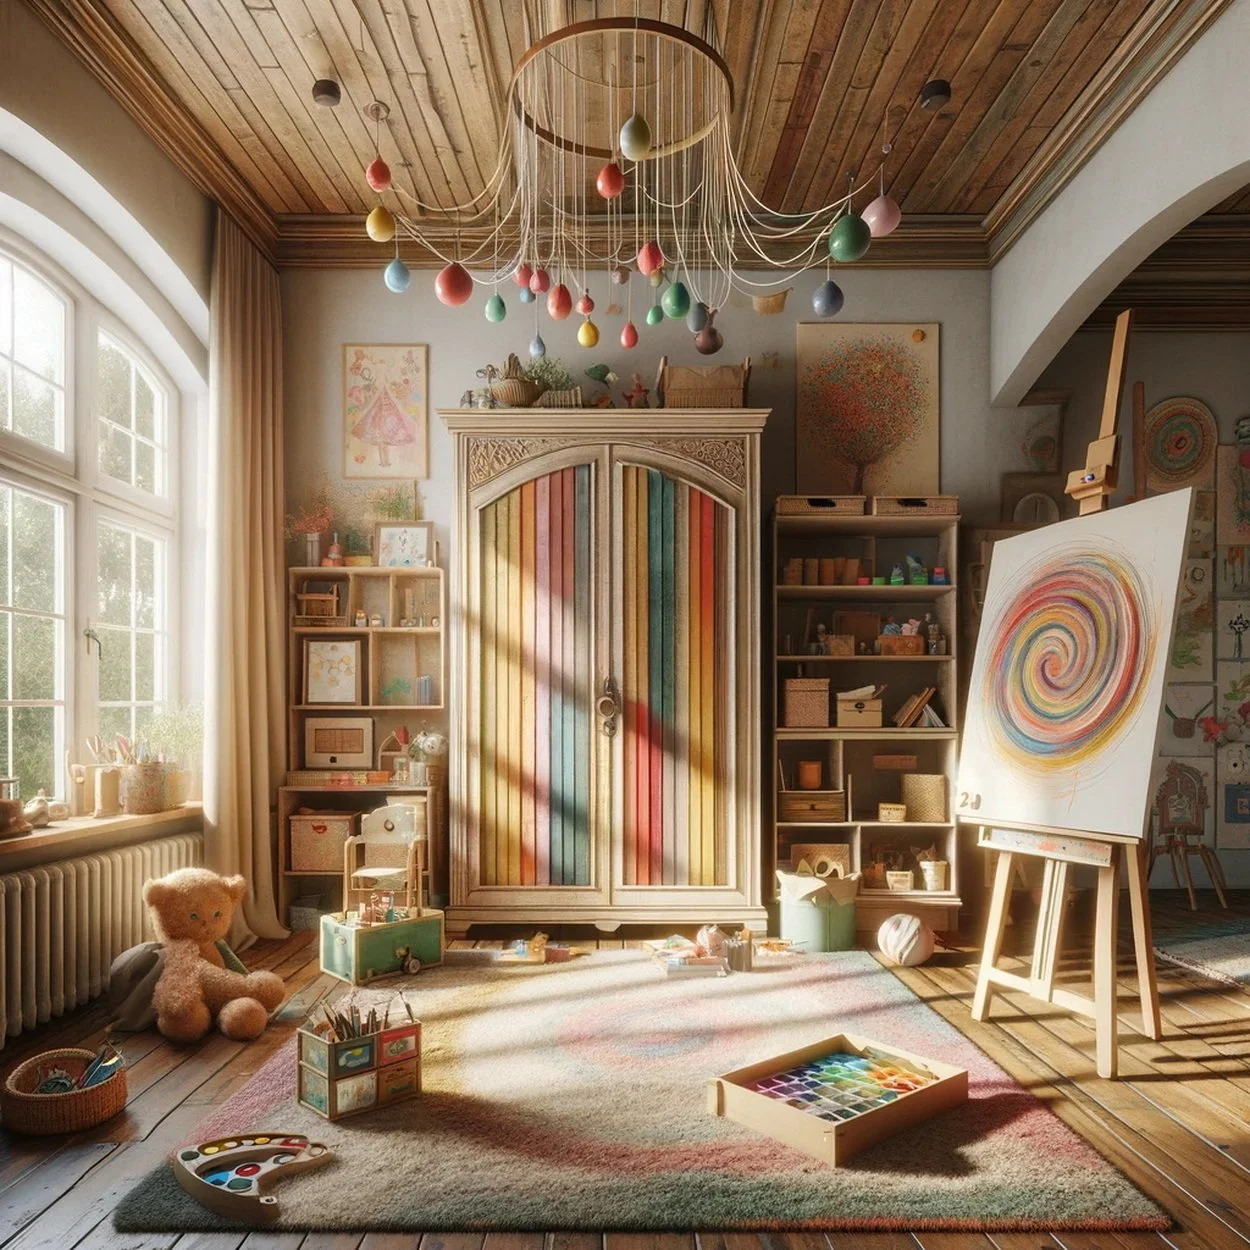
Transform Your Surfaces with Faux Wood Grain: A DIY Guide
Faux wood graining is a painting technique that can add warmth and character to any room or furniture piece. Whether you're looking to revamp an old piece of furniture, add style to your doors, or create a statement wall, this DIY guide will walk you through creating a stunning wood effect on virtually any surface. With the right materials and a bit of patience, you can achieve a realistic wood grain look that will elevate your home decor. Here’s what you need to get started and the steps to follow. This DIY tutorial was inspired by @shellychicboutique’s video below.

DIY Faux Wood Grain Finish: Transform Surfaces with Timeless Texture
Love the warm, natural look of wood but not the cost? Faux wood graining is a brilliant painting technique that gives almost any surface the appearance of wood—without cutting down a single tree. Whether you're revamping furniture, doors, cabinets, or accent walls, this technique is your ticket to custom texture, affordable style, and handcrafted beauty.
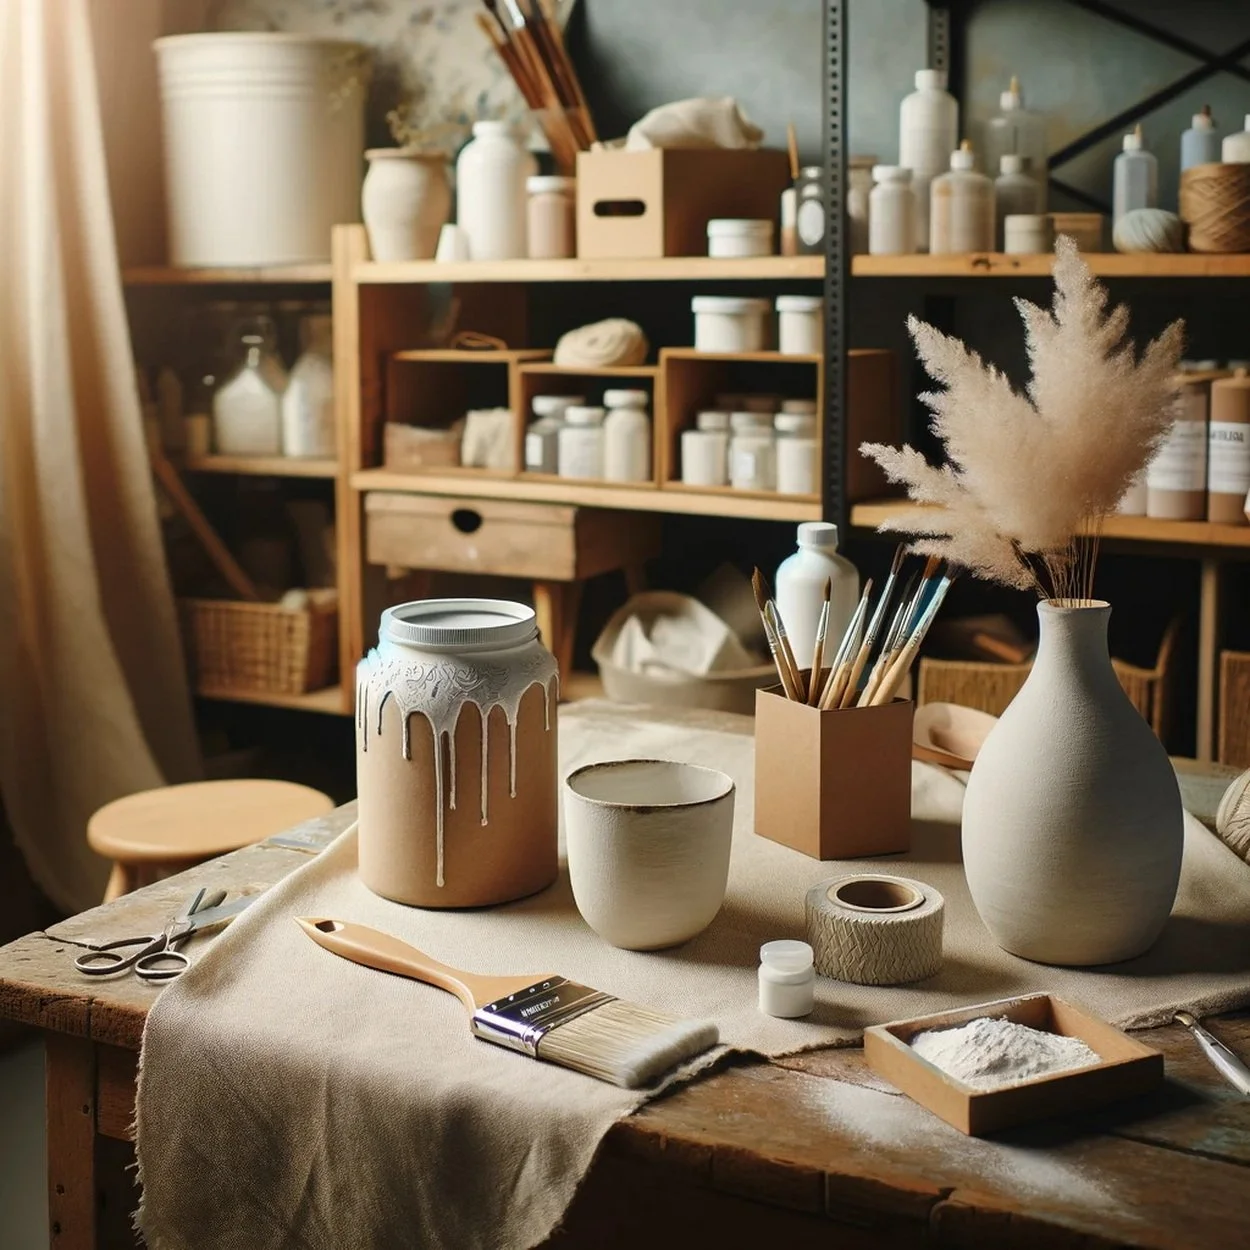
Materials You’ll Need
Fine-grit sandpaper
Primer (suited to your surface type)
Base coat paint (acrylic or latex in your wood tone)
Glazing medium
Darker paint for the wood grain color
Wood grain rocker tool or graining comb
Paintbrushes and rollers
Mixing trays
Rags or cheesecloth
Painter’s tape
Topcoat sealer (polyurethane or polycrylic – matte, satin, or glossy)
Tip: Choose a base coat in a lighter wood tone (e.g., tan or camel) and a darker shade for the glaze (e.g., chestnut or espresso).
Step-by-Step Guide: Faux Wood Graining Like a Pro
Step 1: Surface Preparation
Start with a clean slate.
Wipe down the surface with a damp cloth to remove dust
Sand lightly with fine-grit paper for better paint adhesion
Use painter’s tape to protect surrounding areas from paint splashes
Step 2: Prime for Success
Apply a quality primer using a roller or brush.
Cover the entire surface evenly
Allow to dry completely before painting
Why primer? It seals the surface and ensures even absorption of paint and glaze.
Step 3: Lay Down the Base Coat
Apply your base coat in long, even strokes.
This color will simulate the “undertone” of the wood
Let it dry fully—typically 4–6 hours or overnight for best results
Step 4: Mix the Glaze
In a tray, mix:
1 part glazing medium
1 part darker paint color
Stir thoroughly. The consistency should be thin enough to spread, but thick enough to hold detail when pulled.
Step 5: Apply and Texture the Glaze
Work in small sections to keep the glaze workable.
Roll or brush on the glaze evenly over the base coat
While still wet, drag the wood grain rocker or comb across the surface
Rock and roll the tool gently to create knots and wood texture
Wipe the tool clean between passes for crisp grain lines
Tip: Don’t stress about perfection—variation is what makes it realistic.
Step 6: Refine and Soften
For extra detail:
Use a small brush for fine lines or corrections
Soften edges with a dry brush or dab with cheesecloth to blend areas
Step 7: Seal Your Masterpiece
Once dry, apply a topcoat sealer to protect your faux wood surface.
Choose from matte, satin, or glossy based on your design style
Let it cure fully before heavy use
Shop the Idea
No need to hunt down every tool—grab these top-rated options online:
Style it With
Now that you’ve created a realistic wood look, here’s how to integrate it into your decor:
Industrial Handles & Hardware Kit for faux wood doors or cabinets
Neutral Area Rug – Jute or Sisal to ground your new surface
Faux Leather Chair Accents for rustic-modern balance
Final Thoughts: A Timeless Look Without the Timber Price Tag
With just a few tools, some patience, and a little practice, you’ve transformed a flat surface into a richly textured wood grain finish—by hand! Faux wood painting opens the door to budget-friendly upgrades, custom design aesthetics, and deeply satisfying craftsmanship.
Whether you’re upgrading a piece of furniture or designing a faux beam for your ceiling, this technique lets you mimic the warmth of wood with your own creative spin.

Transform Your Surfaces with Faux Wood Grain: A DIY Guide
To enhance your understanding and provide a broader perspective on the blog post “Transform Your Surfaces with Faux Wood Grain: A DIY Guide”, I have compiled a comprehensive list of resources. These resources will not only supplement the information in the blog post but also provide additional insights and ideas for your home DIY projects:
Video Tutorials:
How to Paint Faux Wood Grain: HGTV provides a step-by-step guide on creating a faux wood grain effect on doors.
DIY Faux Light Oak Finish: A detailed tutorial on achieving a light oak wood finish on any surface.
Creating Faux Wood Grain with a Graining Tool: Instructions on using a graining tool to simulate wood grain over painted surfaces.
DIY Guides and Blogs:
Faux Wood Grain Painting Finish on Furniture: A Hometalk guide on creating a faux wood grain painting finish for furniture makeovers.
Achieving the Perfect Faux Wood Look on Furniture: Tips and techniques for transforming furniture with a faux wood grain painting method.
Faux Wood Grain - Photos & Ideas: Houzz offers a collection of home design ideas featuring faux wood grain.
Supplementary Resources:
Faux Wood Grain Stencil: A stencil from The Home Depot for creating wood grain patterns.
Wood Grain Contact Paper: Self-adhesive paper from Amazon to quickly add a wood grain look to surfaces.
How To Paint Furniture To Look Like Wood: A Celebrated Nest article detailing a simple paint technique to create a faux wood grain tabletop.
These resources should provide a wealth of information and inspiration for anyone looking to transform their surfaces with a faux wood grain effect. Enjoy your DIY project!