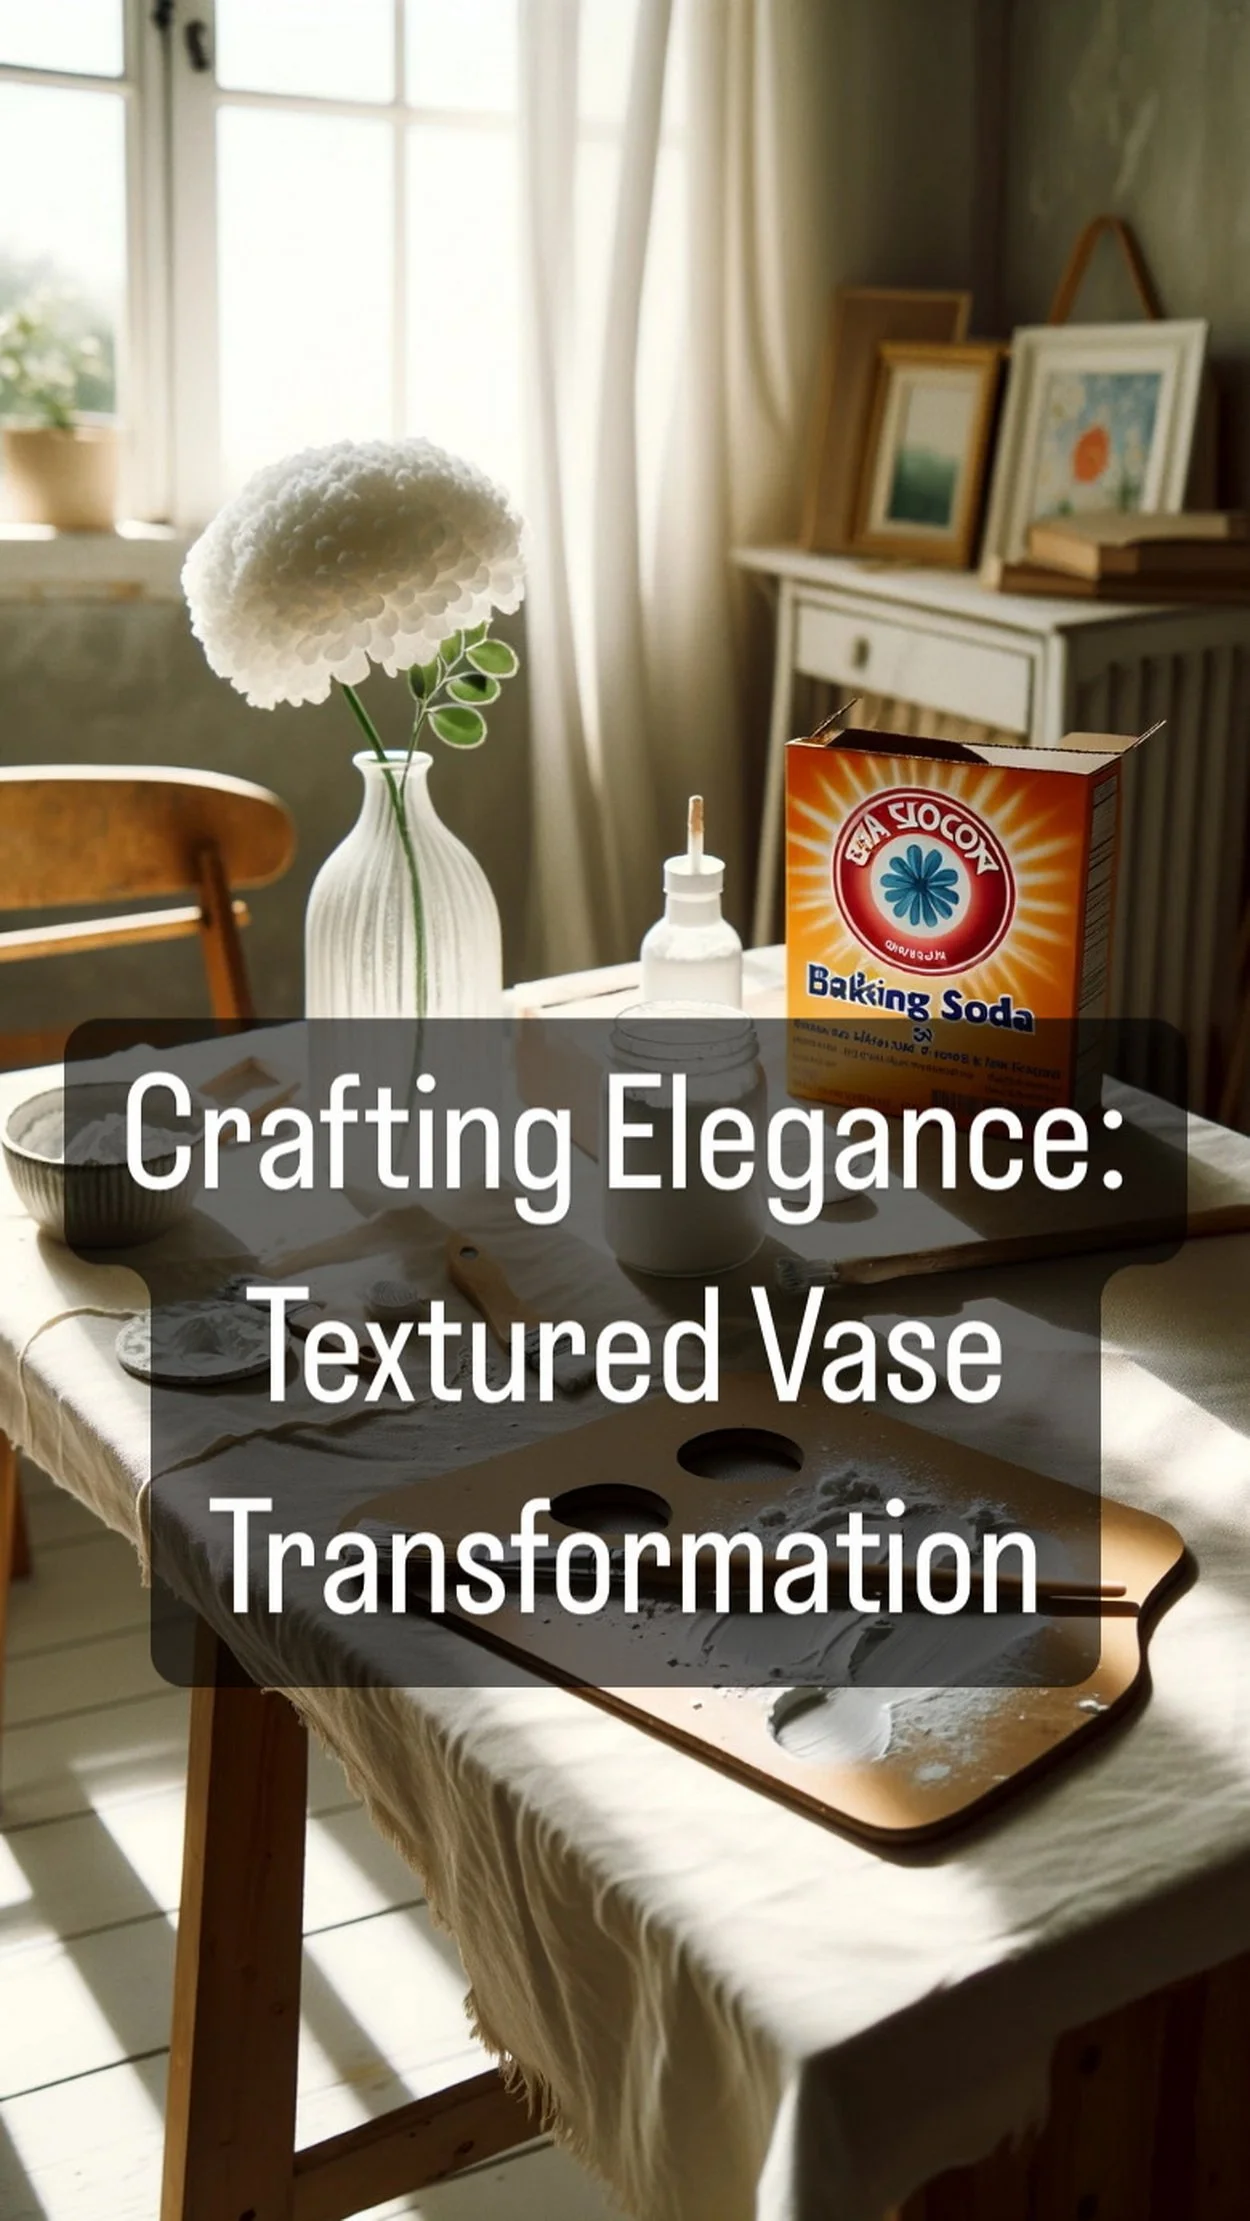
Transform Your Vase: A Textured Paint DIY
Welcome to a new chapter of your DIY journey, where ordinary meets extraordinary through the alchemy of creativity. Today, we're embarking on a delightful project that will turn a simple, plain vase into an object d’art, infused with texture and personality. Whether you're a seasoned DIY enthusiast or a curious beginner, this "Textured Vase Transformation" will add a touch of bespoke elegance to any corner of your home.
In the next few paragraphs, you'll discover how to harness the humble magic of baking soda and paint to give life to a unique piece that’s as functional as it is stylish. So, roll up your sleeves, gather your materials, and prepare to transform the mundane into the magnificent with a few simple strokes of your brush. Let’s create something beautiful together!

Transform Your Vase: A Textured Paint DIY
DIY Textured Vase with Baking Soda and Paint: A Minimalist Makeover
Minimalist, organic, and effortlessly chic—textured vases are a trending decor element that instantly elevate a space. The good news? You don’t need to splurge on a designer piece. With just a plain vase, some baking soda, and paint, you can create a handmade masterpiece that looks like it belongs in a boutique.
This easy and satisfying DIY project is all about creating depth and dimension. Whether your style is boho, modern farmhouse, or Scandinavian simplicity, this vase makeover adds a grounded, tactile elegance to any room.
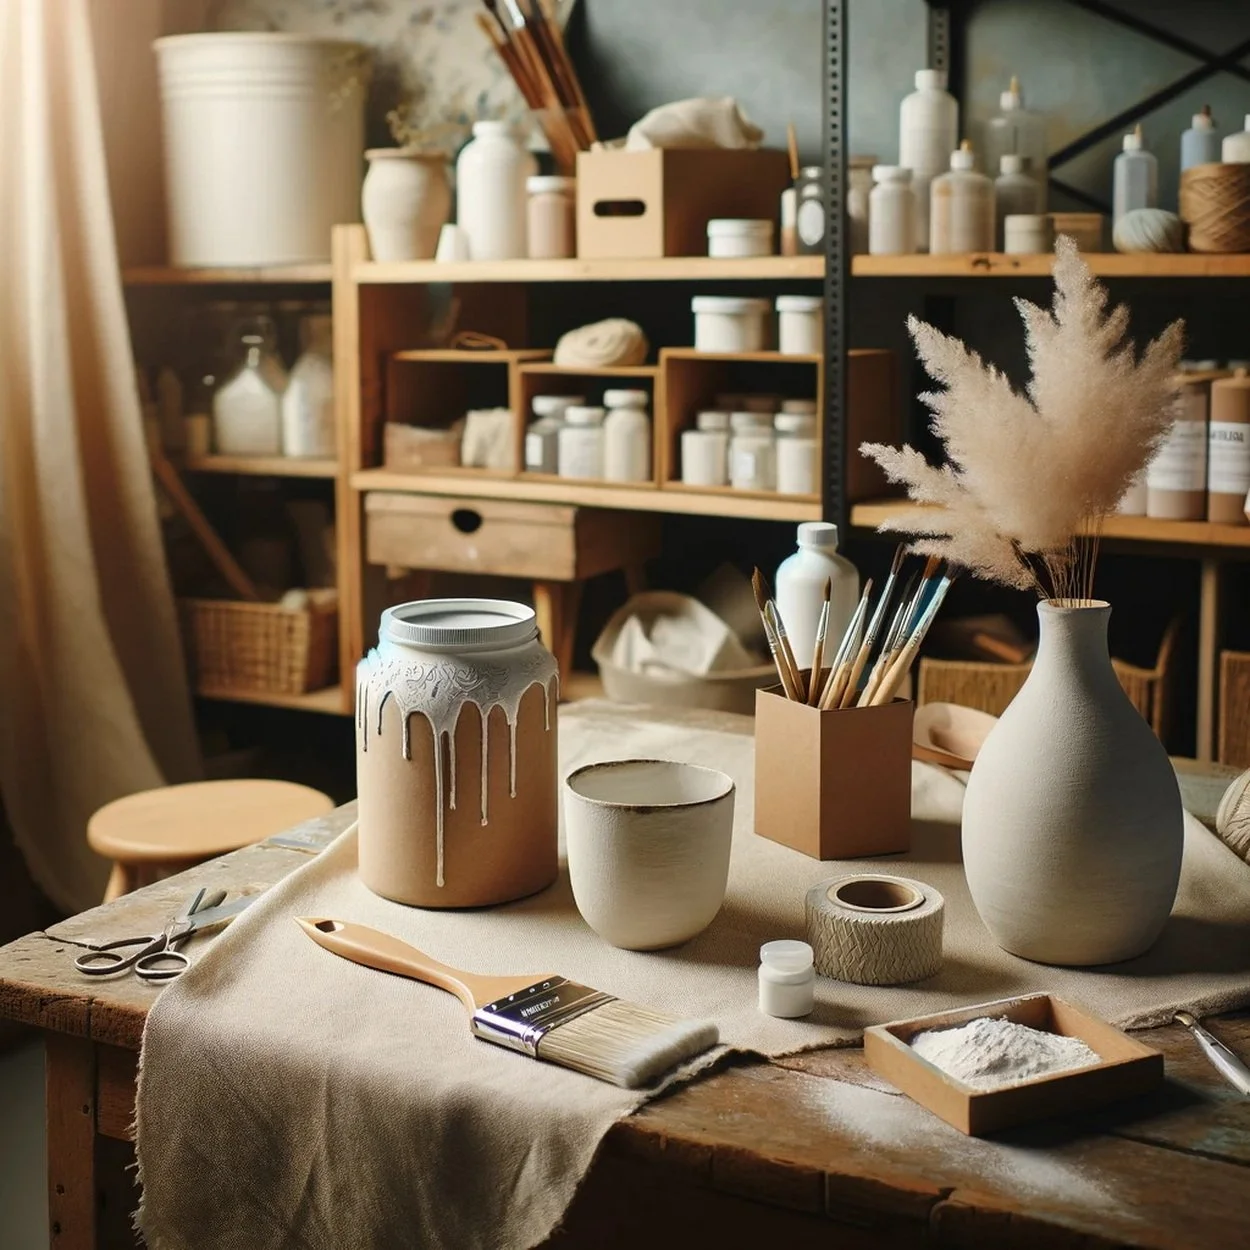
Materials Needed
Gather the following for your transformation:
A plain vase (glass or ceramic)
Baking soda
White paint (or any color of your choice)
Paintbrush
Mixing plate or palette
Pro Tip: Matte or chalk-style paint works best for a modern, textured look.
Step-by-Step DIY Guide: Baking Soda Textured Vase
Step 1: Prepare Your Space
Lay down a drop cloth, old newspaper, or parchment paper on your work surface to protect against spills. Make sure your vase is clean and dry before starting.
Step 2: Mix the Paint
Squeeze your paint onto the palette or mixing dish. Slowly add baking soda, stirring as you go, until the paint reaches a thick, gritty texture. The more baking soda, the more dimensional your finish will be.
Ideal Consistency: Like thick frosting—spreadable but textured.
Step 3: Paint the Vase
Using your brush, apply the textured paint evenly over the entire surface of the vase. Don’t worry about perfection—the unevenness is what gives it a handcrafted, ceramic-like feel.
Step 4: Create Extra Texture
Before the paint dries, gently dab the brush onto the surface to build up soft peaks and add visual interest. This creates the organic, earthy texture that gives these vases their designer edge.
Step 5: Let It Dry
Allow the vase to air dry completely. Drying times may vary depending on paint thickness and humidity, but plan for at least several hours. Once dry, the paint will appear matte, gritty, and stone-like.
Finishing Touches
You can leave your vase empty for a minimalist effect or fill it with dried florals, pampas grass, or fresh blooms. The texture will complement any filler and add a grounded contrast to your decor.
Shop the Idea
Make this transformation seamless with these DIY essentials:
Style it With
Pair your textured vase with these beautiful accents for a magazine-worthy display:
Conclusion: Create Texture, Create Joy
With a few pantry staples and a touch of paint, you've transformed a basic vase into a stunning, tactile piece of decor. This baking soda vase DIY is not just affordable and beginner-friendly—it’s an opportunity to bring texture, warmth, and artistry into your home.
Whether you place it on a shelf, mantel, or bedside table, your handcrafted vase will stand as a daily reminder of the beauty that happens when creativity meets simplicity.
So go ahead—make a statement, one brushstroke at a time.
Transform Your Vase: A Textured Paint DIY
Unleash your creativity and give your old vases a stunning makeover with our Transform Your Vase: A Textured Paint DIY guide. This project is perfect for adding a unique touch to your home decor. To assist you in this artistic transformation, I’ve compiled a list of sources, each linked to a keyword, to provide you with the best tutorials and tips for creating textured vases.
Textured Paint: Learn how to mix paint and baking soda to create a textured effect from Chalking Up Success.
DIY Tutorial: Watch a step-by-step video on creating an aged pottery look with textured paint by Chalking Up Success.
Baking Soda: Discover the role of baking soda in creating texture for your vases with Arm and Hammer.
Plaster Paint: Explore how to make your own plaster paint for texturing vases with The DIY Mommy.
May these sources guide you in transforming your vases into beautiful, textured works of art. Enjoy the process and the beautiful results!


