Unleash Your Inner Artist with DIY Watercolor Easter Eggs
Easter isn't just about the sweet treats and the legendary Easter bunny; it's a perfect time to indulge in some artistic endeavors. Why not brighten up your Easter with some DIY flair? In this blog post, we’re going to dive into the delightful world of DIY watercolor Easter eggs, a fun and easy craft that's sure to add a pop of color and cheer to your home!

Unleash Your Inner Artist with DIY Watercolor Easter Eggs
How to Make Watercolor Easter Eggs: Soft, Stunning, and Handmade
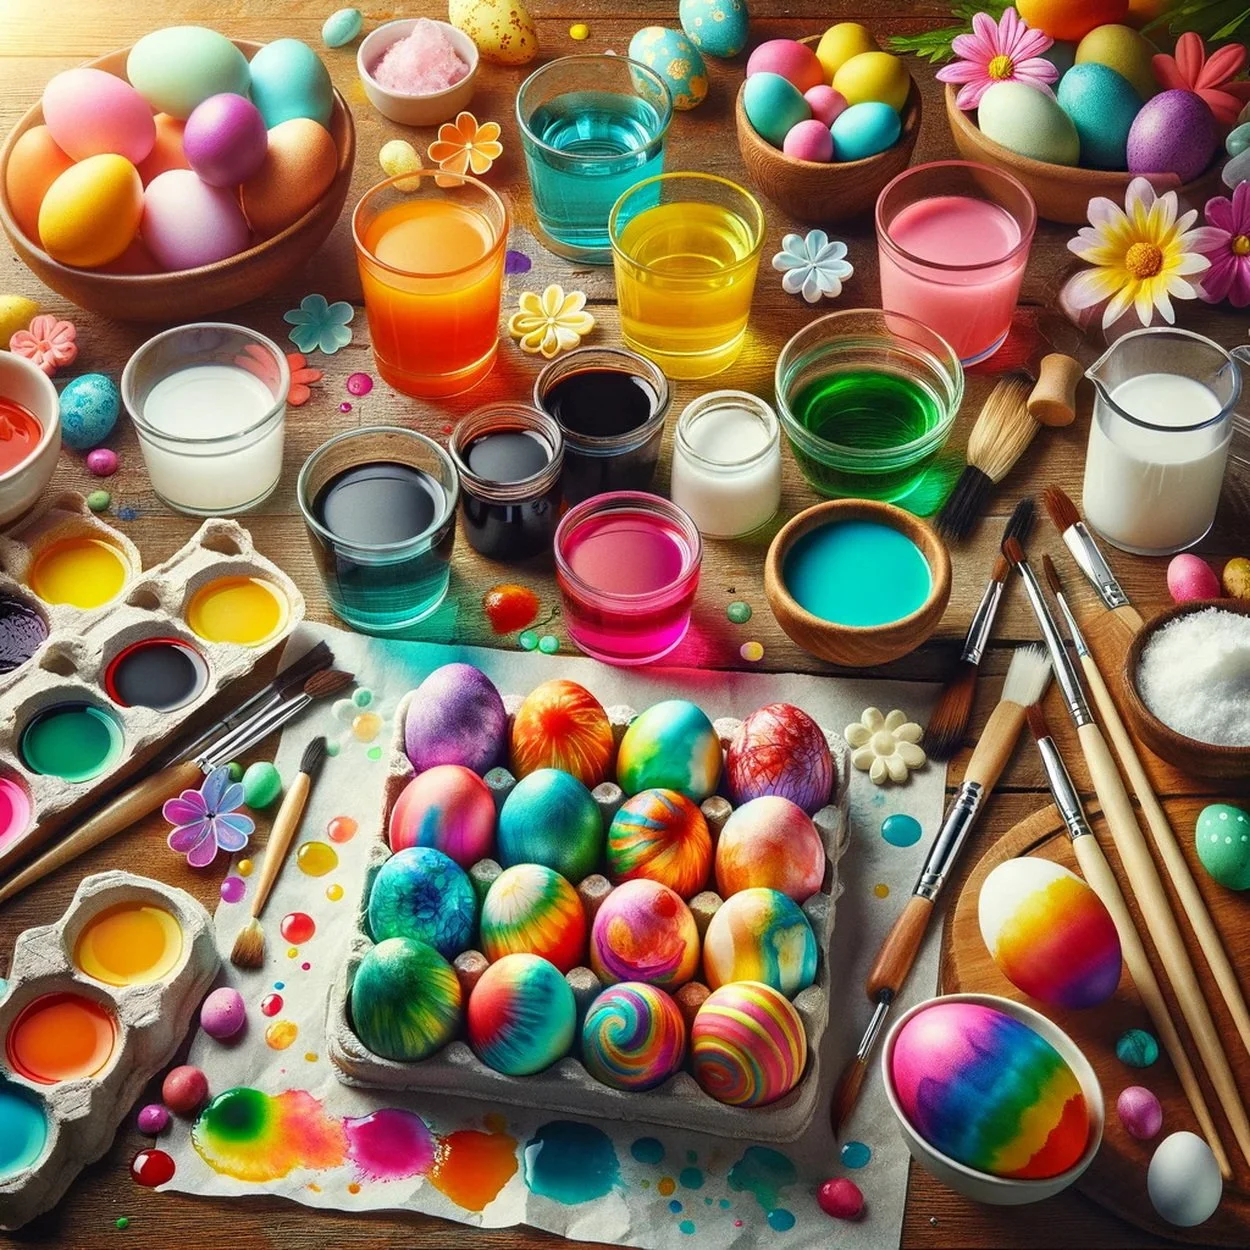
If you're looking to add a unique twist to your Easter celebrations this year, watercolor Easter eggs are the perfect solution. This creative DIY technique transforms simple hard-boiled eggs into delicate works of art with dreamy, flowing colors and soft edges.
Even better? It’s fun for both kids and adults, requires minimal supplies, and makes for an unforgettable hands-on tradition you’ll look forward to every spring.
Why Watercolor Eggs?
🎨 Artistic and Elegant – Each egg becomes its own miniature masterpiece
🧒 Kid-Friendly – Easy, non-toxic, and exciting for all ages
🌿 Eco-Friendly – No artificial dyes needed, just markers and paper
📸 Display-Worthy – The final look is Pinterest-perfect and centerpiece-ready
What You'll Need
Before you start painting, gather these simple supplies:
Water-soluble felt-tip pens (non-toxic, especially for kids)
White paper towels or napkins
Glass of water
White vinegar
Hard-boiled eggs (completely cooled)
Rubber bands
Tip: Room-temperature eggs work best for even absorption.
Step-by-Step Guide: Creating Your Watercolor Eggs
Step 1: Color Your Canvas
Lay a paper towel flat and use felt pens to draw stripes, dots, zigzags, or abstract patterns. Fill the entire towel for bold color transfer, or keep it minimal for a soft watercolor wash.
Step 2: Wrap the Egg
Place a cooled hard-boiled egg in the center of your decorated towel. Wrap it snugly and secure it with a rubber band so the towel stays tightly in contact with the egg’s surface.
Step 3: Add the Magic
Mix ¾ glass of water with a generous splash of white vinegar. Slowly pour the mixture over the wrapped eggs, making sure each one is thoroughly soaked. The vinegar helps set the color and enhances the watercolor effect.
Step 4: Let Them Rest
Let the wrapped eggs sit and dry completely. This can take a few hours, depending on room temperature and humidity. Be patient—this is when the color transfer magic happens!
Step 5: Reveal the Art
Gently unwrap the dried towels and reveal your watercolor creations. Each egg will be a one-of-a-kind swirl of colors—no two will be the same.
Step 6: Display Proudly
Use your watercolor eggs as table centerpieces, basket fillers, or part of an elegant egg hunt. You can even coat them with a touch of vegetable oil for a light sheen.
Tips for Egg-straordinary Results
Use room-temp eggs to prevent condensation from smudging the designs.
Add a crayon resist or stickers under the towel to create negative-space patterns.
For reusable decor, use blown-out eggshells instead of boiled eggs.
Mix marker brands and tip sizes to vary color intensity and texture.
Shop the Idea
Everything you need to bring your watercolor egg visions to life:
Style it With
Make your finished eggs shine in a festive Easter setup:
Wrapping Up: A Splash of Spring on Every Egg
Creating watercolor Easter eggs is more than just a craft—it’s a way to express creativity, spend quality time with loved ones, and make memories that last far beyond the season. From swirling pastel blues to vibrant pinks and dreamy blends, these eggs become personal, artful additions to your spring celebrations.
So go ahead—grab those markers, pour the vinegar, and let the colors flow. Your Easter table is about to get a beautiful upgrade, one egg at a time.

Unleash Your Inner Artist with DIY Watercolor Easter Eggs
This Easter, let’s dive into a world of color and creativity with our DIY Watercolor Easter Eggs guide. Unleash your inner artist and transform simple eggs into masterpieces that will be the talk of your Easter gathering. To help you on this artistic endeavor, I’ve compiled a list of sources, each linked to a keyword, to provide you with the best techniques and inspiration for your watercolor eggs.
DIY: Begin your creative journey with a variety of egg dyeing techniques at Freedom Homeschooling.
Watercolor: Learn the delicate art of painting eggs with watercolors from One Little Project.
Easter Eggs: Discover the joy of creating beautiful Easter eggs with guidance from Deep Space Sparkle.
Painting Techniques: Enhance your skills with different watercolor painting methods provided by Juggling Act Mama.
Artistic Inspiration: Find inspiration for your watercolor Easter eggs with ideas from Color Snack.
May these sources spark your creativity and help you create Easter eggs that are as unique and special as your own artistic spirit. Enjoy the process and have a wonderful Easter!