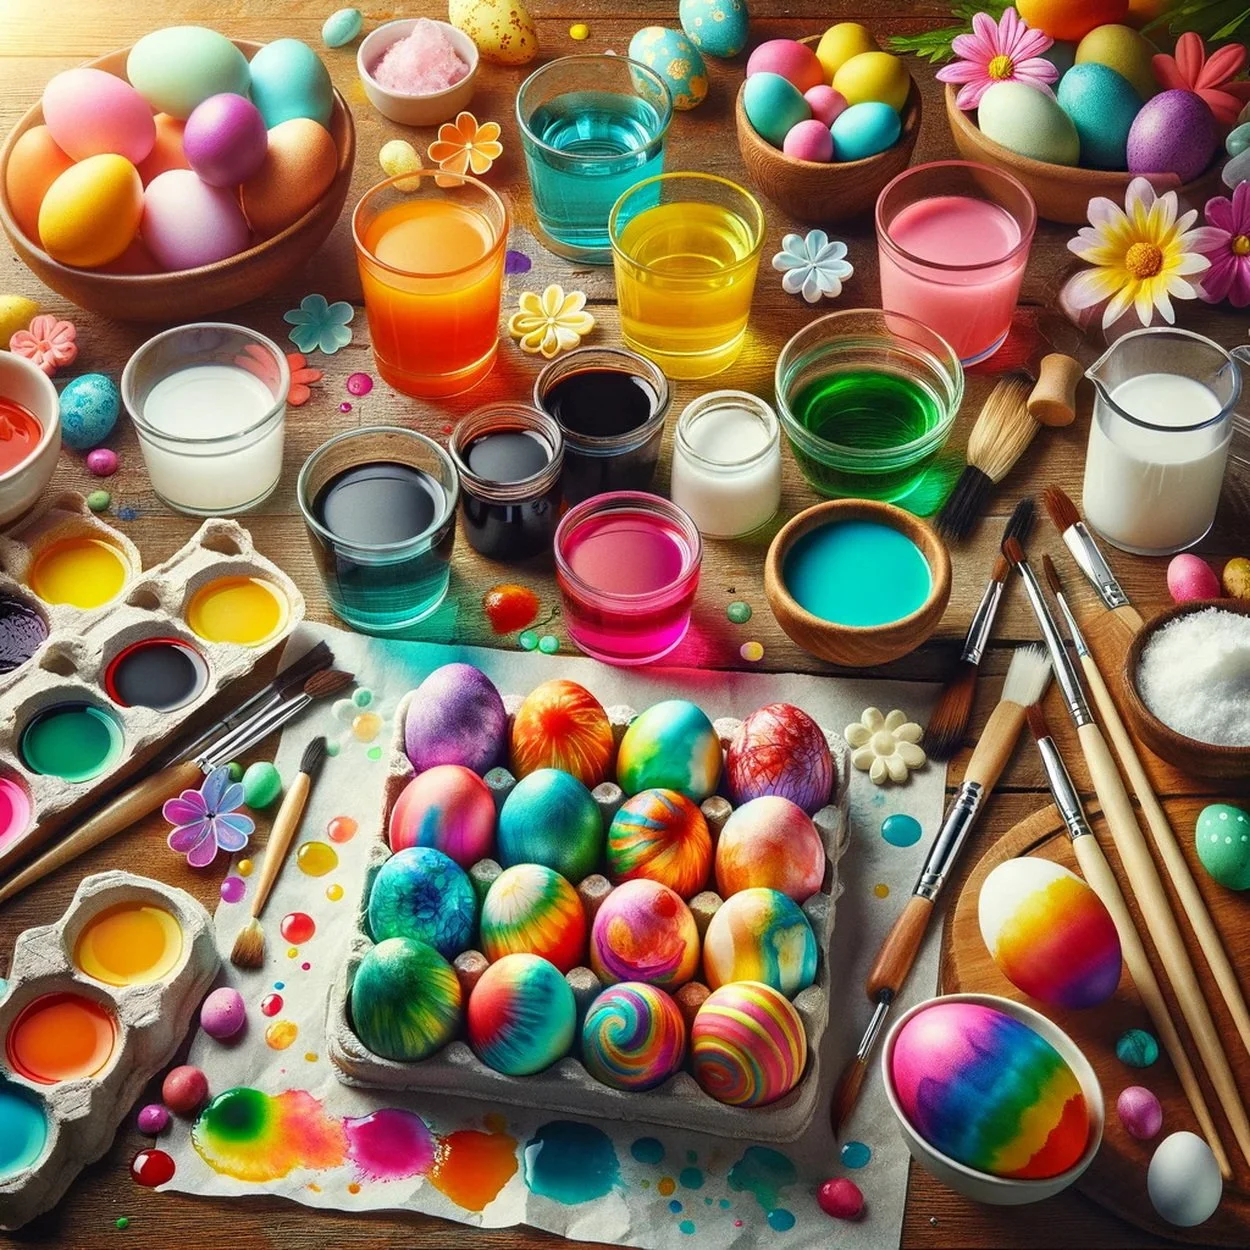
Naturally Dyed Blue Easter Eggs: A DIY Guide
Easter is a time of renewal, celebration, and color. Among the most cherished traditions is the art of egg dyeing, a craft that dates back centuries. Today, we're revisiting this timeless practice with a modern twist: using natural ingredients to create stunning blue Easter eggs. This environmentally-friendly method is not only safer for your family but also produces beautiful results that will become the centerpiece of your Easter celebration.

Naturally Dyed Blue Easter Eggs: A DIY Guide
Natural Dyeing Easter Eggs with Red Cabbage: A Beautiful, Safer Alternative
Ditch the artificial dye tablets and embrace the beauty of nature this Easter! Natural dyeing is not only a safer, more sustainable way to color your eggs, but it's also a fascinating science experiment in your kitchen. Our star ingredient? Red cabbage—a humble vegetable that produces stunning shades of blue, thanks to its natural pigment, anthocyanin.
This guide will walk you through how to create richly colored Easter eggs using simple, non-toxic ingredients. Whether you're crafting with kids or just want to explore a more eco-conscious tradition, this project is joyful, easy, and incredibly rewarding.
Why Natural Dyes?
🌿 Safer for kids and pets
🧪 Science meets art—anthocyanin reacts to pH for color shifts
🧘♀️ Peace of mind knowing you're avoiding harsh chemicals
🎨 Gorgeous results that rival store-bought dyes
Ingredients & Materials You'll Need
1 head of red cabbage
12 hard-boiled eggs
Large pot
Water
White vinegar
Strainer
Large bowl
Slotted spoon
Tip: Use white eggs for truer blues and more vivid results.
Step-by-Step Guide: How to Dye Easter Eggs Naturally
Step 1: Chop the Red Cabbage
Roughly chop the cabbage into large chunks. There's no need for perfection—just break it down enough to extract its rich color during simmering.
Step 2: Simmer the Cabbage
Place the chopped cabbage into a large pot and cover it with water. Bring to a boil, then reduce the heat and simmer for 30 minutes. You'll see the water turn a vibrant purplish-blue as the color seeps out.
Step 3: Strain and Cool the Dye
After simmering, pour the contents through a strainer into a large bowl. Discard the cabbage or compost it. Allow the liquid to cool to room temperature, then add 1 tablespoon of white vinegar to help the dye adhere to the eggs.
Step 4: Prep the Eggs
Make sure your hard-boiled eggs are clean and dry. Wipe them down with a damp cloth to remove any residue or oils that might resist the dye.
Step 5: Soak the Eggs
Place the eggs into the bowl of cabbage dye. Make sure they are fully submerged—you can gently weigh them down with a spoon if necessary.
Step 6: Soak and Wait
Let the eggs soak to your desired intensity:
30 minutes for a light robin’s egg blue
2–4 hours for a medium tone
Overnight for a deep, moody royal blue
Step 7: Remove and Dry
Use a slotted spoon to lift the eggs out of the dye. Place them on a rack or paper towel-lined tray to dry completely. Avoid blotting to preserve the color texture.
Tips for the Perfect Natural-Dyed Easter Eggs
✨ Use room-temperature eggs for more even coloring
✨ Rub dried eggs with vegetable oil for a glossy, finished look
✨ Layering colors? Start with a light cabbage soak, then add turmeric or beet juice accents!
Shop the Idea
Set yourself up for dyeing success with these helpful tools:
Style it With
Display your dyed eggs in seasonal style:
Conclusion: A Natural Tradition Worth Dyeing For
Creating naturally dyed Easter eggs with red cabbage is more than just a fun holiday activity—it’s an opportunity to connect with nature, teach kids about natural color chemistry, and embrace a cleaner, greener way to celebrate.
The end result? Stunning, naturally blue eggs that are chemical-free, safe for little hands, and absolutely beautiful. Whether you're styling an Easter tablescape or crafting for the joy of it, these dyed eggs are a meaningful touch of spring magic.
So grab that cabbage, get your pot simmering, and create something vibrant, natural, and uniquely yours.

Naturally Dyed Blue Easter Eggs: A DIY Guide
Embrace the magic of Easter with our Naturally Dyed Blue Easter Eggs: A DIY Guide. This guide is your ticket to creating stunning blue eggs using natural ingredients, perfect for a festive and eco-friendly Easter celebration. To assist you in this colorful journey, I’ve curated a list of sources, each linked to a keyword, to provide you with comprehensive insights and step-by-step instructions.
Natural Dye: Learn the process of creating natural dyes from The Kitchn.
Red Cabbage: Discover how red cabbage can produce beautiful blue eggs with CasaCaribe’s video.
Blueberries: Explore the use of blueberries for dyeing eggs naturally from Secrets In The Oven.
DIY Guide: Get a variety of natural dye recipes and techniques from Mama on the Homestead.
Easter Eggs: Find out how to dye Easter eggs with blueberries for a natural blue color at Get Green Be Well.
May these sources inspire you to create Easter eggs that are not only visually appealing but also a testament to the beauty of natural ingredients. Happy Easter and happy dyeing!