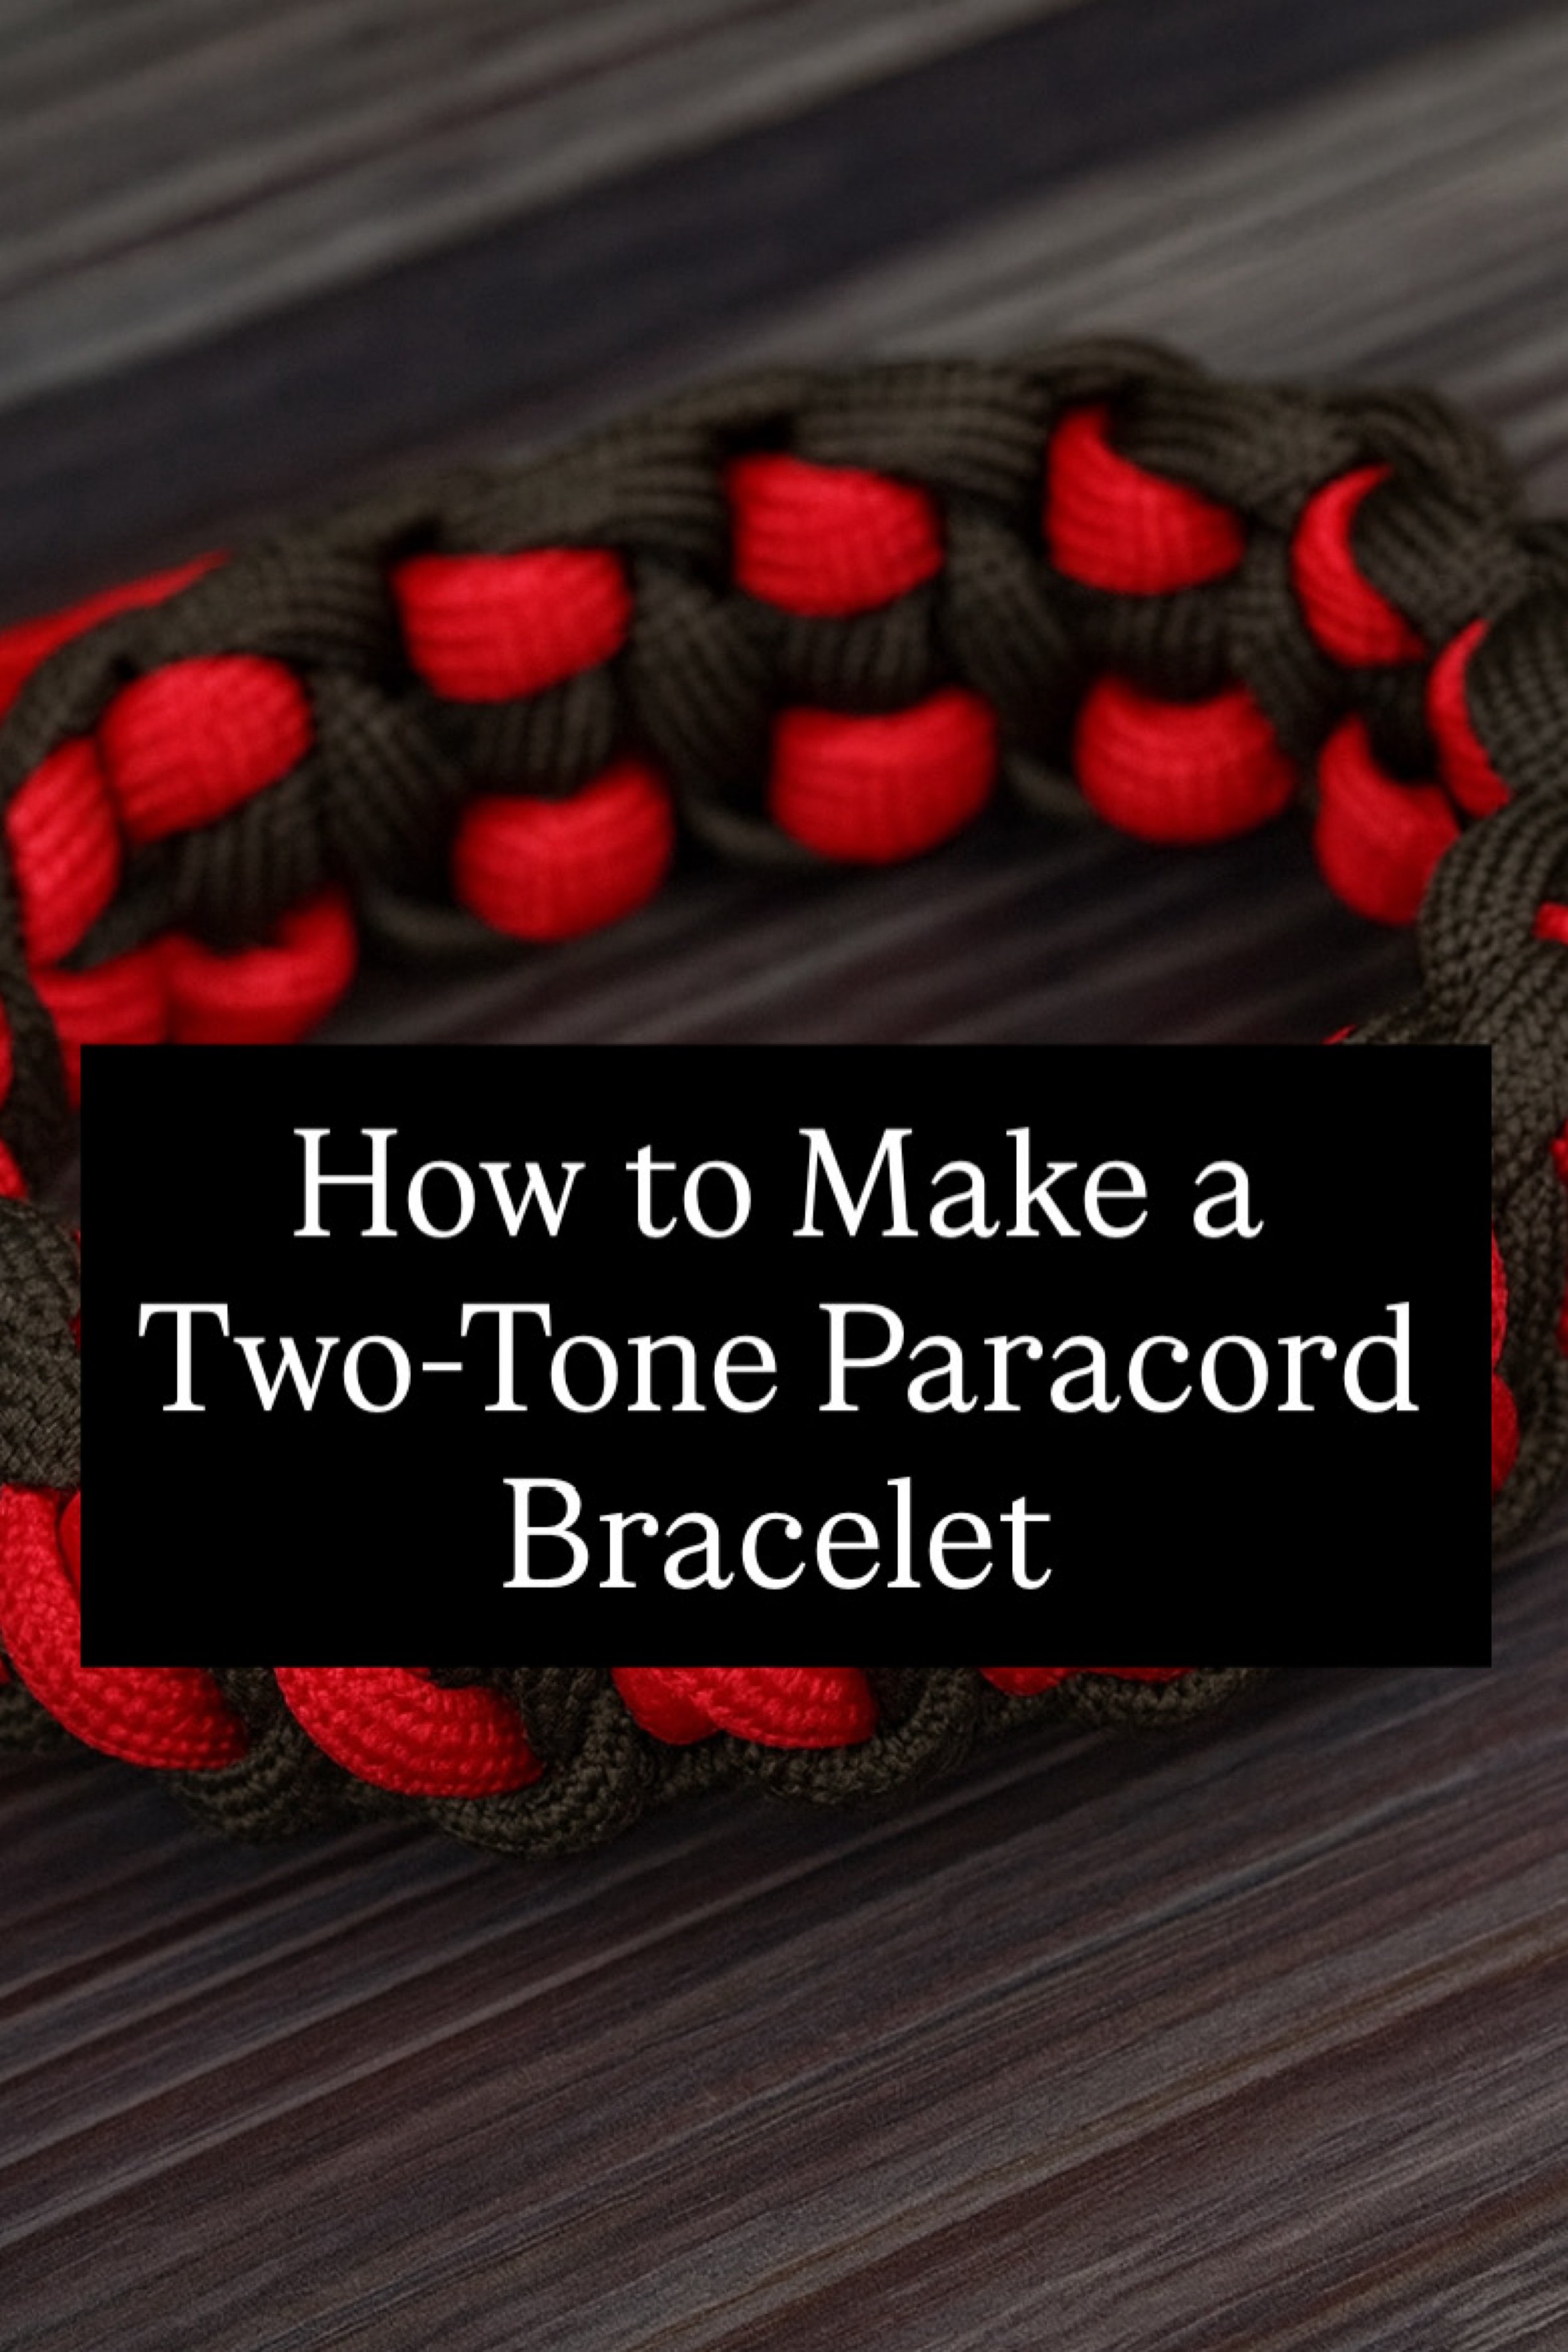
How to Make a Two-Tone Paracord Bracelet
More like this
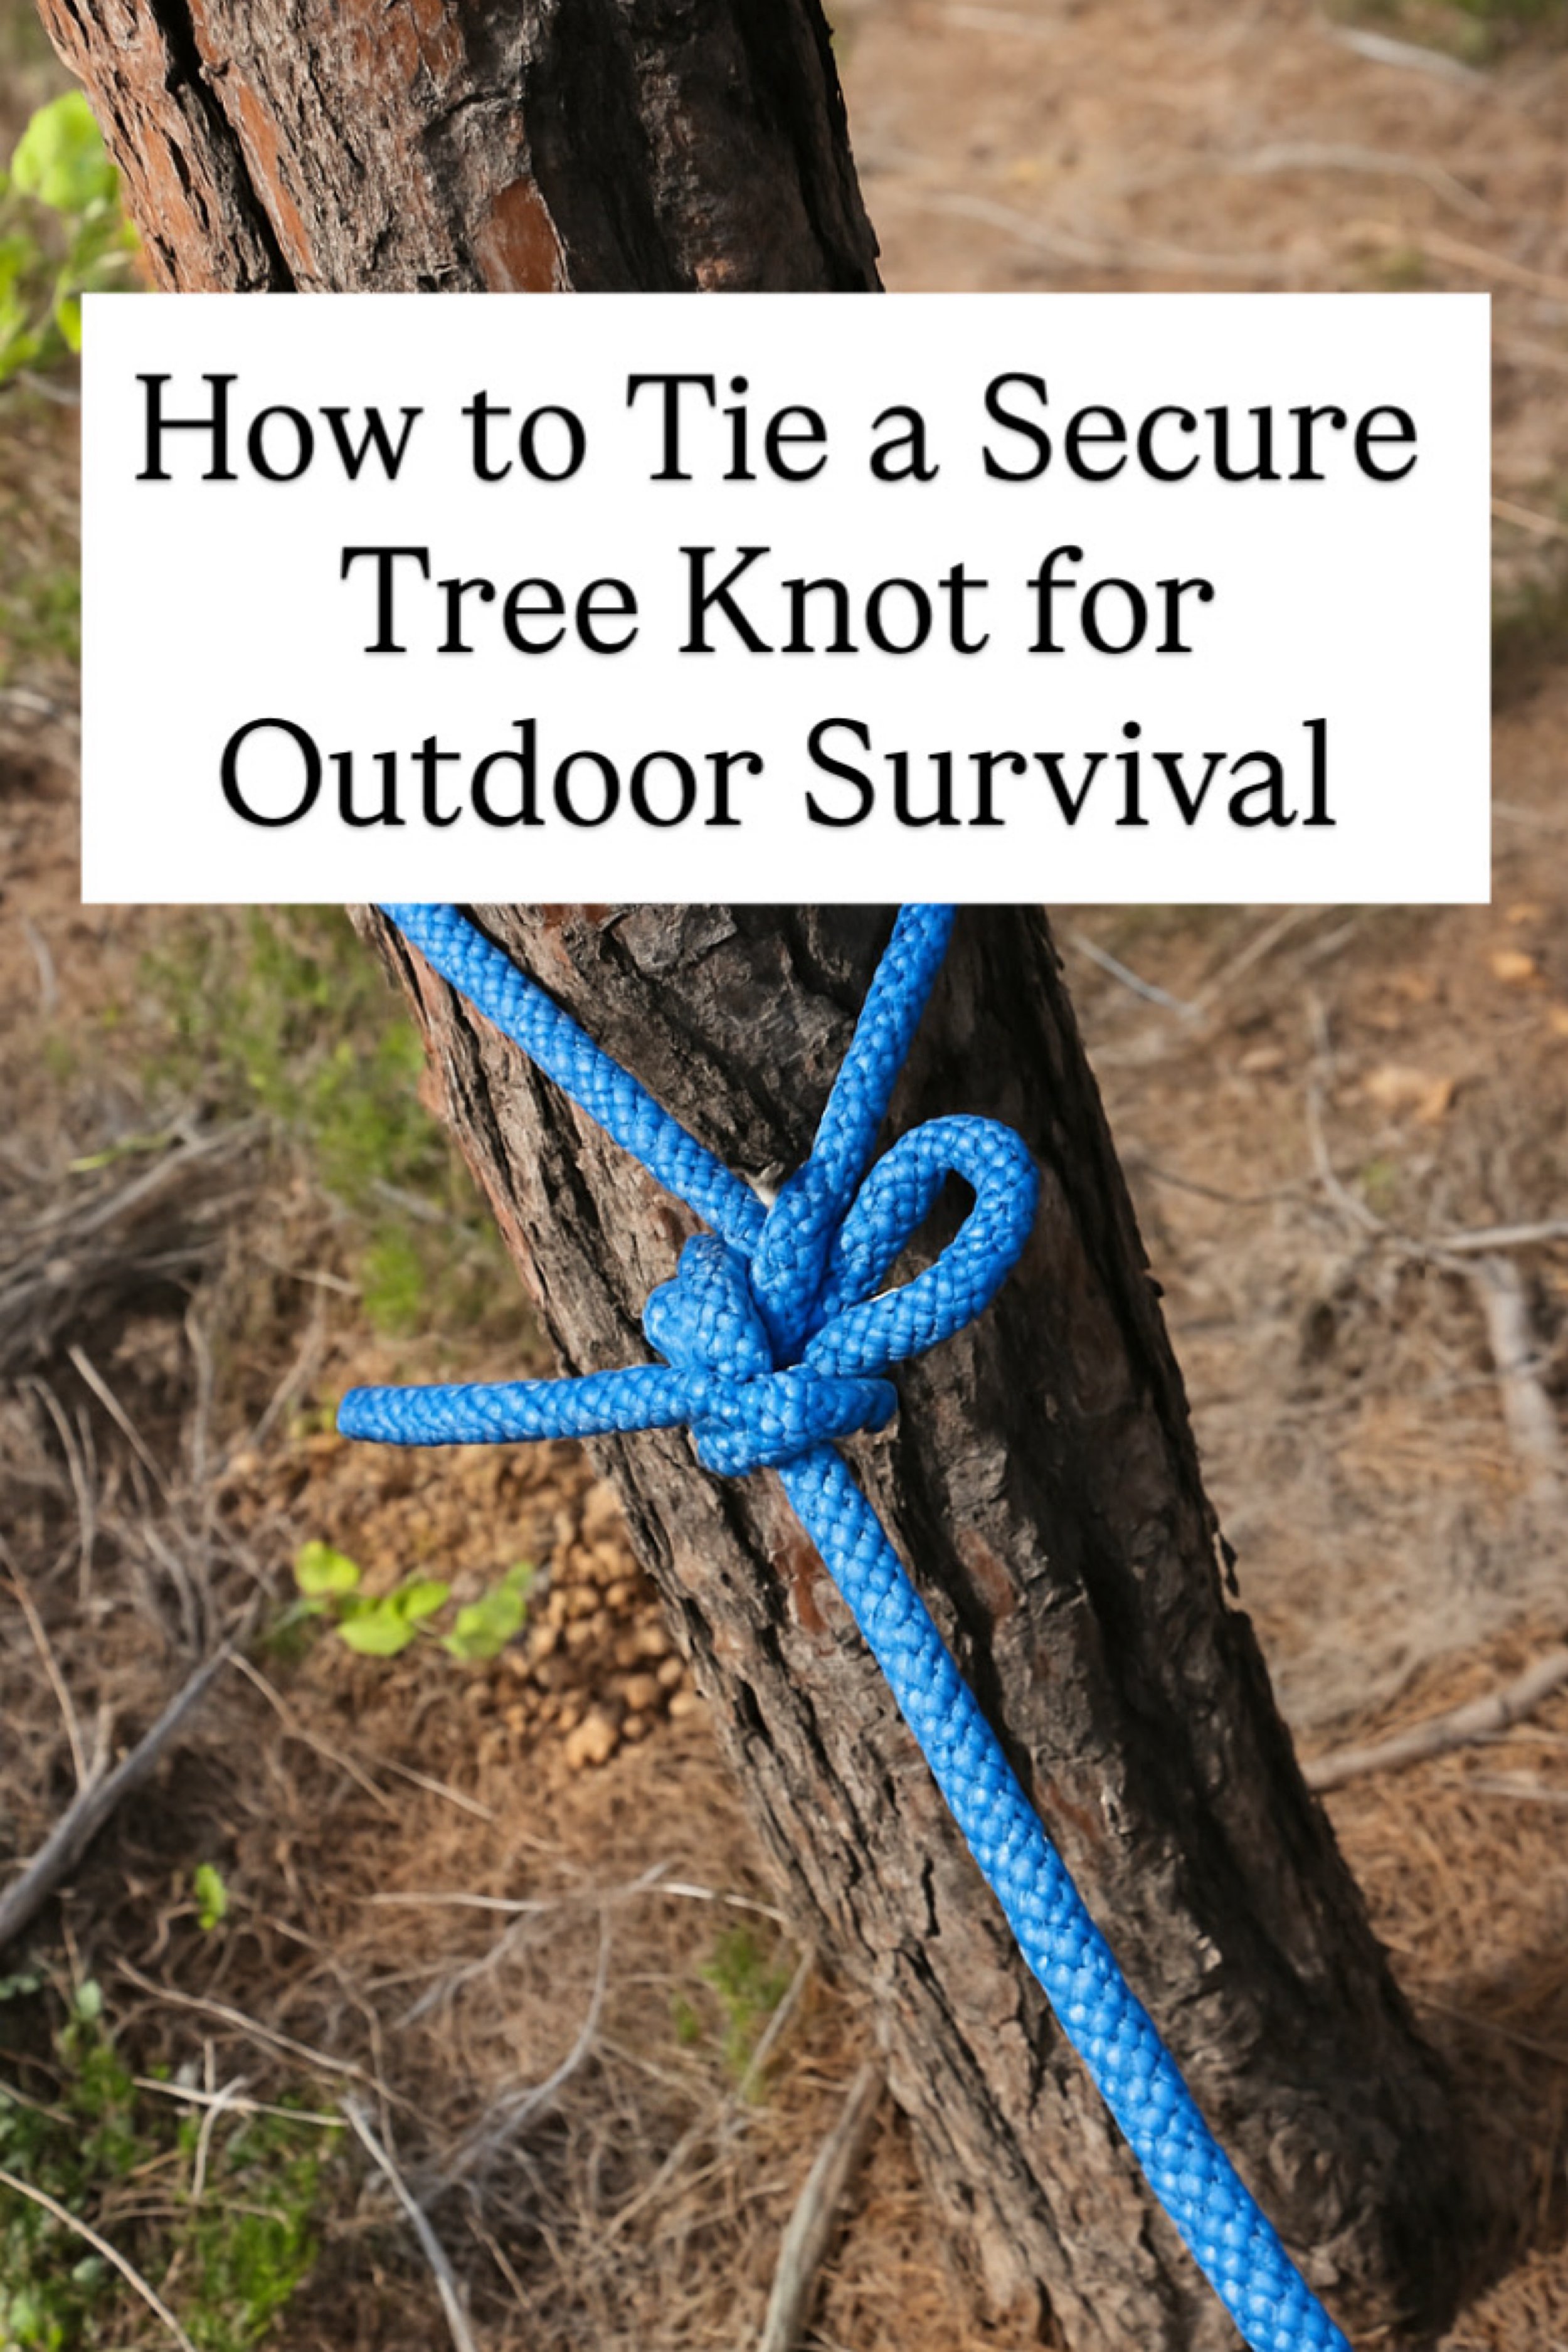
The Story Behind the Bracelet
Every craft has a story, and this paracord bracelet begins long before the first knot is tied. Picture yourself out on a cool autumn hike, jacket zipped, hands brushing against the textured weave wrapped around your wrist. At first glance, it’s just an accessory—sleek black paracord laced with bold flashes of red. But the truth is, you made it. Each pull of the cord, each snugged knot, is a reminder of your patience and your craft.
Paracord has always carried a sense of adventure. Once a lifeline for soldiers parachuting into battle, it’s now a material that weaves history, survival, and creativity together. When you braid it into a bracelet, you’re carrying a little piece of resilience wherever you go. And yet, this project is about more than survival utility—it’s about creating something personal, something stylish, something that becomes part of your everyday story.
This guide isn’t just going to show you how to make a bracelet; it’s going to walk you through the process of shaping raw cord into a wearable symbol of skill. By the time you cinch the last knot, you won’t just have gear—you’ll have a handcrafted piece of your own narrative. Let’s start weaving your story.
💡 Pro Tip: Why These Are Amazon Search Links (and Why “Add to Cart” Really Helps)
You might notice that every “Shop the Look” section uses Amazon search result links rather than one specific product. That’s not a glitch—it’s a strategy.
Items in fashion, beauty, and home sell out fast. Colors change. Styles get discontinued. Linking to a single item might leave you staring at a “Currently Unavailable” page—and nobody wants that.
With search result links, you’ll get:
• A fresh rotation of similar, in-stock finds
• Options that match your budget, size, and style
• Fewer dead ends and more discoveries
✨ Here’s how you can support this blog with zero extra cost:
If something speaks to you—even if you're still deciding—add it to your cart while you’re browsing. Amazon only credits creators like me if the item is added to your cart during that first visit.
It doesn’t cost you anything extra, but it makes a big difference in helping me keep this blog alive, ad-free, and full of hand-picked inspiration for your next obsession.
Thank you for being here. Thank you for shopping with intention. 💛
Make a Two-Tone Paracord Bracelet (Bold “Ladder” Weave)
Inspired by the ultra-clean work you see from makers like @craftzguru, this guide walks you—step by step—through a striking two-color paracord bracelet. It’s rugged enough for everyday wear, gift-worthy, and beginner-friendly once you understand the rhythm of the weave.
What You’ll Need
- 8–10 ft of main color 550 cord (shown in black): 550 paracord black
- 5–6 ft of accent 550 cord (shown in red): 550 paracord red
- A clasp (3/8" side-release buckle or shackle): paracord buckle kit or paracord shackle
- Cutting & sealing tools: heavy-duty scissors, butane torch lighter or BIC lighter
- Helpful but optional: paracord bracelet jig (or a scrap board with two small finishing nails), paracord fid needle, hemostat clamps, self-healing cutting mat, a soft measuring tape, a dab of fray check, and optional heat-shrink tubing for super-clean ends.
Supply math: For a 7.5" finished bracelet, plan ~8–10 ft of main cord and ~5–6 ft of accent cord. Extra is always safer, especially while learning.
Sizing: Get the Fit Right First
- Measure your wrist with a soft tape where you’ll wear the bracelet.
- Add comfort: +0.5" for a snug everyday fit or +0.75" for looser.
- Record your “wrist plus” length. This is the inside length your bracelet should match when mounted on a jig or between nails.
Example: 7.0" wrist + 0.5" = 7.5" target length.
Prepare the Core & Buckle
You can use a buckle or create a continuous loop with a cow hitch. The photos above show a simple nail or jig setup to anchor a loop while you weave.
Option A — With a Buckle
- Fold your main color in half to find the center.
- Lark’s-head that midpoint to the female side of your side-release buckle.
- Thread both free ends through the male side and adjust the buckle distance to your target length (7.5" in our example). Lock the jig to this distance.
Option B — No Buckle (Loop & Knot)
- Put two nails or jig posts the length of your target bracelet apart.
- Loop the main cord around both posts so you have two straight core strands running down the middle and two working ends at the knotting end.
- You’ll finish later with a sliding knot or button knot.
Tip: A paracord jig makes sizing precise and keeps tension consistent while weaving.
Add the Accent Cord
- Center the accent color under the two core strands near the buckle or top posts so both accent tails hang evenly left/right.
- Tie a simple overhand to anchor the accent behind the core if you like; otherwise, just hold its tails to start.
- The accent will hop left/right on the front of the bracelet, creating the bold “ladder brick” look.
Learn the Base Knot (Modified Cobra)
This build uses a cobra/Solomon foundation, but we capture the accent each time so the red “tabs” appear in alternating windows.
Let the left main working end be L and the right main working end be R. The two core strands are in the center.
One Complete Knot Cycle
- Lay the accent from left to right across the front of the core. (Accent tail approaches from left and points to the right.)
- L over core: Bring L over the front of the core (and over the accent that’s lying across the front), then behind R.
- R under & up: Take R under the core and the accent, up through the loop created by L on the left side.
- Snug the knot so the accent peeks in a neat “brick” on the front. Keep it square; don’t crush the accent.
- Lay the accent from right to left across the front for the next knot (so the tabs alternate).
- R over core: Bring R over the front of the core (and over the accent), then behind L.
- L under & up: Take L under the core and accent, up through the loop on the right.
- Snug again. You’ve made two mirrored knots and created two accent windows—one leaning left, one right.
Repeat those two moves for the full length. After 6–8 repetitions you’ll clearly see the rhythmic “ladder” of red tabs framed by black.
Comfort setup: If your hands tire, clip your cords with hemostats between steps so nothing loosens while you reposition.
Maintain Tension & Consistency
- Pull evenly: After each knot, pull R and L with the same strength, then compress the knot line upward with your thumb to keep spacing tight.
- Keep the accent flat: Before you snug a knot, give the accent tail a micro-tug to flatten that visible tab. A fid needle helps you nudge it.
- Check length often: On a jig, your buckle-to-buckle distance shouldn’t change. On nails, check with a soft tape.
Mid-Project Rescue Tricks
- Uneven edges? Your knots may be twisting. Before tightening fully, square the knot by pinching both sides and sliding it up into position.
- Accent disappearing? You may be routing it behind the core by mistake. The accent should lie on top of the core before each knot, then get captured by the knot.
- Pattern drift? If two red tabs appear on the same side, you skipped the “alternate direction” rule for the accent. Undo one knot (a fid or blunt tapestry needle helps) and resume alternating.
Finishing the Weave
When the knot line reaches your target length:
- Tie one final mirrored pair of cobra knots without the accent to lock the pattern.
- Trim the two main working ends close and carefully melt the stubs with a butane torch lighter.
- Fuse and flatten: While the melted nub is still warm, press it down gently with the side of your lighter cap or a metal tool (don’t touch the hot nylon). A tiny dab of fray check secures it.
- Tuck or trim the accent tails on the back and seal the ends. For a super-clean finish, slip short pieces of heat-shrink tubing over the tails before shrinking with brief heat.
Safety note: Melt outdoors or by a window and avoid breathing fumes. Keep a silicone pad or cutting mat beneath your work.
Optional Closures & Upgrades
- Stainless shackle: Adds a tactical vibe and micro-adjustability: paracord shackle
- Magnetic clasp: Sleek and quick to don: magnetic bracelet clasp
- Hidden storage core: Use a length of bank line or fishing line inside the core.
- Keychain or lanyard: Just start the same weave around a split ring or small carabiner.
Troubleshooting Gallery (Text Edition)
Problem: The bracelet bows or snakes.
Fix: Your left/right pulls are unbalanced. Alternate which side you tighten first and compress knots straight up the core.
Problem: Accent tabs look puffy or uneven.
Fix: Before each snug, pull the visible accent tail lightly to flatten it, then tighten the cobra.
Problem: Length is short after finishing.
Fix: Cobra knots “eat” length. Start with a core on the jig 0.25–0.5" longer than your target if you tend to tighten hard. Practice on scrap first.
Variations You’ll Love
- High-contrast neon: Try neon yellow 550 accents on charcoal black.
- Camo-plus: A camo main with solid red tabs gives outdoor energy with a pop.
- Reflective night runner: Use reflective paracord as either main or accent for visibility.
- Slim edition: Drop to a single-strand core (one center strand) for a lighter profile; use the same capture technique.
- Wide cuff: Work with four core strands (two cow hitches) and mirror the pattern on both sides.
Care & Wear
- Wash gently with mild soap; air dry.
- Avoid prolonged direct flame—melted tips are fine, but don’t expose the bracelet to high heat.
- If a tab snags, warm the area briefly and massage it back with a fid. A touch of fray check locks rogue fibers.
Step-by-Step Recap (Quick Reference)
- Measure & set length on a jig or nails.
- Mount main cord to buckle (or posts), leaving two straight core strands.
- Center accent under the core with equal tails.
- Knot A (accent L→R): L over, R under & up, capture accent, snug.
- Knot B (accent R→L): R over, L under & up, capture accent, snug.
- Repeat A/B to the end, keeping tension even and tabs flat.
- Lock, trim, and melt working ends; seal accent tails neatly.
- Wear it or gift it!
Materials Checklist (Tap to Shop)
- 550 paracord (main color)
- 550 paracord (accent color)
- Side-release buckles 3/8" or shackles
- Paracord bracelet jig
- Paracord fid needle set
- Heavy-duty scissors & butane torch lighter
- Hemostat clamps
- Fray Check & optional heat-shrink tubing
FAQ
How long does it take?
Plan 20–40 minutes for your first bracelet, then 15–25 minutes once the motions are automatic.
Will 425 paracord work?
Yes, but it’s thinner. The look is less chunky; up your knot count to reach the same length. If you want the beefy look from the photos, stick with 550 cord.
Can I make this adjustable?
Yes. Skip the buckle and finish with a diamond/button knot and a small loop, or add an adjustable shackle pin. A shackle set gives multiple holes for micro-fit.
What if I run out of cord near the end?
Back up three knots, splice in more cord with a long overlap on the back side, then melt/fuse the inner overlap only. Resume the weave and hide the join under a knot. (A fid makes neat splices much easier.)
Wrap-Up
Once you internalize the two mirrored moves—lay the accent across the front, capture it with a cobra from the left; then lay it back across and capture from the right—the bracelet almost ties itself. The alternating “tabs” create that high-contrast, athletic look you saw in the finished photos, and the technique scales to key fobs, dog collars, camera straps, and lanyards. Gather your 550 cord, set your jig to size, and let the rhythm of the weave do the rest.
When you post your first success, give a nod to the makers who inspired you—and then put your own spin on color pairings, closures, and pattern density. Happy tying!