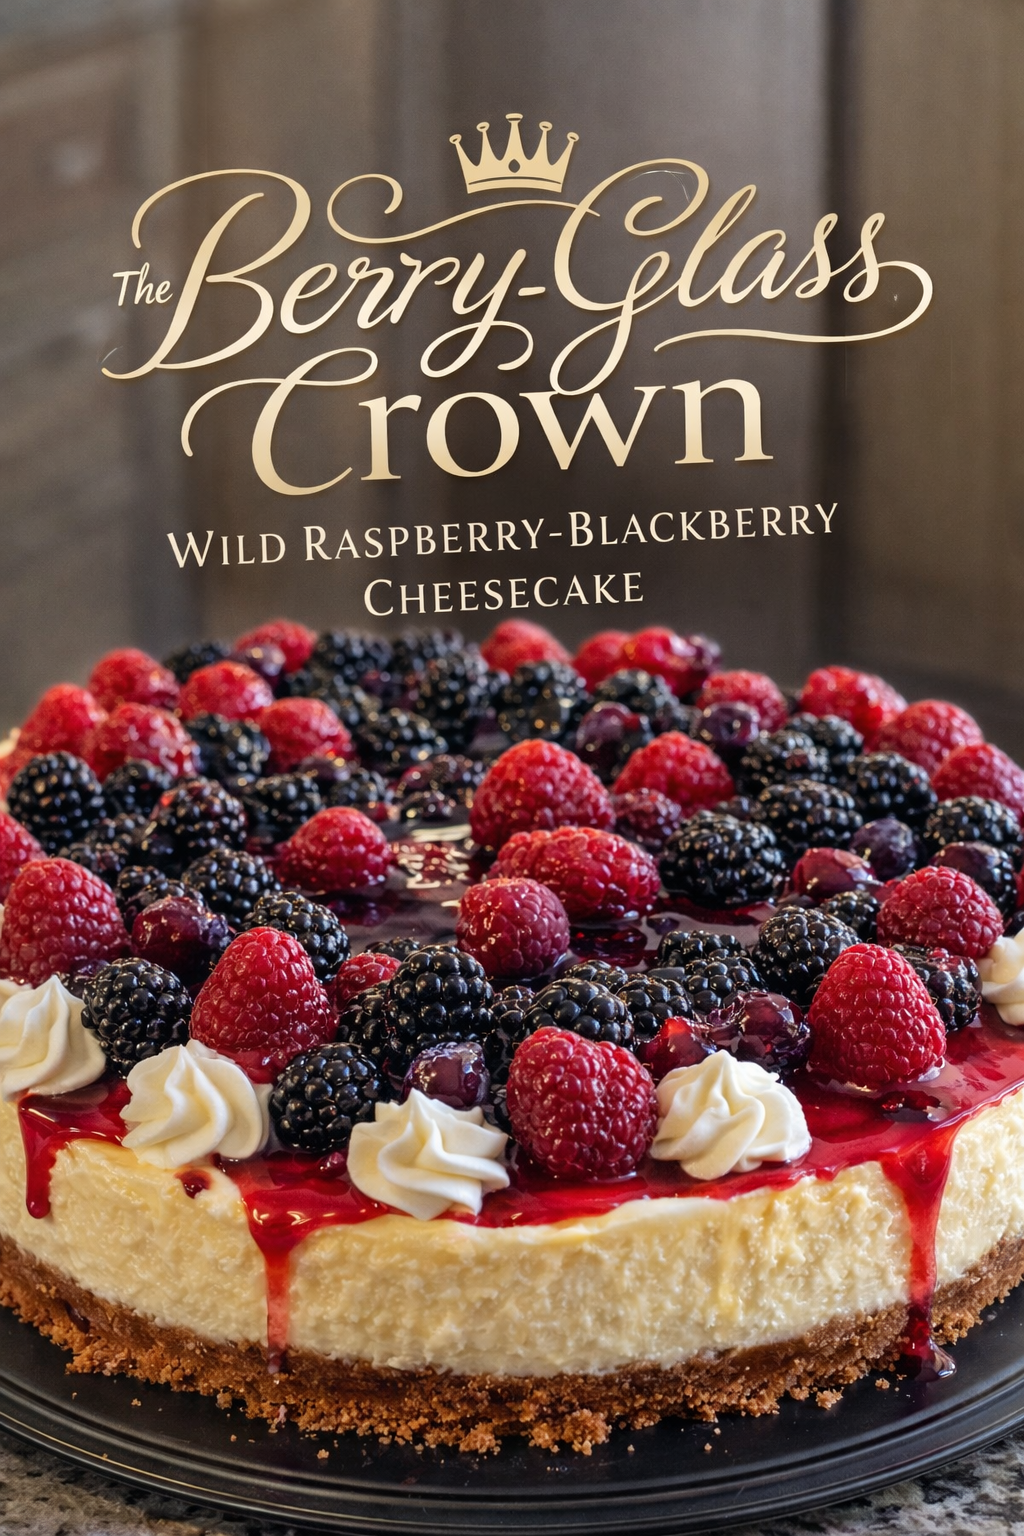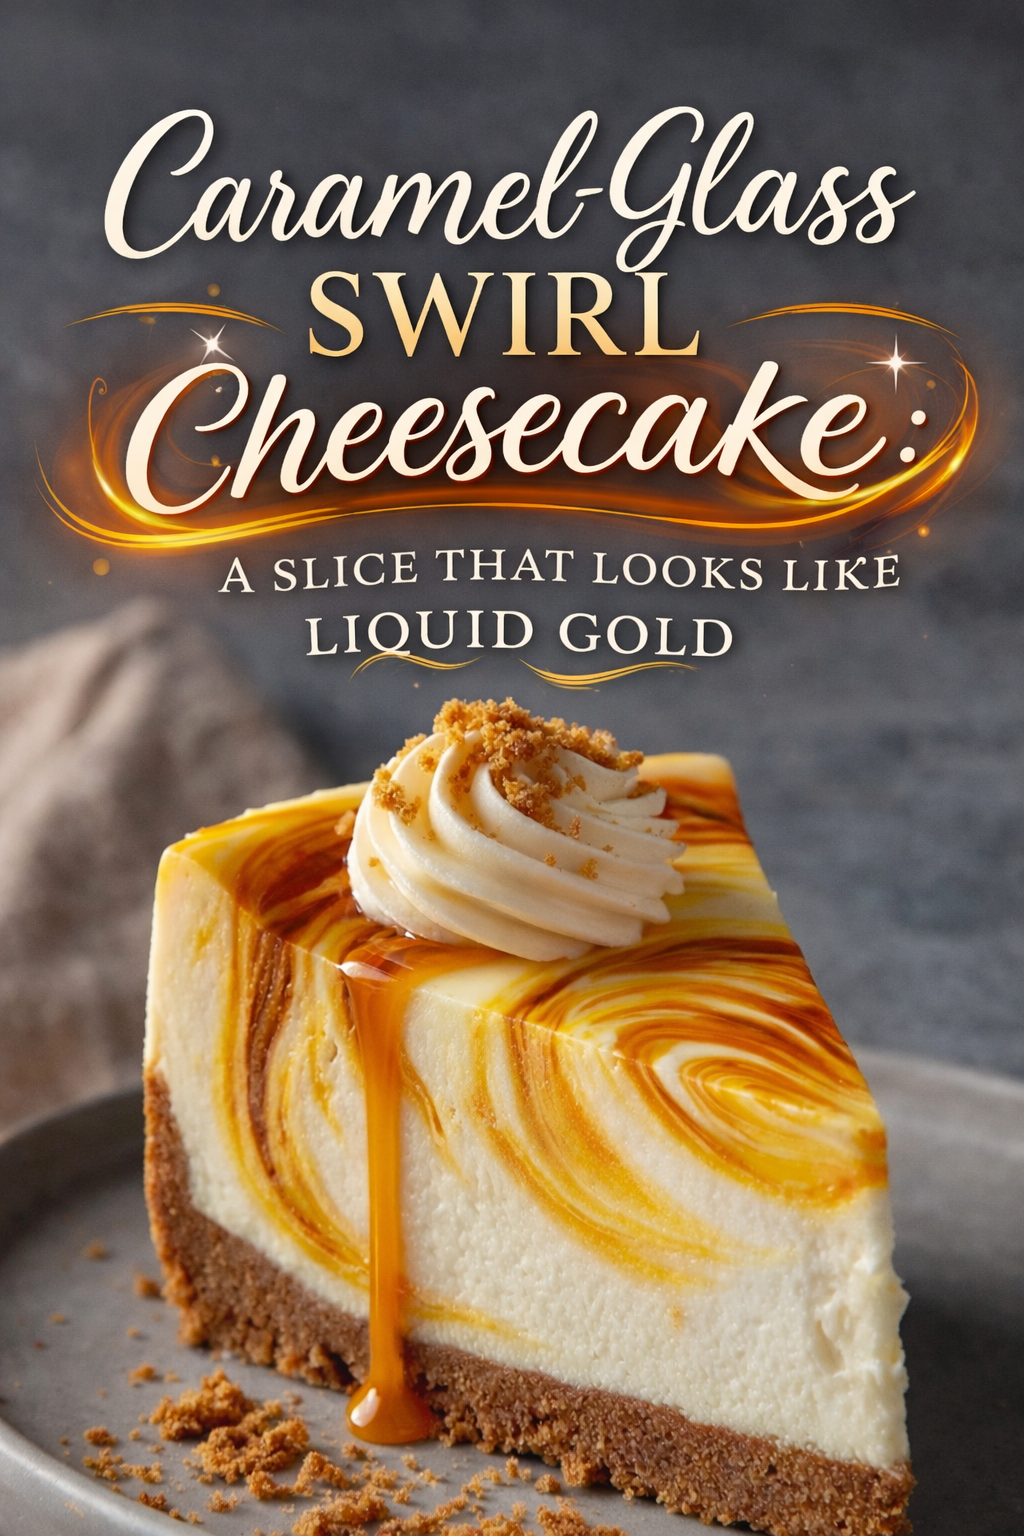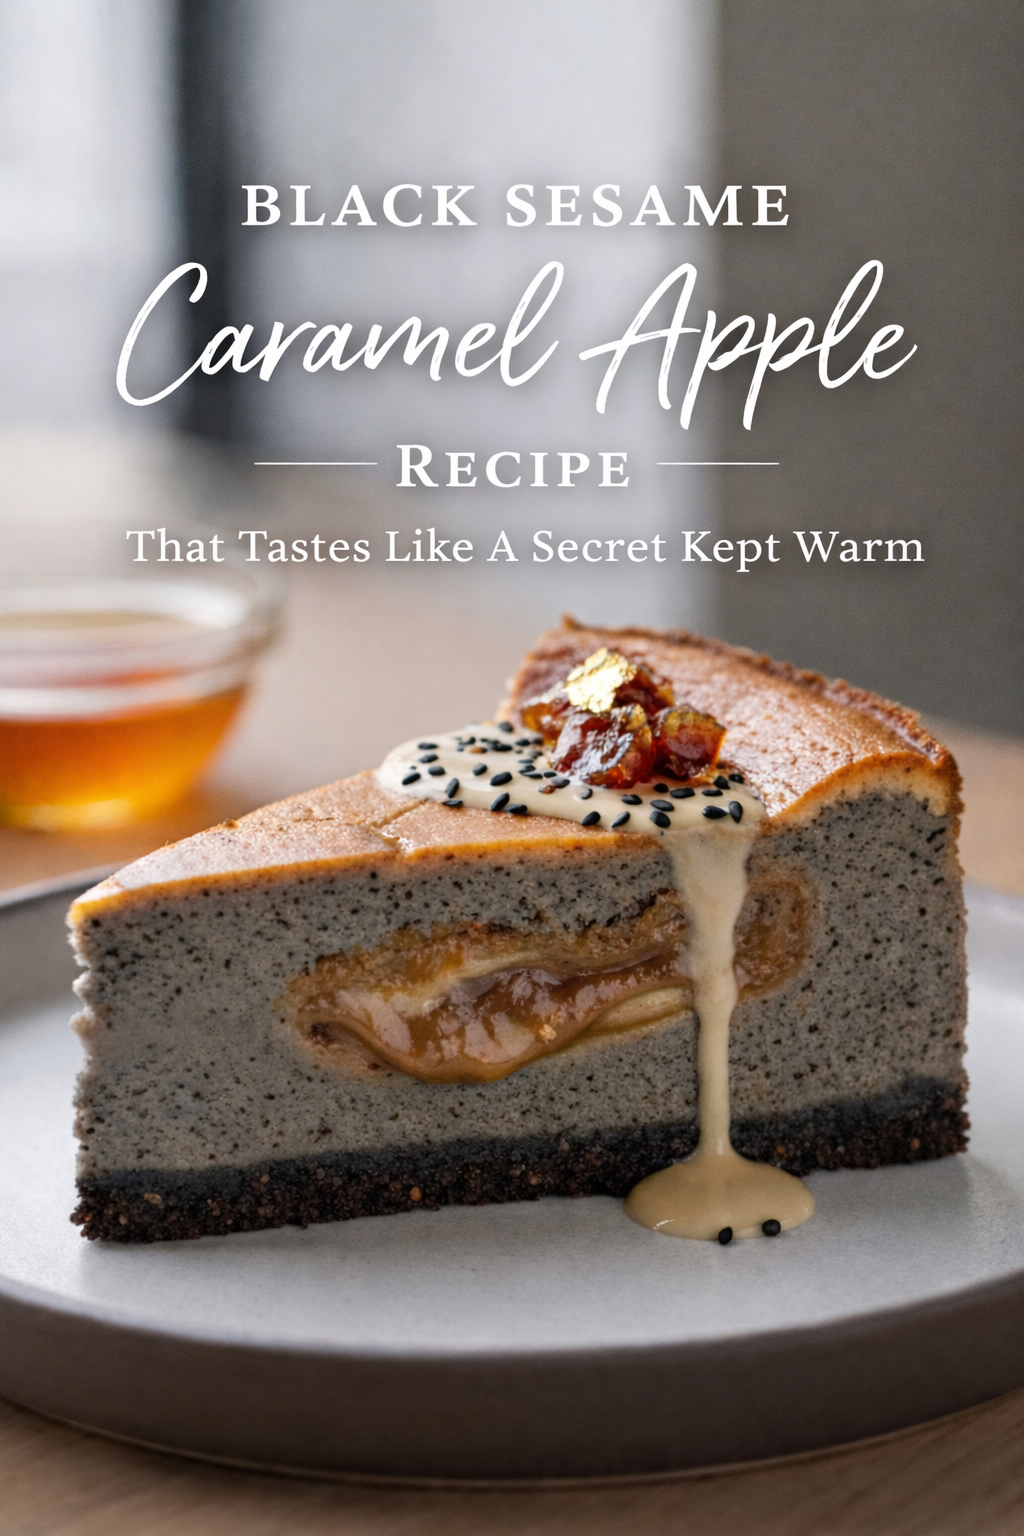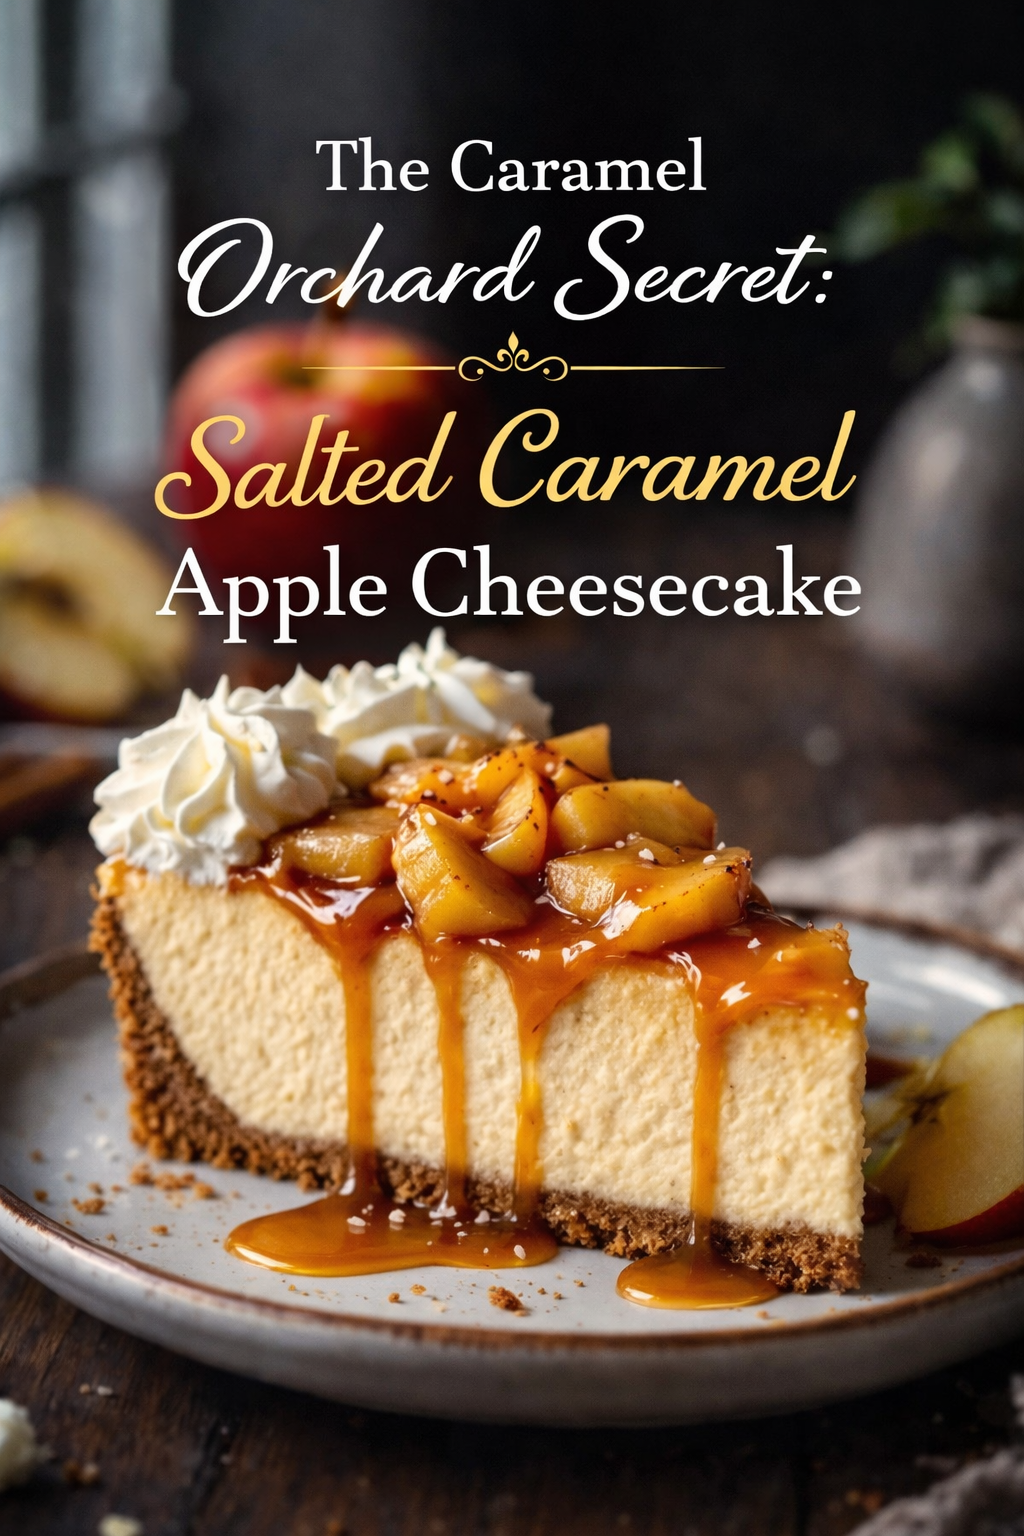
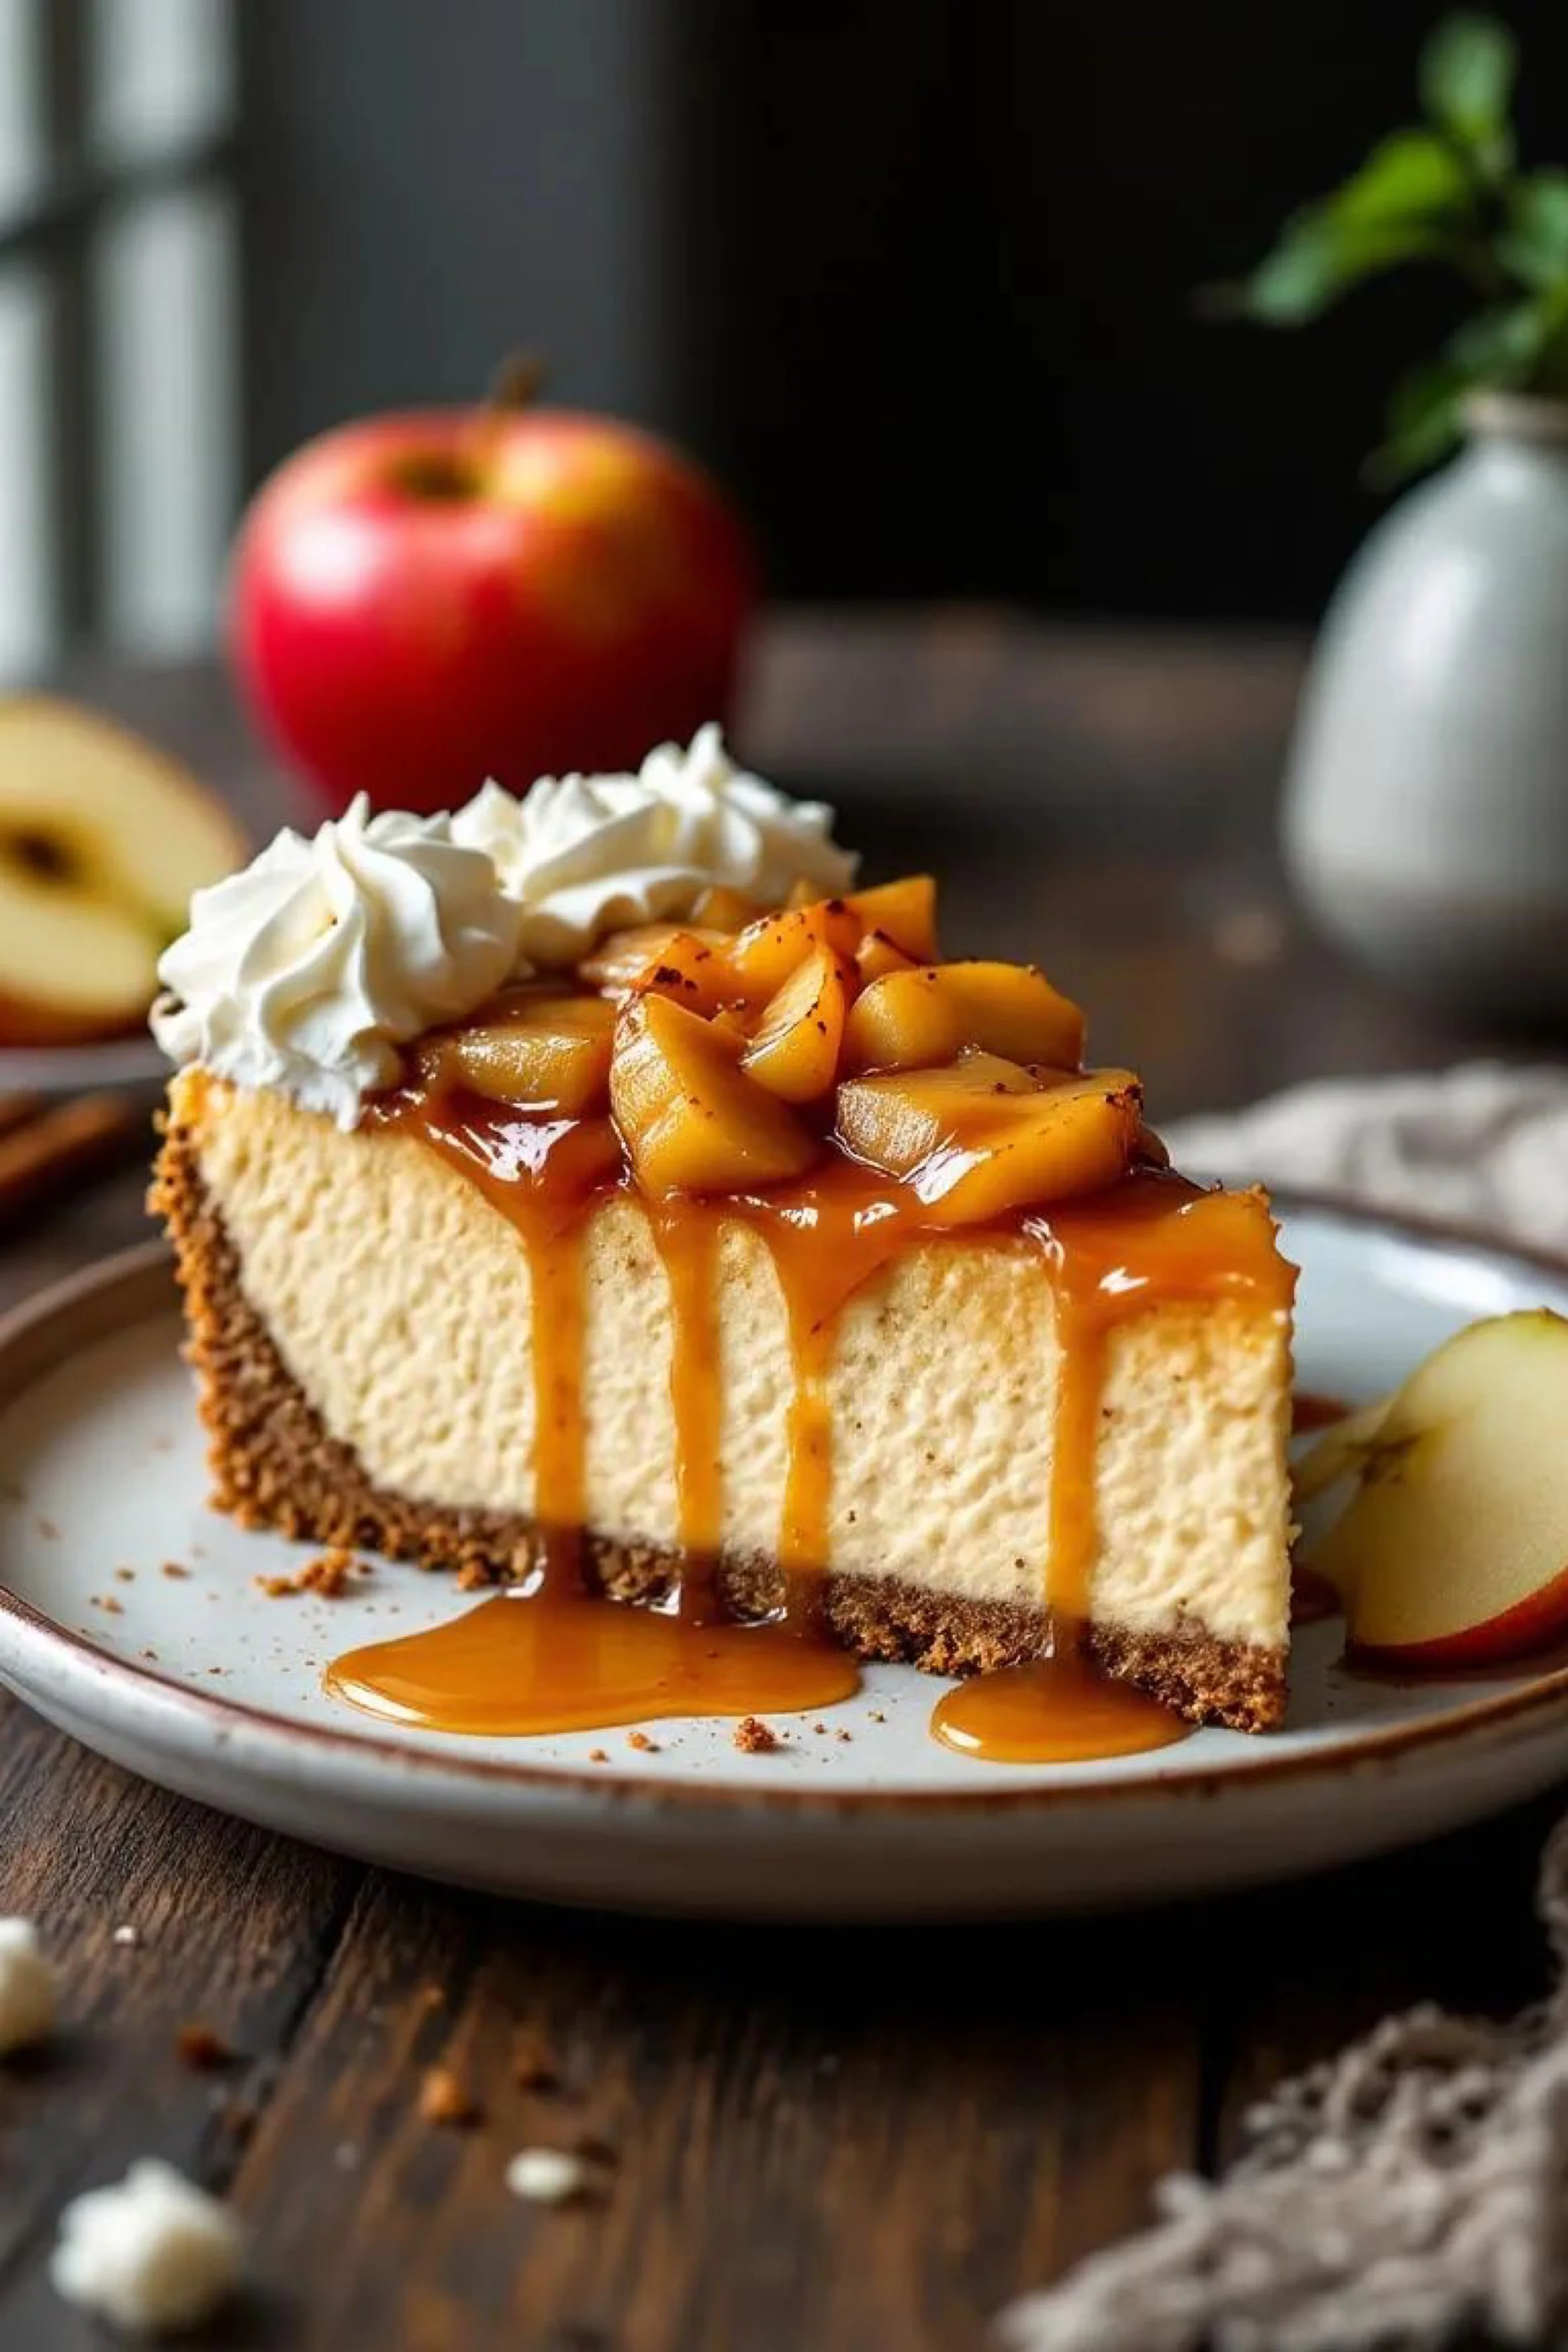
The Caramel Orchard Secret: Salted Caramel Apple Cheesecake

The first thing you notice is the shine—warm, lacquered caramel slipping over the edge of a pale, cloud-smooth cheesecake slice like it can’t help itself. It gathers at the plate in slow amber puddles, glossy enough to catch the light, the kind of sheen that makes you swear you can smell butter and toasted sugar before you even lean in. On top, apple pieces sit like little bronzed jewels—softened into tenderness, still holding their shape, kissed with spice and a faint freckle of something dark and aromatic. A swoop of whipped cream crowns the moment, bright and billowy, the way winter desserts always want to pretend they’re effortless.
The scene feels quiet but indulgent—wood table, scattered crumbs, the suggestion of a kitchen just out of frame where a pot once bubbled and a spoon scraped the bottom of caramel at exactly the right second. In the background, an apple waits like a prop from a still life, red-skinned and confident, and a sliced wedge rests nearby, as if to say this sweetness came from somewhere real. It’s not just dessert; it’s a mood. The kind that makes you slow down, sit longer, let the fork hover for a second because you want the first bite to be exactly right.
Cheesecake has always carried that particular kind of drama—simple ingredients, high payoff, zero tolerance for rushing. It’s the dessert that rewards patience: the long, gentle bake; the cooling that feels like a ritual; the overnight rest that turns good into unforgettable. This one leans into an orchard-and-caramel kind of comfort, where tangy cream cheese meets spiced apple warmth and the caramel plays translator between them, turning the whole thing into one seamless, late-afternoon sweetness.
There’s a reason a reliable pan matters here. A sturdy springform pan that releases cleanly is the difference between a flawless slice and a tense moment with a knife and a prayer. And because cheesecake loves gentle, even heat, a deep roasting pan for a water bath becomes less of a “nice to have” and more of a quiet insurance policy. You’re building a dessert that’s supposed to look as calm as it tastes.
In the mixing bowl, the transformation is immediate. Cream cheese goes from dense to silk, sugar dissolves into it like it was always meant to be there, and vanilla rounds the edges until everything smells soft and expensive. If you’ve ever wanted that bakery-style texture—the kind that slices like velvet and holds a clean edge—this is where it starts: mixing thoroughly, but not violently, with a stand mixer that keeps things smooth without strain or a hand mixer with enough power for cream cheese. The goal isn’t air; it’s harmony.
Then comes the crust: buttery crumbs pressed into a tight, toasty base that anchors everything. Graham crackers are classic, but they’re not the only option—gingersnaps and speculoos bring a little extra intrigue. A simple food processor for quick, even crumbs makes it effortless, but a rolling pin and a bag work too if you want it more hands-on. Either way, the kitchen starts to smell like browned butter and baked sugar long before the cheesecake even goes in.
The apples are where the whole thing turns cinematic. They don’t need to be complicated—just peeled, chopped, warmed in butter, and coaxed into softness with cinnamon and a pinch of salt. A squeeze of lemon keeps them bright. The scent is immediate and impossible to ignore: spice rising with steam, fruit turning buttery at the edges. If you want neat pieces that cook evenly, an apple peeler-corer-slicer tool makes quick work of it, but a sharp knife and steady pace are just as satisfying.
And caramel—caramel is its own kind of seduction. You can make it from scratch, watching sugar melt into amber and bloom into something nutty and deep. Or you can use a high-quality jarred version and focus your energy on the bake. Either way, you’ll want a heavy-bottom saucepan that heats evenly because caramel loves to punish thin pots. A small splash of cream turns it lush; a pinch of flaky salt turns it unforgettable.
When everything comes together, it’s not loud. It’s confident. The cheesecake sets into a pale, creamy wedge, the apples crown it with soft warmth, and the caramel drips the way it should—slow, glossy, deliberate. The whipped cream isn’t just decoration; it’s contrast, a cold, airy counterpoint to the richness underneath. One forkful gives you everything: tang, butter, fruit, spice, and that caramel note that lingers like the last seconds of a good song.
This is the kind of dessert that feels like it belongs at the center of the table, even if it’s just you and a quiet kitchen. The kind that makes a random night feel planned. The kind you slice carefully, not because you have to, but because you want the moment to look as good as it tastes.
Recipe
Salted caramel, tender spiced apples, and a creamy baked cheesecake come together in a slice that feels equal parts cozy and polished—perfect for holidays, dinner parties, or a slow weekend bake.
Ingredients
Crust
- 1 1/2 cups graham cracker crumbs (about 10–12 sheets)
- 1/4 cup granulated sugar
- 1/2 tsp ground cinnamon (optional)
- 6 tbsp unsalted butter, melted
- Pinch of salt
Cheesecake Filling
- 32 oz cream cheese, room temperature
- 1 cup granulated sugar
- 1/4 cup sour cream, room temperature
- 1/4 cup heavy cream, room temperature
- 1 tbsp vanilla extract
- 3 large eggs, room temperature
- 1 tbsp all-purpose flour (optional, for extra stability)
- 1/4 tsp fine salt
Spiced Apple Topping
- 3 medium apples (Honeycrisp or Granny Smith), peeled and diced
- 2 tbsp unsalted butter
- 2 tbsp brown sugar
- 1 tsp ground cinnamon
- 1/8 tsp nutmeg (optional)
- 1 tsp lemon juice
- Pinch of salt
Caramel + Finish
- 1/2 to 3/4 cup caramel sauce (homemade or store-bought)
- Flaky salt (optional)
- Whipped cream (homemade or store-bought)
Method / Instructions
- Prep: Heat oven to 325°F. Wrap the outside of a 9-inch springform pan tightly with heavy-duty foil.
- Crust: Mix crumbs, sugar, cinnamon, salt, and melted butter. Press firmly into the pan bottom and slightly up the sides. Bake 10 minutes, then cool.
- Filling: Beat cream cheese and sugar until smooth. Mix in sour cream, heavy cream, vanilla, salt, and flour (if using). Add eggs one at a time on low speed just until combined.
- Bake (Water Bath): Pour filling over crust. Place pan in a roasting pan and add hot water halfway up the sides. Bake 60–75 minutes until edges are set and the center still slightly wobbles.
- Cool Slowly: Turn off oven, crack the door, and cool 1 hour. Remove, cool to room temp, then chill at least 6 hours (overnight best).
- Apples: Sauté diced apples in butter with brown sugar, cinnamon, nutmeg, salt, and lemon until tender (6–10 minutes). Cool.
- Finish: Spoon apples over cheesecake, drizzle caramel, add whipped cream, and a pinch of flaky salt if desired.
In-Depth Step-by-Step Guide
1) Set yourself up for a crack-free bake
Cheesecake doesn’t like surprises—especially sudden temperature changes and over-aeration. Start by getting everything to room temperature: cream cheese, eggs, sour cream, and cream. This helps the batter blend smoothly without tiny lumps that require overmixing to fix. A dependable instant-read thermometer is handy if your kitchen runs cold; even “room temp” ingredients should feel neutral, not chilly.
Prep the pan like you mean it. Use a 9-inch springform pan that seals tightly, then wrap the outside in two layers of heavy-duty foil to protect it in the water bath. If you’d rather skip the foil stress, a silicone springform wrap can be a great workaround.
2) Build a crust that stays crisp and clean
Crust is more than a base—it’s a textural counterpoint to all that creaminess. Start with fine crumbs so the crust presses evenly and holds together without crumbling. A food processor for cookie and cracker crumbs makes them uniform in seconds. If you’re crushing by hand, keep going until you don’t see big shards.
Mix crumbs with sugar and melted butter until it resembles damp sand. The key is pressing firmly—use the bottom of a measuring cup to compact it. If you like a little extra snap, bake the crust 10 minutes at 325°F and let it cool. That short pre-bake toasts the crumbs and helps prevent a soggy base once the filling goes in.
Variation: Swap graham crackers for gingersnaps or speculoos for extra spice that plays beautifully with apples.
3) Mix the filling for silk, not fluff
Cream cheese and sugar should be beaten until smooth, but once it’s smooth, you want restraint. Overmixing adds air, and air expands in the oven, then collapses as the cheesecake cools—hello cracks and sinkholes. A stand mixer with a paddle attachment is ideal, but a hand mixer works if you keep it controlled.
Add sour cream, heavy cream, vanilla, and salt. Sour cream adds tang and a softer set; heavy cream adds richness and a creamier mouthfeel. If you want extra insurance for clean slicing, a tablespoon of flour helps stabilize the batter without making it cakey—optional, but helpful if this is your first time.
Now the eggs: add them one at a time on low speed. Mix only until each disappears. If you see the batter getting foamy, you’re mixing too aggressively.
Troubleshooting lumps: Lumpy batter usually means the cream cheese was too cold. Don’t keep beating forever—let the bowl sit 10 minutes, then mix again gently. In a pinch, press batter through a fine mesh strainer.
4) The water bath is your best friend
A water bath (bain-marie) buffers the heat so the cheesecake bakes gently and evenly. Place the foil-wrapped pan into a large roasting pan. Set it on the oven rack, then pour hot water into the roasting pan until it reaches about halfway up the springform sides. Hot water matters because it keeps the oven temperature stable right away instead of cooling the whole setup.
Bake at 325°F until the edges are set and the center still has a slight wobble—think of it like Jell-O that hasn’t fully chilled yet. Depending on your oven, this is usually 60–75 minutes. You’re not aiming for a completely firm center in the oven; it will finish setting as it cools.
Doneness tip: If you want a number, the center often lands around 150–155°F when it’s ready (another place that instant-read thermometer earns its keep). Don’t poke too many times—one quick check is enough.
5) Cool it like a pro (this prevents cracks)
Cracks are usually a cooling problem, not a baking problem. When the cheesecake is done, turn off the oven, crack the door, and let it cool inside for 1 hour. This gentle step-down prevents the dramatic temperature swing that causes the top to contract too quickly.
After an hour, remove it from the water bath, peel away foil, and let it cool to room temperature. Then refrigerate at least 6 hours, preferably overnight. That long chill is where the texture becomes dense, creamy, and sliceable.
If you’re in a hurry: Chill 4 hours minimum, but expect slightly softer slices.
6) Make apples that stay tender, not watery
Apples release liquid as they cook. You want tender pieces with a glossy, thickened coating—not a puddle. Peel and dice your apples evenly so they cook at the same pace. A sharp chef’s knife makes quick work of it, but if you like gadget efficiency, an apple peeler-corer-slicer speeds up prep.
Sauté apples in butter, then add brown sugar, cinnamon, a pinch of salt, and a squeeze of lemon. Cook until just tender, 6–10 minutes. If the pan looks watery, keep cooking a minute or two longer so excess moisture evaporates. Cool completely before topping the cheesecake—warm apples can soften the surface and make the caramel slide off too quickly.
Flavor twists:
- Add a splash of bourbon or apple cider near the end of cooking (let it reduce).
- Use cardamom instead of nutmeg for a brighter, more aromatic spice profile.
7) Caramel that drips beautifully (without turning runny)
You can drizzle caramel straight from the jar, but for that thick, slow pour, warm it gently—just enough to loosen, not thin. A few seconds in the microwave or a low simmer in a small heavy-bottom saucepan does the trick. If it gets too thin, let it cool a minute; it will thicken as it drops in temperature.
If you’re making caramel from scratch, keep your tools ready: a heat-resistant silicone spatula and a steady pour of warm cream make the process smoother and safer. Finish with a pinch of flaky salt to sharpen the sweetness.
8) Assemble for maximum “wow” and clean slices
For the prettiest topping, spoon the cooled apples onto the center first, leaving a small border of cheesecake visible. Then drizzle caramel over apples and let it cascade naturally down the sides. Add whipped cream right before serving so it stays lofty.
To slice cleanly, use a large knife warmed under hot water, then wiped dry between cuts. A long slicing knife helps if you want bakery-level edges.
9) Common problems (and quick fixes)
- Cracked top: Usually from cooling too fast or overmixing. Cover with apples and whipped cream—no one will complain.
- Gummy texture: Often from underbaking or chilling too briefly. Give it more time in the fridge.
- Water seepage: Improve foil wrapping next time, or use a silicone water-bath wrap.
- Soggy crust: Pre-bake the crust and press it more firmly; consider adding a thin layer of melted chocolate to seal it.
10) Make-ahead and storage
This cheesecake is at its best 12–24 hours after baking. Store covered in the fridge up to 5 days. Keep apples separate if you want the top pristine—add them closer to serving for the cleanest presentation. For longer storage, freeze slices (wrapped well) and thaw overnight in the fridge; drizzle caramel and add whipped cream after thawing for the freshest finish.