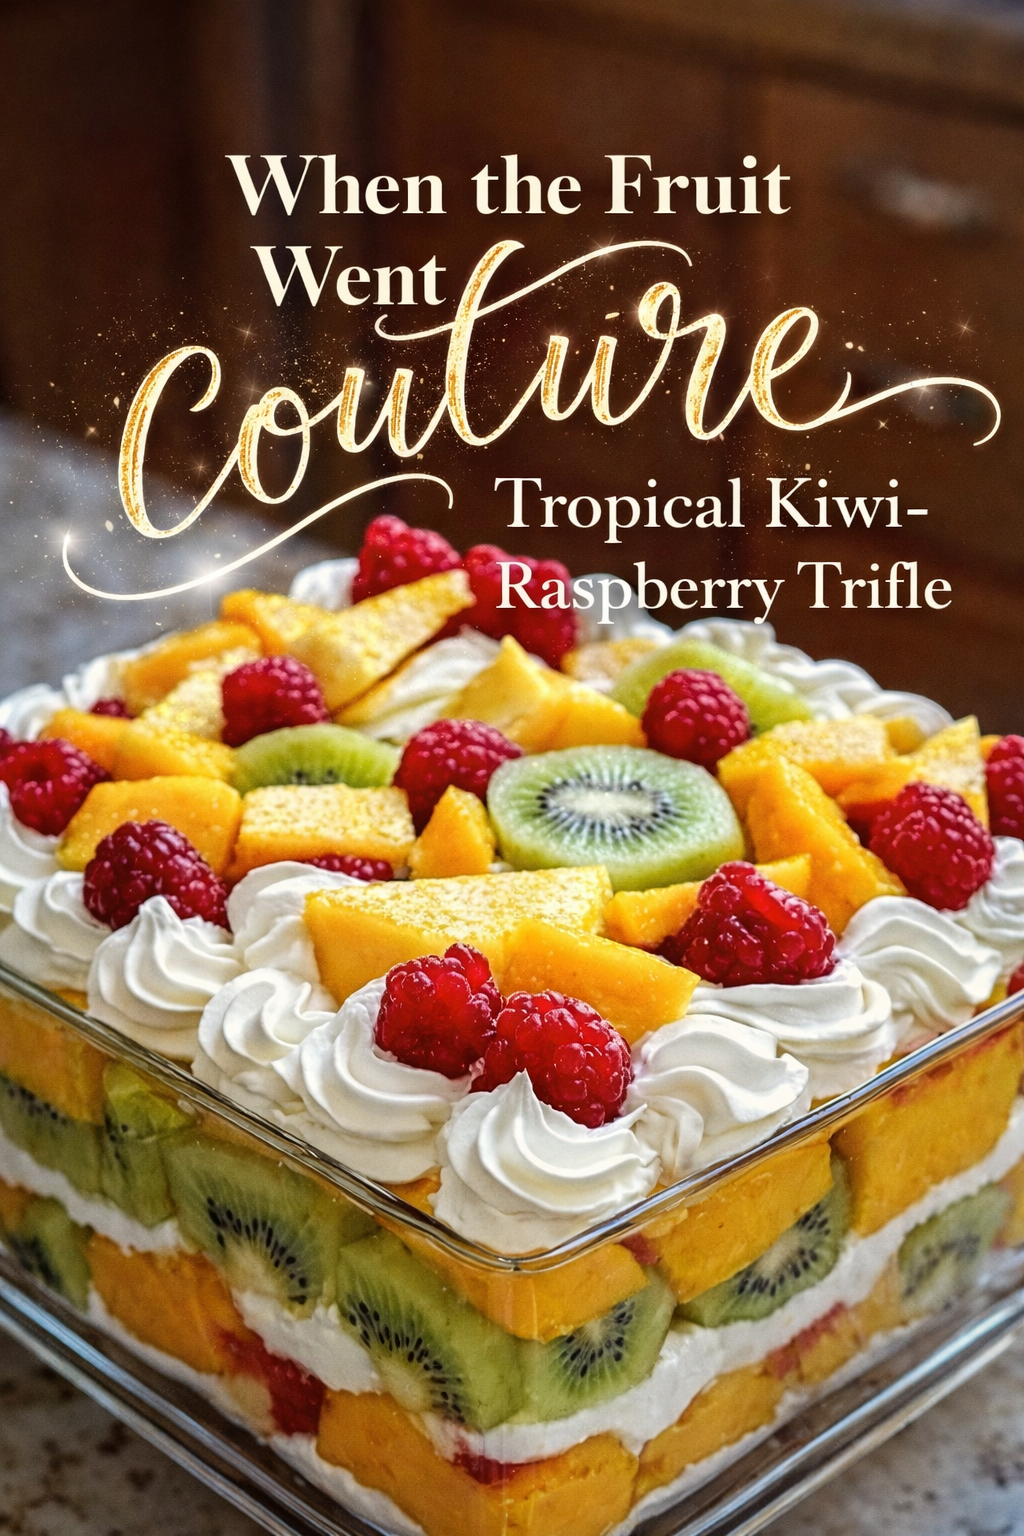
When the Fruit Went Couture: Tropical Kiwi-Raspberry Trifle

The first thing you notice is the geometry—how the glass dish turns dessert into architecture. Clean corners. Crystal clarity. A soft, gleaming stack of color and cloud. It sits on the counter like a centerpiece that just happens to be edible, the kind of showstopper that makes an ordinary kitchen feel like it’s hosting something important.
The layers read like sunlight in slow motion: gold and coral fruit pressed gently against the glass, green kiwi coins scattered like stained-glass windows, ribbons of white cream piped in swirls that look too perfect to be real until you remember someone actually took the time. On top, raspberries land like tiny velvet jewels—bright, tart, unapologetic—nestled into whipped rosettes that hold their shape with the confidence of a bakery display case. A single kiwi slice rests near the center like a signature, the little dark seeds radiating out in a hypnotic ring.
It feels like the dessert version of a fresh bouquet—lush, fragrant, and slightly dramatic. There’s a kind of quiet luxury in the simplicity: fruit at peak ripeness, cream with real body, and a dish that shows everything off without hiding a single detail. You can almost hear the spoon against the glass, that soft clink that signals the good part is about to begin.
This is the dessert people hover around. The one that gets photographed before it gets served. The one someone “just tastes” and then returns with a bigger spoon. It’s cool and weightless on the palate, but it still carries a sense of richness—like the sweetness has been edited down to only the best notes. Mango or peaches bring honeyed warmth, kiwi slices add bright snap, raspberries cut through like a little wink of acid, and the cream ties it all together with a soft, vanilla hush.
There’s also something nostalgic about it, the way layered desserts have always belonged to gatherings—birthday tables, potlucks, summer Sundays, the effortless chaos of family coming through the door. But this version has polish. It’s not a bowl with everything stirred together; it’s composed, intentional, styled. The kind of dessert that looks like it should arrive with a linen napkin and a compliment.
The trick is that it’s not fussy. It’s assembled, not baked. It’s about choosing fruit that tastes like itself and letting the structure do the talking. A sharp knife, a chilled bowl, a good whisk—suddenly you’re building something that feels far more glamorous than the minutes it takes. And if you want the cleanest slices and the most satisfying layers, it helps to start with the right setup: a clear glass trifle dish that shows off every stripe, a sturdy chef’s knife for tidy fruit cuts, and a set of nested mixing bowls for whipping and folding.
The cream is the heartbeat here. You can go classic—whipped cream with vanilla and a little powdered sugar—or you can give it body with a mascarpone fold, the way a parfait turns into something that feels restaurant-level without changing the vibe. Either way, a cold bowl makes the difference, and so does the tool: a handheld electric mixer that turns cream into peaks in minutes is the small luxury that keeps the process effortless.
Then comes the styling moment: the piped swirls. They’re not required, but they’re the difference between “delicious” and “I need the recipe right now.” A bag and a star tip transform the top into a crown—those creamy ridges that catch light and hold berries like a jewelry setting. If you want that finish, a piping bag and star tip set makes it easy to get rosettes without a pastry degree.
This trifle has a way of changing the room. It cools the air around it. It draws people in. It signals that the day is about to soften into something sweeter—maybe a late lunch that runs long, maybe music drifting through the house, maybe just the simple pleasure of slicing fruit and watching the colors stack up into something beautiful. It’s a dessert that doesn’t ask for a reason, but it becomes one anyway.
And when the spoon finally dives in, you get the full payoff: fruit and cream in the same bite, brightness and softness, chilled sweetness with a fresh edge. It tastes like summer dressed up for the evening—easy, radiant, and just dramatic enough to feel unforgettable.
A bright, no-bake layered dessert with fresh fruit and vanilla cream—built in a glass dish for maximum wow-factor and easy serving.
Ingredients
- 2–3 ripe mangoes or 4–5 peaches/nectarines, peeled if desired, sliced or cubed
- 6–8 kiwis, peeled and sliced
- 1–2 cups fresh raspberries
- 2 cups cold heavy whipping cream
- 1/3 cup powdered sugar (adjust to taste)
- 2 tsp vanilla extract
- Pinch of fine salt
- Optional (for a more stable, richer cream): 8 oz mascarpone, softened
- Optional base layer: 3 cups cubed pound cake or angel food cake
- Optional brightness: zest of 1 lemon or 1–2 tbsp lemon juice
Instructions
- Prep the fruit: Slice kiwi and cut mango/peaches into neat pieces. Pat juicy fruit lightly dry so the layers stay clean.
- Whip the cream: Beat cold heavy cream with powdered sugar, vanilla, and a pinch of salt to medium-stiff peaks.
- Optional: Beat mascarpone briefly until smooth, then fold into whipped cream for a thicker filling.
- Assemble layers: In a clear dish, add an optional cake layer, then a layer of cream, then mango/peaches, then kiwi, then raspberries. Repeat until the dish is full, finishing with cream on top.
- Decorate: Pipe or swirl the final cream layer and top with raspberries and a kiwi slice.
- Chill: Refrigerate 2–6 hours (or overnight) for the cleanest scoop and best flavor.
Step-by-Step Master Guide
1) Start with the cold, the clean, and the clear
A trifle lives or dies by definition—those crisp stripes that look so striking through the glass. Begin by choosing a dish that shows your work: a square or rectangular glass baking dish with sharp sides gives you corners that make every layer look intentional. Chill the dish if your kitchen runs warm; colder surfaces slow down melting and slipping.
Cold tools matter even more for the cream. Pop your bowl and beaters in the freezer for 10 minutes. If you want the least drama and the most control, keep a large stainless mixing bowl on hand—metal holds chill beautifully.
2) Choose fruit that holds its shape
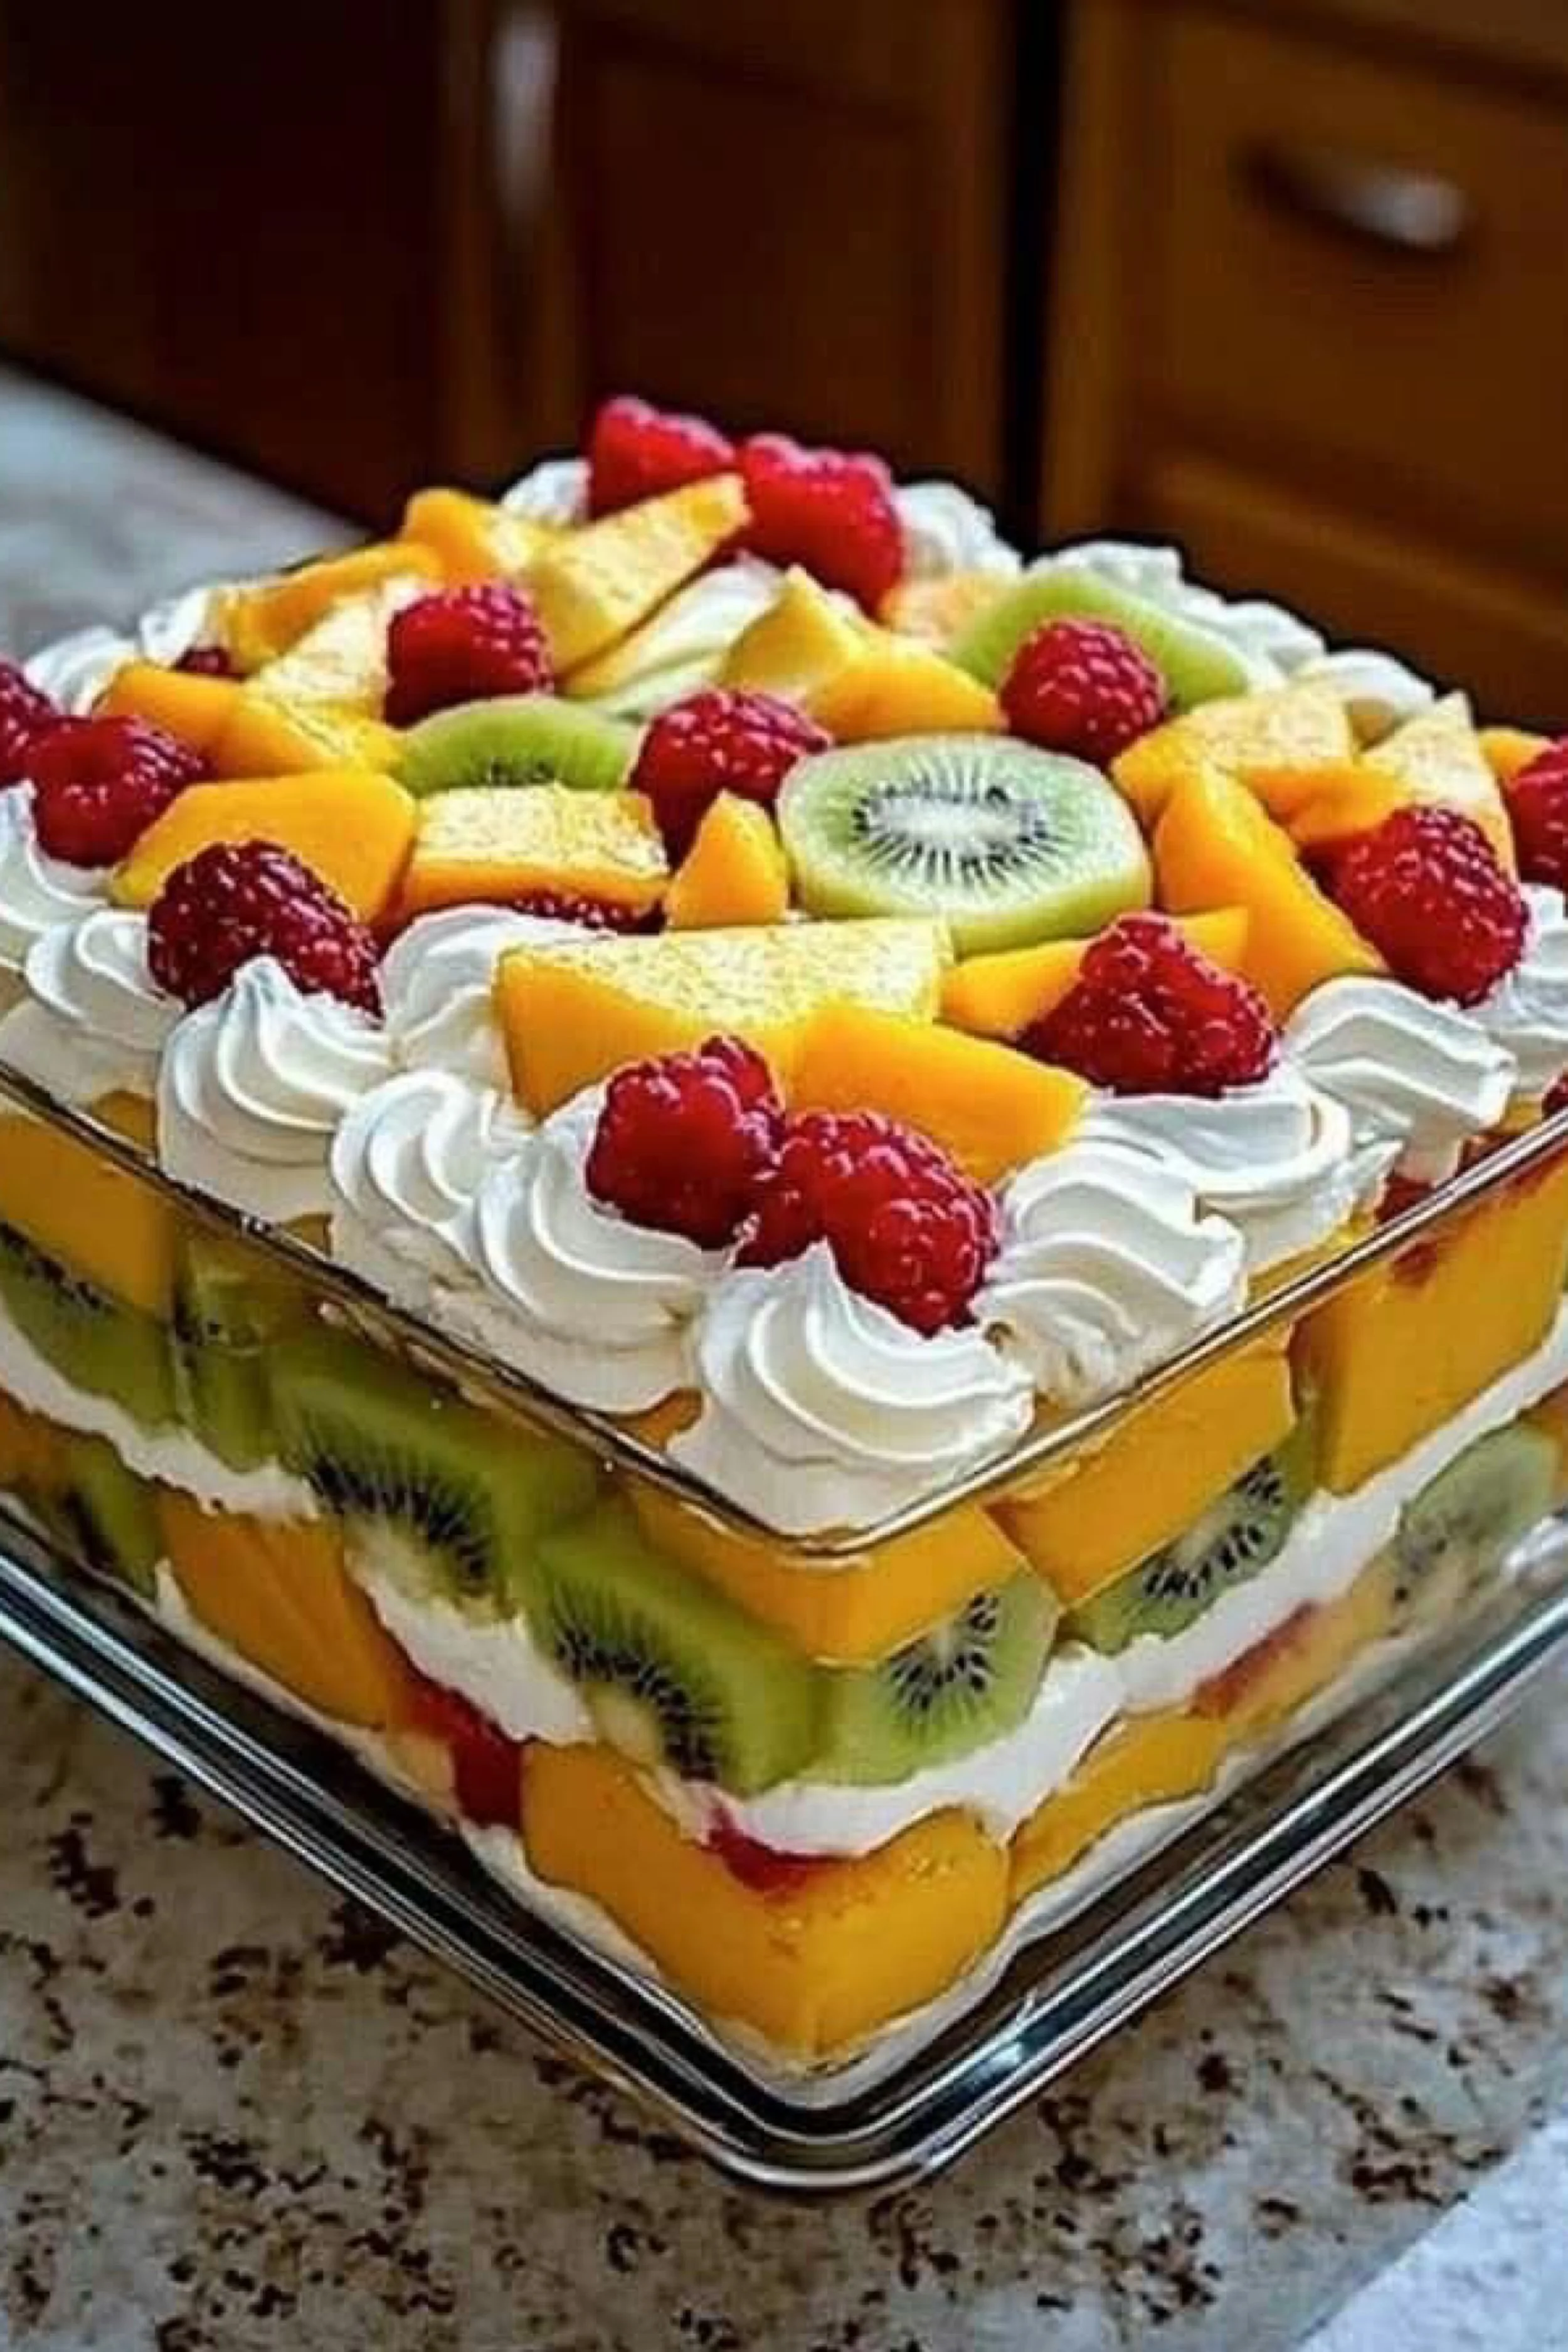
The image is a lesson in structure: mango/peach pieces are cut large enough to look plush and glossy, kiwi slices are even, raspberries are left whole so they don’t bleed too quickly. Go for fruit that’s ripe but not collapsing. If your mango or peaches are very juicy, give them a quick rest on paper towels. It’s a small move that keeps the cream layers from turning watery.
For the cleanest look, use a sharp blade. A dull knife crushes kiwi and bruises peaches. A quick upgrade here changes everything: a razor-sharp chef’s knife lets you make those tidy cubes and perfect rounds that read as “bakery-level” before you even whip cream.
3) Build a cream that can carry the weight
Whipped cream is gorgeous, but it’s also fragile if it’s under-whipped or warm. Aim for medium-stiff peaks: when you lift the beater, the peak stands tall but the tip curls slightly. Too soft and the layers slump. Too stiff and it turns grainy.
Sweeten with powdered sugar, not granulated—powdered dissolves fast and adds a touch of stability. Vanilla is non-negotiable; it’s the scent that makes the whole dessert feel finished. If you want extra structure (especially if it’s going to sit out at a gathering), fold in mascarpone. It thickens the cream without making it heavy, and it helps the piped rosettes hold their shape.
The easiest path to perfect peaks is the right tool: an electric hand mixer with multiple speeds gives you control so you can stop at exactly the right moment instead of overshooting.
4) Decide on the “foundation” vibe
This kind of trifle can be pure fruit-and-cream (fresh, light, elegant) or it can include cake (more decadent, more filling, more classic). If you add cake, cube it evenly so it stacks cleanly and so every scoop gets a little sponge. Pound cake gives buttery richness; angel food makes it airy. Either way, keep pieces bite-size.
If cake is in the plan, press it gently into a single layer—don’t mash. Then add a thin smear of cream to “seal” it before fruit goes in. That barrier helps prevent sogginess and keeps the stripes crisp.
5) Layer like you’re styling a window display
For the most striking look, place fruit against the glass first. This is where the dessert turns into décor. Press kiwi slices along the sides so the green ring faces outward. Tuck mango/peach chunks next to them like tiles. Then add cream behind and over the fruit to lock it in place.
To keep layers even, use an offset spatula or the back of a spoon to level the cream. If you want a tool that makes everything smoother and faster, a small offset spatula is one of those quiet kitchen upgrades that pays off immediately.
Repeat: cream, mango/peach, kiwi, raspberries. Raspberries tend to stain, so if you want ultra-clean white layers, keep them mostly on top or nestle them where they won’t get crushed. If you love the ruby streaks, let them mingle—just know the color will bloom as it chills.
6) Top like a pastry case, even if it’s a Tuesday
The piped rosettes in the image give the whole dessert that couture finish. To do it, transfer some of the cream into a bag fitted with a star tip. Pipe around the edges first to create a frame, then add a few swirls across the center. This not only looks stunning, it also creates little “nests” that hold berries in place.
If you don’t have piping gear, you can still get a polished top: mound the cream, then sweep it into gentle waves with a spoon. But if you want the exact rosette look, a reusable piping bag set with star tips makes it simple and repeatable.
7) Chill for elegance, not just temperature
Chilling isn’t only about serving cold; it’s about letting the layers settle into each other without losing definition. Two hours is good. Overnight is excellent. The cream firms, the fruit relaxes slightly, and scoops come out clean instead of sliding.
If you’re serving at a party, keep it cold as long as possible. Set it out shortly before serving, and return it to the fridge between rounds if the room is warm. For outdoor gatherings, nest the dish in a larger tray filled with ice.
8) Variations that stay beautiful
- Citrus-bright: Add lemon zest or a splash of lemon juice to the cream for a fresher finish.
- Tropical-glam: Use mango + kiwi + pineapple, and add toasted coconut between layers.
- Berry-forward: Swap mango/peach for strawberries and blueberries, keeping kiwi as the green accent.
- Extra-luxe: Add a thin layer of fruit preserves under the cream for a jeweled “ribbon” effect—spread lightly so it doesn’t bleed.
9) Troubleshooting like a pro
- Cream won’t whip: It’s almost always warmth. Chill the bowl/beaters and make sure the cream is very cold.
- Layers look messy: Fruit was too wet or cut too small. Pat dry and keep pieces slightly larger.
- Watery pooling after chilling: Overripe fruit or un-stabilized cream. Use firmer fruit and consider the mascarpone option.
- Top rosettes slump: Cream was under-whipped or the room is hot. Whip to firmer peaks and chill immediately after piping.
10) Serving for maximum wow
Serve with a big spoon and let the glass do the talking. If you want neat portions, use a long-handled server to reach the bottom layers without wrecking the top. And if you’re chasing that picture-perfect first scoop, slide the spoon down the side so it captures every stripe in one clean, dramatic lift.
This trifle is all about contrast—cool cream against bright fruit, softness against snap, simplicity against spectacle. It looks like a celebration, tastes like sunlight, and disappears like it was never there.