Homemade Glossy Vanilla Snap Royal Icing and Sugar Cookies Recipe
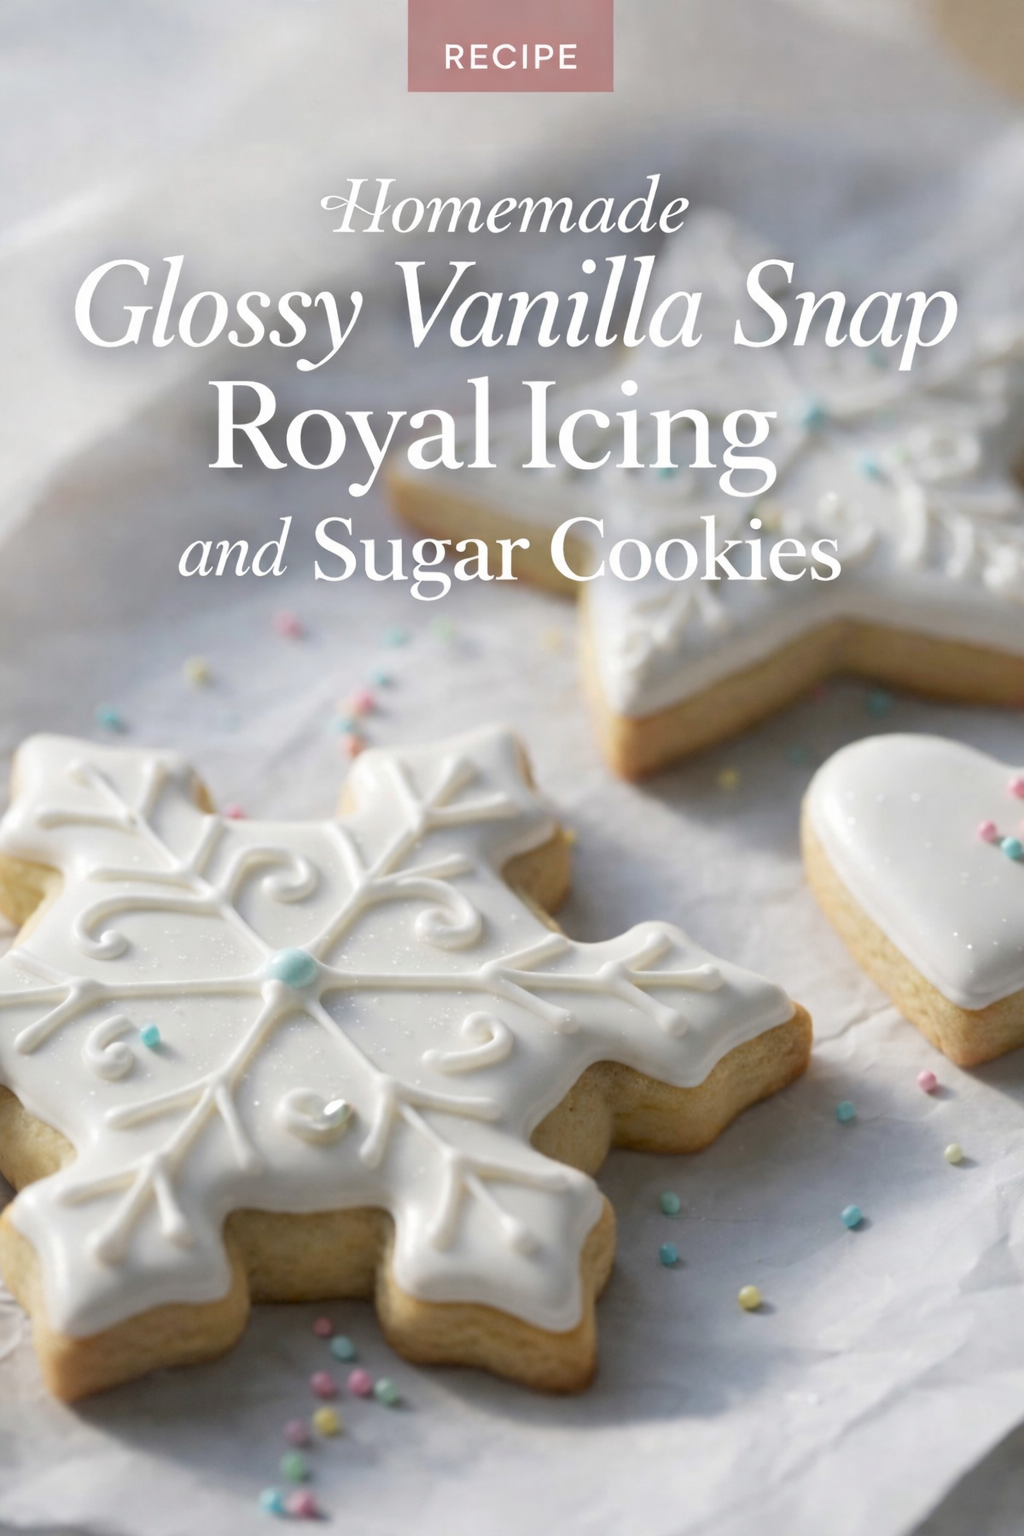
There is a certain kind of quiet that happens when a tray of sugar cookies cools and the kitchen turns into a little studio of light and patience. The kind of quiet that feels expensive, even if all you used was flour, butter, and a bowl. In the image, the cookies sit like tiny ornaments, crisp edged and tender centered, dressed in glossy white icing that catches the sun like porcelain. A snowflake cookie takes the spotlight, its surface traced with raised, scrollwork piping that looks like lace pressed into winter air. Nearby, a star waits in soft focus, and a simple heart cookie shines with a smooth, glassy finish. A few pastel sprinkles are scattered like confetti that forgot to leave, adding the smallest hint of color against all that creamy white.
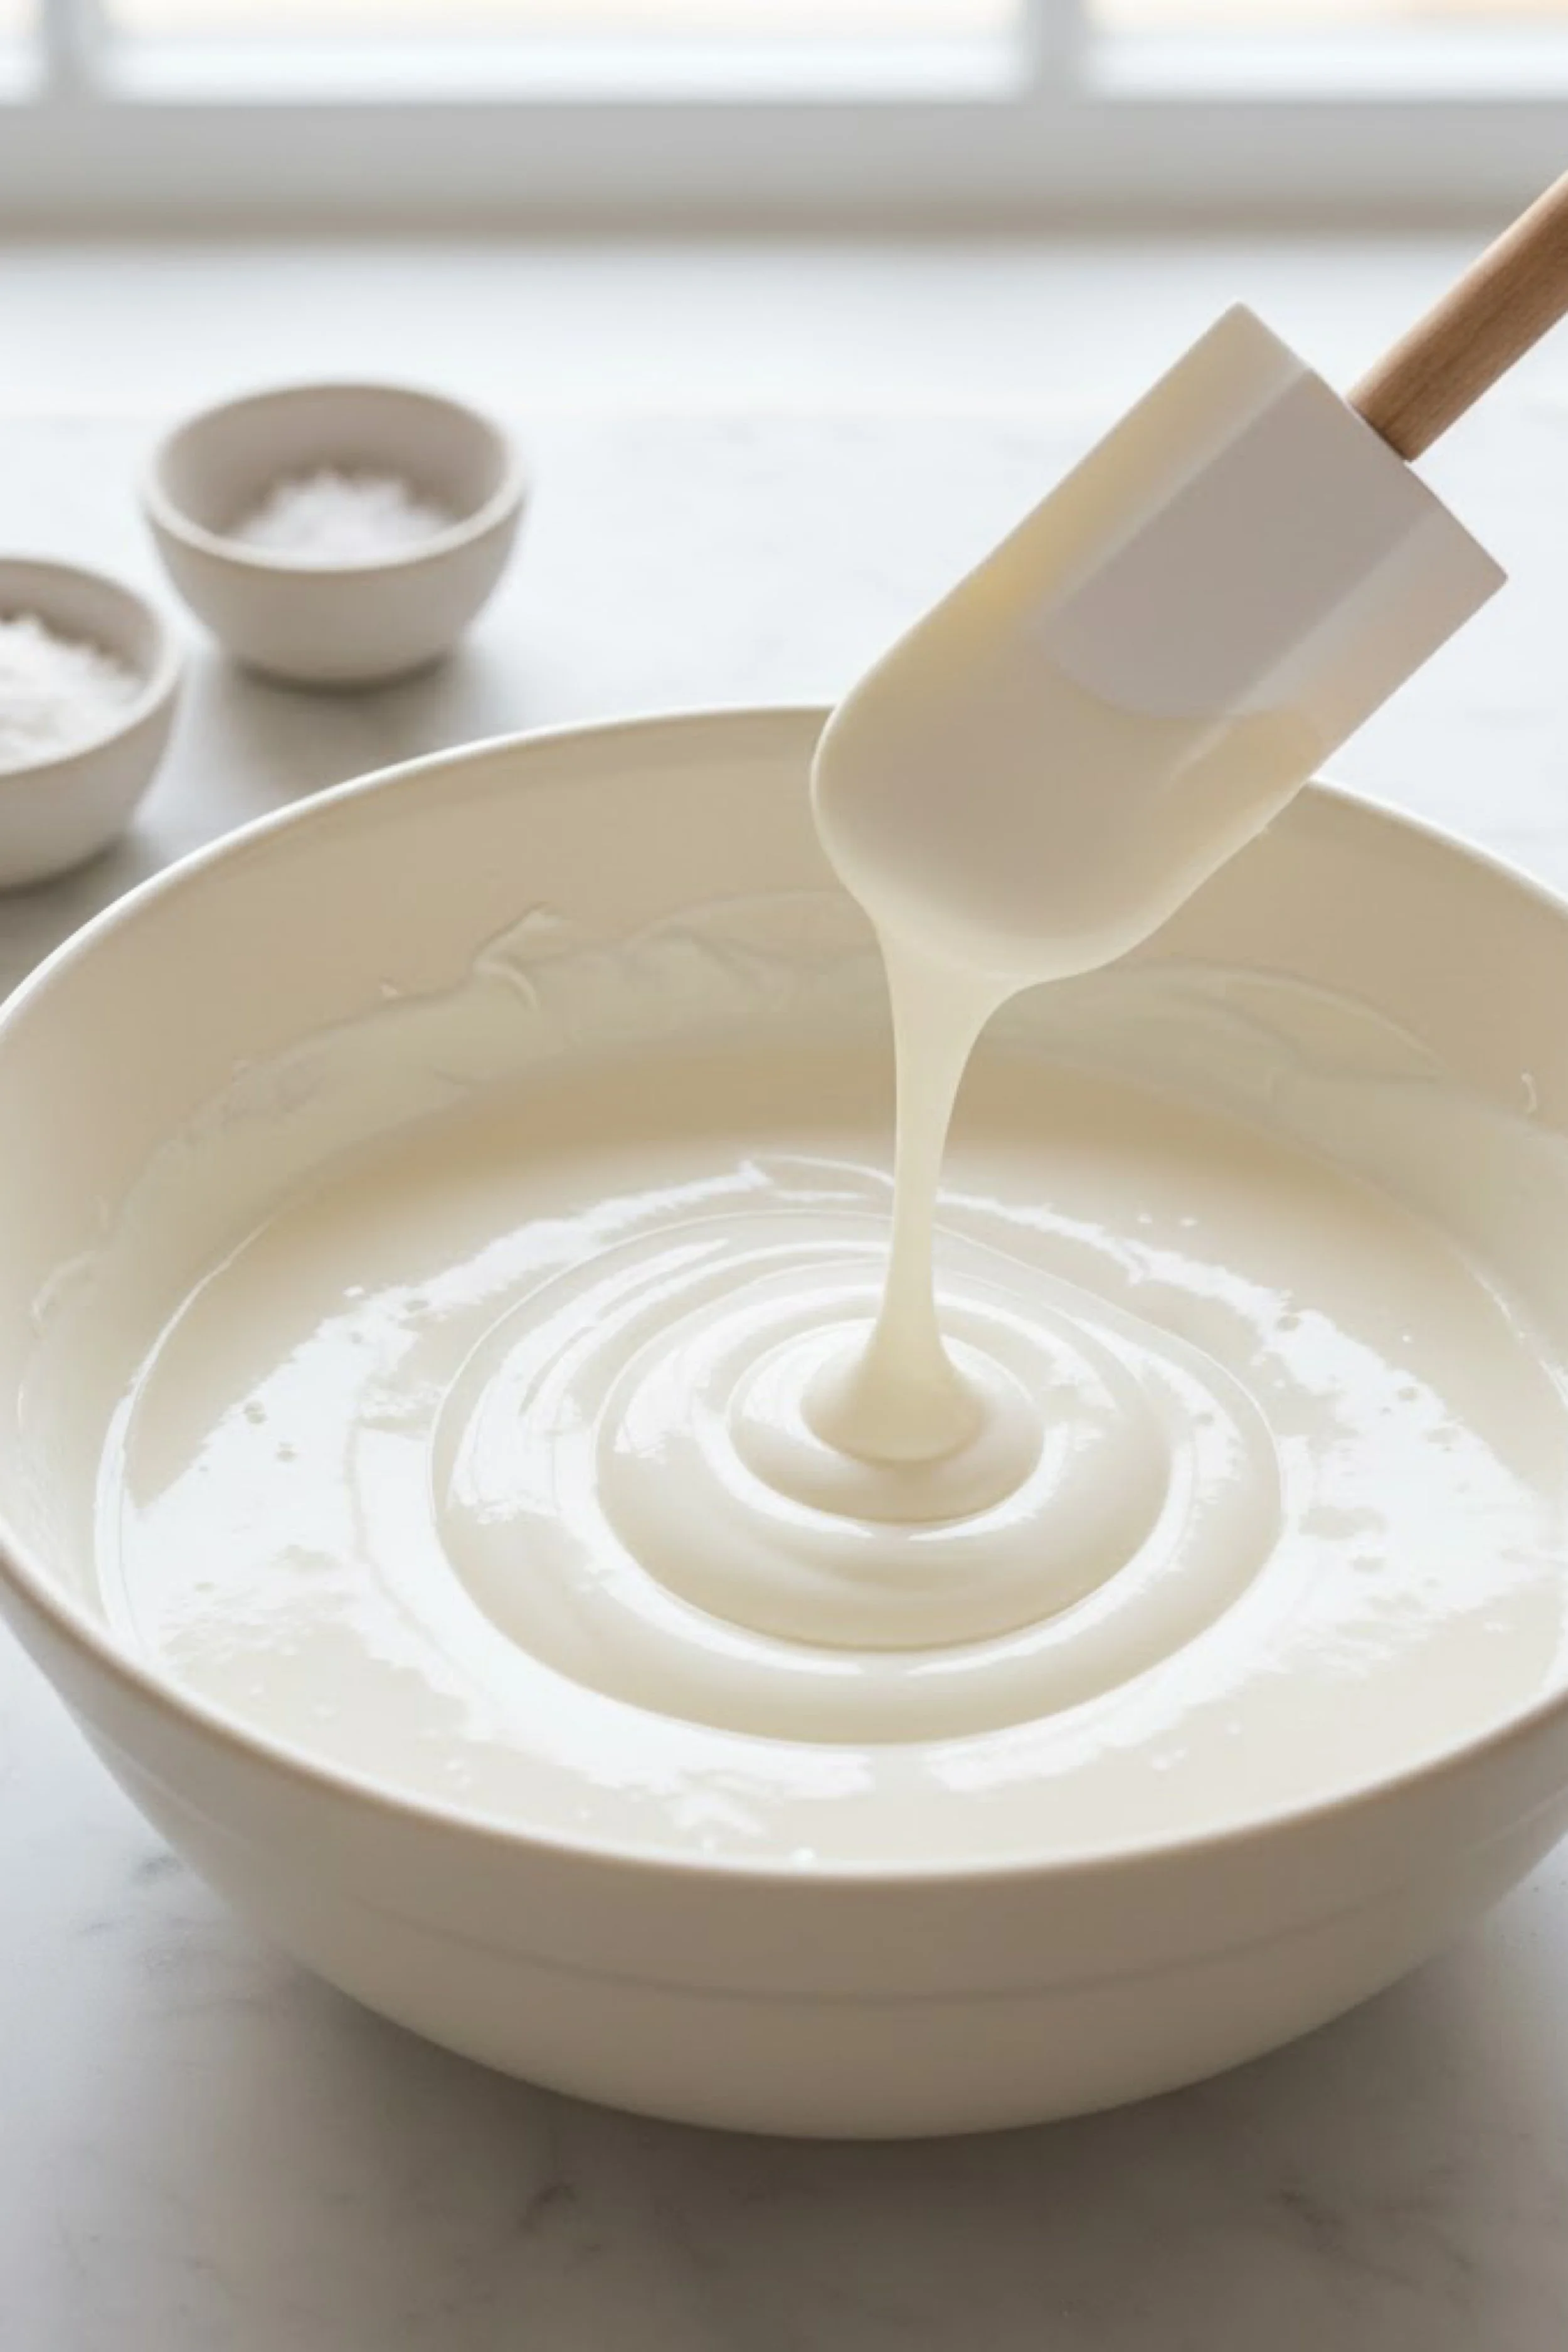
This is the moment that makes sugar cookies feel like more than dessert. It is the pause between mixing and gifting, between a messy countertop and a finished cookie that looks almost too pretty to bite. Royal icing is the reason. When it is mixed right, it turns into a silky, bright ribbon that falls back into the bowl and settles into a glossy pool. When it dries, it sets with that satisfying snap, the kind that makes a clean break and a clean bite. That contrast is everything: a delicate shell over a buttery cookie, sweet and vanilla forward, with a soft whisper of almond if you want it.
The best part is how meditative the process becomes once you lean into it. The bowl of icing, smooth as satin, the spatula lifting and letting it fall, the tiny adjustments that turn it from thick to perfect. It helps to have a few simple tools within reach, like disposable piping bags for clean lines and fast color changes and fine tip piping tips for lace style details. If you want that flawless, mirror gloss finish on the heart cookies, a gentle leveling motion and the right flood consistency does the work, and squeeze bottles made for icing control make it feel effortless.
Sugar cookies are forgiving, but the ones that hold sharp edges and stay flat have a specific personality. They are chilled, rolled evenly, and baked just until the tops look set and the bottoms turn a pale golden tan. A good cutter matters for crisp shapes, especially snowflakes and stars, and sturdy cookie cutters that keep fine points defined are worth having if you love intricate designs. Once baked, the surface is a smooth canvas, ready for that first outline, ready for a flood, ready for the little swirl details that turn a cookie into something you want to photograph before you share.
What makes this specific combination feel so good is the vanilla clarity. Vanilla in the cookie, vanilla in the icing, and a clean sweetness that never turns cloying. A tiny pinch of salt keeps it balanced. A little creaminess from butter keeps it rich. The icing finishes it with a polished look that reads bakery, but it is completely doable at home with a whisk, a bowl, and the willingness to mix for a few extra minutes. If you have ever wanted cookies that dry hard enough to stack and gift, but still taste buttery and soft underneath, this is the exact lane.
Set the scene the way you want it. A bright window, a calm playlist, a baking sheet lined and ready. Keep gel food coloring for soft pastel dots and accents nearby if you want subtle color without thinning the icing too much. Have a simple cooling rack that keeps the bottoms crisp so your shapes stay picture perfect. Then let the whole thing become a slow ritual: mix, chill, bake, outline, flood, detail, dry. At the end, you will have cookies that look like winter jewelry and taste like warm vanilla and butter, with that glossy snap that makes the first bite feel like a tiny celebration.
Homemade Glossy Vanilla Snap Royal Icing and Sugar Cookies
These cookies are designed to hold their shape for decorating and to pair with a bright, glossy royal icing that dries firm for stacking and gifting.
Ingredients
Sugar Cookies
- 1 cup unsalted butter, softened
- 1 cup granulated sugar
- 1 large egg
- 2 teaspoons vanilla extract
- 1 teaspoon almond extract, optional
- 3 cups all purpose flour
- 1 teaspoon baking powder
- 1 half teaspoon fine salt
Royal Icing
- 4 cups confectioners sugar, sifted
- 3 tablespoons meringue powder
- 6 to 8 tablespoons warm water, plus more as needed
- 1 teaspoon vanilla extract
- Pinch of salt
- Gel food coloring, optional
Method
- Make the cookies: Cream butter and sugar until smooth. Beat in egg, vanilla, and almond extract if using. Mix flour, baking powder, and salt, then add to the bowl and mix just until a dough forms.
- Chill: Divide dough, flatten into disks, wrap, and chill 1 to 2 hours.
- Roll and cut: Roll dough to about 1 quarter inch thick on a lightly floured surface. Cut shapes and place on a lined baking sheet. Chill the cut cookies 15 minutes.
- Bake: Bake at 350 F for 9 to 11 minutes until tops look set and bottoms are lightly golden. Cool completely before icing.
- Make royal icing: Whisk confectioners sugar and meringue powder. Add 6 tablespoons water and vanilla, then whip until glossy and thick. Adjust with drops of water to reach piping consistency.
- Decorate: Use thicker icing to outline, then thin a portion with a little water to flood. Add details with thicker icing once the flood sets slightly.
- Dry: Let cookies dry uncovered 8 to 12 hours until fully firm, then store in an airtight container.

Step by Step Guide to Glossy Royal Icing Cookies That Set with a Clean Snap
Start with the cookie base, because the best icing job still needs a flat, sturdy canvas. The goal is a dough that rolls smoothly, cuts cleanly, and bakes without puffing into rounded edges. Creaming butter and sugar should look cohesive and pale, not airy like cake batter. Add the egg and extracts, then stop mixing as soon as it comes together. Over mixing warms the dough and encourages spread. When you add the dry ingredients, mix just until you no longer see flour, then gather the dough and chill it. Chilling is not optional if you want sharp points on snowflakes and stars.
When you roll, aim for even thickness. A simple way to stay consistent is to use rolling pin guides for perfectly even cookie thickness. Roll on a lightly floured surface and lift the dough occasionally so it does not stick and tear. Cut your shapes, then chill the cut cookies on the tray. That short chill sets the butter again, so the cookie holds every edge through the oven heat.
Bake just until set. Sugar cookies can look underdone and still be correct. If you bake until deeply golden, they will be crunchy all the way through. If you pull them when the tops look matte and the edges barely hint at color, they will cool into that perfect bite: crisp edge, tender center. Cool them completely on a rack. Any warmth will melt icing, and even a slightly warm cookie can create condensation that ruins gloss.
Now the royal icing. Sifting the confectioners sugar makes a visible difference, because tiny lumps create tiny bumps in the finish. Use meringue powder for reliable structure and food safety. Begin with less water than you think you need. Mix until the icing becomes glossy and thick, then adjust. Think in two consistencies: outline and flood. Outline icing should hold a line without spreading. Flood icing should settle into a smooth pool within a few seconds, but not run like soup.
A simple test is the ribbon test. Lift the spatula and let icing fall back into the bowl. For outline, the ribbon should sit on the surface and soften slowly. For flood, the ribbon should disappear into the surface in about 10 to 15 seconds. If you want precision without constantly switching bags, set yourself up with a set of small mixing bowls for dividing icing and squeeze bottles for flood icing control. Keep your outline icing in a piping bag fitted with a small round tip, and keep flood in a bottle or a second bag with a larger opening.
Outline first. Trace the cookie edge slowly, letting the icing lead the motion. If you wobble, it is fine. Royal icing forgives small imperfections once you flood. After outlining, flood right away or wait a minute, either works, but do not wait so long that the outline crusts over and leaves a ridge line. Flood by piping a spiral or a few lines inside the outline, then use a gentle shake or a toothpick to help it level. A toothpick is great, but if you do a lot of cookies, decorating scribe tools for icing detail work make the whole process cleaner and faster.
To get that glossy finish, avoid overworking the surface. Once flooded, help it settle, pop any bubbles quickly, then leave it alone. The gloss comes from a smooth surface and the right water balance. Too thick and it dries textured. Too thin and it sinks at the edges or bleeds into details. If you see dimpling, your icing is too thick or drying too fast, and you can slightly thin your flood next batch or increase humidity a touch. If it is spreading beyond the outline, it is too thin or your outline is not tall enough.
For raised lace style details like the snowflake swirls, let the flood set for 20 to 40 minutes first, depending on humidity. You want the surface to be firm enough that piping sits on top. Then pipe details with thicker icing. This is where small tips shine, and fine round piping tips for detailed lines help you get clean curves without needing to squeeze hard. Keep steady pressure, lift at the end of each line, and let the icing land softly.
If you want pastel dots like the image, use gel coloring. Gel adds color without watering down the icing. Mix a tiny amount into a small portion, then pipe dots, or add sprinkles while the flood is still wet so they adhere. For a subtle sparkle, a light dusting after the surface dries can look beautiful, and edible shimmer dust for cookies gives that soft, candlelit sheen.
Drying is the final step that makes the snap. Leave cookies uncovered at room temperature, ideally in a low traffic area so dust does not settle. Most cookies need 8 to 12 hours for a full hard set, longer if the flood is thick or humidity is high. Do not stack until the icing is completely firm. When ready, store in an airtight container with parchment between layers. The icing will stay glossy and the cookies will stay tender inside for several days.
Troubleshooting is simple once you know what you are seeing. Craters usually mean bubbles or icing too thick. Bleeding colors mean icing too wet or added liquid color instead of gel. Grainy icing means sugar not sifted or not mixed long enough. If your icing is too sweet, add a tiny pinch of salt and use clear vanilla for a clean flavor. If you want less sweetness overall, make the cookies slightly less sweet and let the icing be the glossy finish.
With a calm pace and the right consistencies, you will get that exact look: smooth heart cookies that shine, snowflakes with raised white piping, and a clean snap when the icing breaks under your bite. The magic is not complicated. It is just butter, vanilla, and a bowl of icing that behaves when you give it time.
Share and Serve Notes
Serve these cookies as a centerpiece on a white platter so the glossy icing reads bright and luxe. For gifting, let them dry fully, then stack with parchment and pack snugly so details do not rub. If you are shipping, choose flatter designs or keep heavy raised piping to a minimum and cushion with extra parchment.
For make ahead planning, bake cookies up to 3 days in advance and store airtight before icing. Royal icing keeps well for a few days in the fridge if sealed, then remix gently and adjust with a few drops of water to restore the right flow.
If you want a clean, editorial finish every time, keep a simple decorating kit together with piping bags and couplers for quick tip swaps, silicone baking mats for consistent baking, and airtight cookie containers for stacking and storage. The more organized your setup, the more relaxing the decorating becomes.