Smoke-Kissed Deviled Eggs Recipe for Golden Hour Hosting

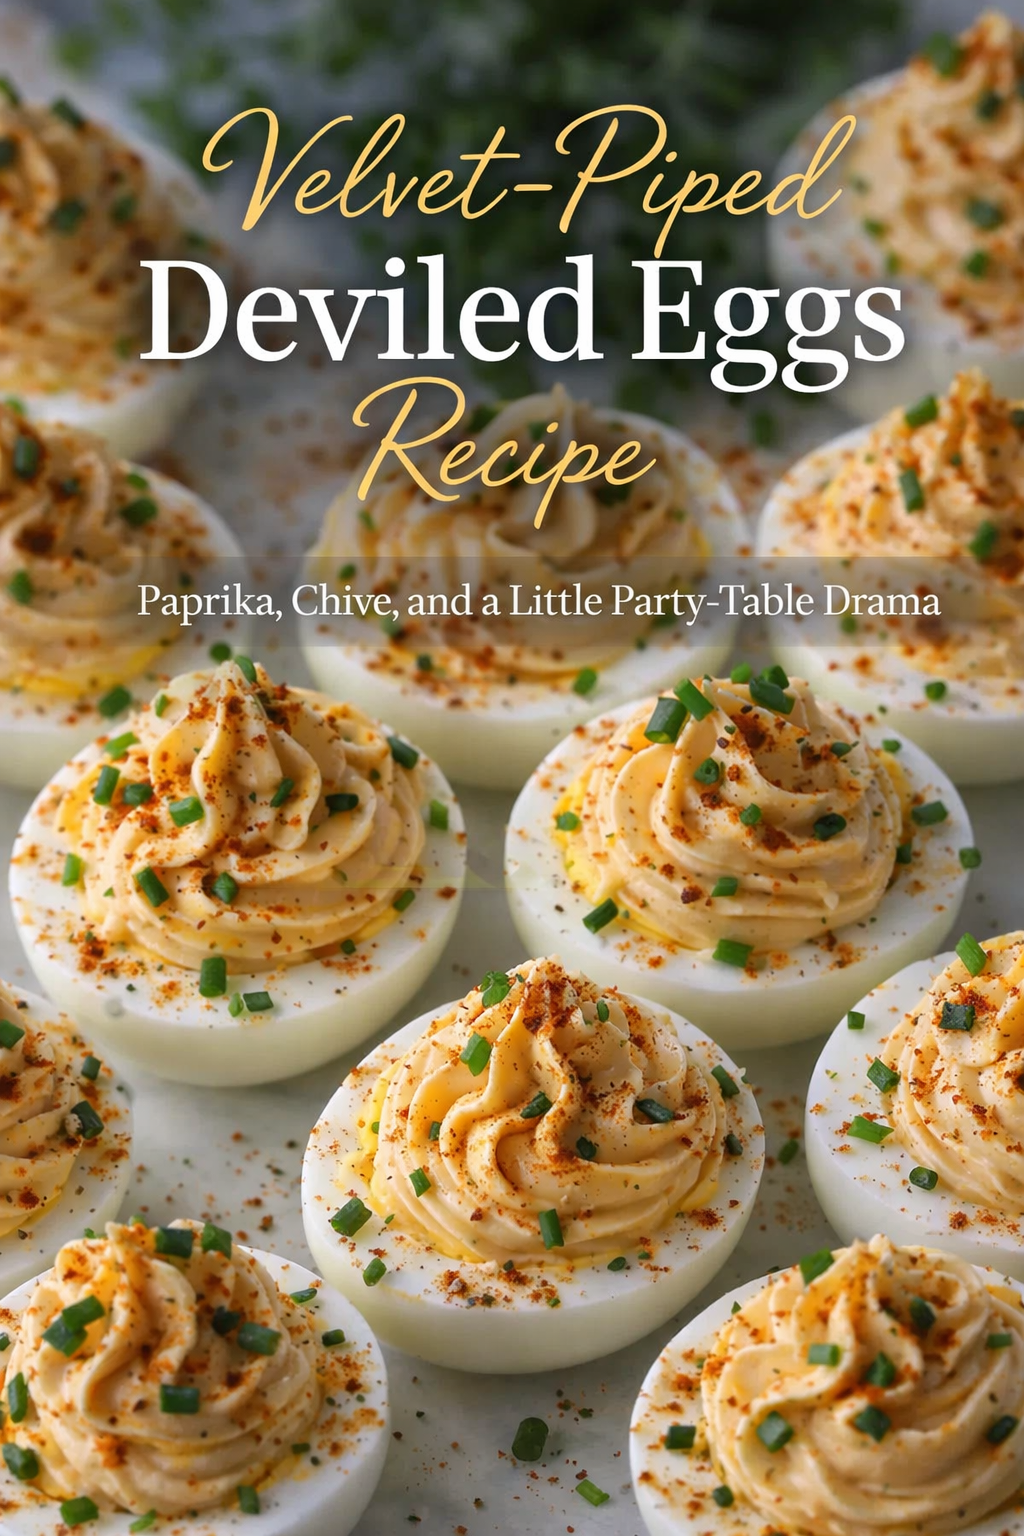
The tray lands like a quiet centerpiece—simple, familiar, and somehow impossibly polished. Deviled eggs, lined up in soft rows, each one a small white cradle holding a swirl of filling the color of sunlit butter. The light in the room feels late-afternoon warm, the kind that makes wood grain look richer and turns even everyday food into something worth lingering over. The yolk mixture has been piped with intention—tight, satiny spirals that catch tiny shadows along their ridges. A dusting of paprika sits like a faint ember on the edges, and the chopped chives on top read as fresh, green punctuation. Nothing loud. Nothing fussy. Just a perfectly styled bite that signals: stay a while.
There’s a particular romance to deviled eggs because they straddle two worlds. They’re the dependable party staple that disappears first, yet they’re also the kind of food that rewards care. When the whites are clean and tender, when the filling is whipped to a mousse-like smoothness, when the seasoning hits that exact line between savory and bright—suddenly the whole thing feels elevated. The tray in the image tells that story without needing a single extra prop. It’s confidence in a classic.
It starts with the eggs themselves: firm enough to slice without tearing, but never chalky. That perfect texture doesn’t happen by accident. The moment the timer ends, an icy plunge locks in tenderness and makes peeling feel almost effortless—especially if you lean on a setup like a dedicated egg cooker for consistent results or use a pot that keeps heat steady and predictable, like a heavy-bottom saucepan for boiling. The goal is the kind of egg white that looks smooth and glossy, with no rough edges—clean lines that let the filling do the talking.
Then comes the heart of it: the filling. Deviled eggs aren’t really about mayonnaise or mustard or vinegar on their own; they’re about the way those things braid together into something rounded and irresistible. The best versions taste like they’ve been “turned up” rather than reinvented—more dimension, more silk, more balance. A little Dijon lends structure and gentle heat, the mayo brings richness, and an acid note (pickle juice, vinegar, lemon—choose your favorite) keeps it from feeling heavy. If you want that flawless, piped look from the tray, a simple tool changes everything: a piping bag set with star tips creates those elegant ridges, and the act of piping also makes the filling feel like a finishing touch instead of a quick spoonful.
Paprika is the final mood-setter. It’s not just color—it’s aroma. Smoked paprika, especially, turns the whole bite into something warmer and slightly mysterious, like a whisper of grill smoke without the mess. If your spice drawer is overdue for an upgrade, a fresh smoked paprika option is the kind of small ingredient that makes an outsized difference. Chives do something similar on the bright end of the spectrum: green, crisp, clean. They add lift, and they make each half look dressed, not just assembled.
The tray itself feels intimate—like a Saturday gathering that’s more about conversation than ceremony. Deviled eggs belong in that sweet spot: casual but impeccable, retro but current, comforting but sharp. They’re the kind of bite you pick up while you’re laughing at the kitchen counter, the kind you grab “just one more” of while pretending you’re still hungry for dinner. Serve them chilled and they’re refreshing; let them sit for a few minutes and the flavors bloom into something fuller. Either way, they disappear.
There’s also something deeply satisfying about how precise they can be. The halved whites become little vessels of symmetry, the swirled filling becomes edible design. If you’re the type who loves a clean, curated finish, the process itself is part of the pleasure—especially when the prep feels seamless with basics like a non-slip mixing bowl set and a fine mesh sieve for ultra-smooth yolks if you want that next-level, velvet texture. A small step, a big payoff.
In the end, that’s the quiet power of this tray: it doesn’t rely on novelty. It leans on craft. The eggs are neatly peeled, the filling is whipped and piped, the garnish is deliberate. The color palette is restrained—white, gold, paprika red, chive green—like a classic outfit that always looks expensive because it fits perfectly. Set them out at brunch, bring them to a potluck, plate them for a holiday table, or keep them in the fridge for a midnight snack that feels strangely luxurious. However they enter the room, they leave it empty.
Deviled eggs are a classic for a reason: creamy, savory, and endlessly customizable—perfect for parties, brunch trays, and snack plates.
Ingredients
- 6 large eggs
- 1/3 cup mayonnaise
- 1 1/2 tsp Dijon mustard
- 1 tsp white vinegar or pickle juice (plus more to taste)
- 1/4 tsp kosher salt (plus more to taste)
- 1/8 tsp black pepper
- Smoked paprika, for finishing
- Fresh chives, finely chopped, for finishing
Optional (for extra depth)
- 1/2 tsp Worcestershire sauce
- 1 tsp finely minced dill pickles or relish
- A pinch of cayenne
Method / Instructions
- Boil the eggs: Place eggs in a pot, cover with cold water by 1 inch, bring to a gentle boil. Turn off heat, cover, and steep 10–12 minutes.
- Ice bath: Transfer eggs to an ice bath for 10 minutes. Peel once cool.
- Halve: Slice eggs lengthwise. Pop yolks into a bowl and set whites aside.
- Make filling: Mash yolks very smooth. Mix in mayo, Dijon, vinegar (or pickle juice), salt, and pepper. Adjust seasoning and acidity.
- Fill: Spoon or pipe filling into egg whites. For a swirled finish, use a piping bag with star tips.
- Finish: Dust lightly with smoked paprika and top with chopped chives. Chill 20–30 minutes before serving for best flavor.
Step 1: Choose the texture you want—then cook for it
Deviled eggs live or die by the yolk texture. Overcooked yolks go dry and crumbly; perfectly cooked yolks mash into a plush, creamy base. Start with eggs in a single layer and cover with cold water. Bring the water up to a gentle boil—avoid a violent rolling boil that can jostle the eggs and encourage cracking. Once the water reaches a boil, turn off the heat, cover, and let the eggs steep. This “steep method” is forgiving and tends to produce a tender yolk without the gray-green ring that can form with harsher boiling.
If you want maximum consistency (especially when making larger batches), tools help: an egg cooker designed for repeatable doneness takes guesswork out of timing, while a digital kitchen timer makes it easier to stay precise even when the kitchen gets busy.
Step 2: Ice bath like you mean it
The ice bath isn’t optional if you care about peelability and a clean, tender white. Rapid cooling stops the cooking immediately and helps the membrane release. Use plenty of ice and cold water, and let the eggs sit at least 10 minutes. If you’ve ever battled an egg that peeled in painful little flakes, this is the step you’ll learn to respect.
Tip: Crack the shell gently all over, then peel under a thin stream of water. The water slips under the membrane and helps lift it away in larger sheets.
Step 3: Slice for symmetry
For that tray-perfect look, slice the eggs lengthwise with a sharp, clean blade. Wipe the knife between cuts if you want edges that look freshly tailored. Set the whites on a platter with the cut side up so they don’t wobble.
If you’re plating for a party, consider a dedicated tray. Even a simple one keeps them from sliding and smearing. Search for something like a deviled egg serving platter if you want the “everything stays pristine” effect.
Step 4: Make the yolks impossibly smooth
Drop the yolks into a bowl and start by mashing them thoroughly before adding anything wet. This prevents lumps. If you want a filling that pipes like velvet, take one extra step: press the yolks through a fine mesh sieve. It sounds fussy, but it’s the difference between “homemade” and “magazine-ready.”
Now add your creamy base: mayo and Dijon. The mayo provides richness; Dijon gives structure and a gentle heat. Add vinegar or pickle juice for brightness—acid is what keeps deviled eggs from tasting flat. Start small, then adjust. Salt and pepper follow, and you can layer in extra depth with Worcestershire, relish, or a pinch of cayenne.
Troubleshooting:
- Filling tastes heavy: add a few drops more acid and a pinch more salt.
- Filling tastes sharp: add a touch more mayo to round it out.
- Filling is too thick to pipe: loosen with 1–2 tsp pickle juice, milk, or even a tiny splash of water.
- Filling is too loose: add another mashed yolk (or chill 15 minutes to firm).
Step 5: Get the signature swirl
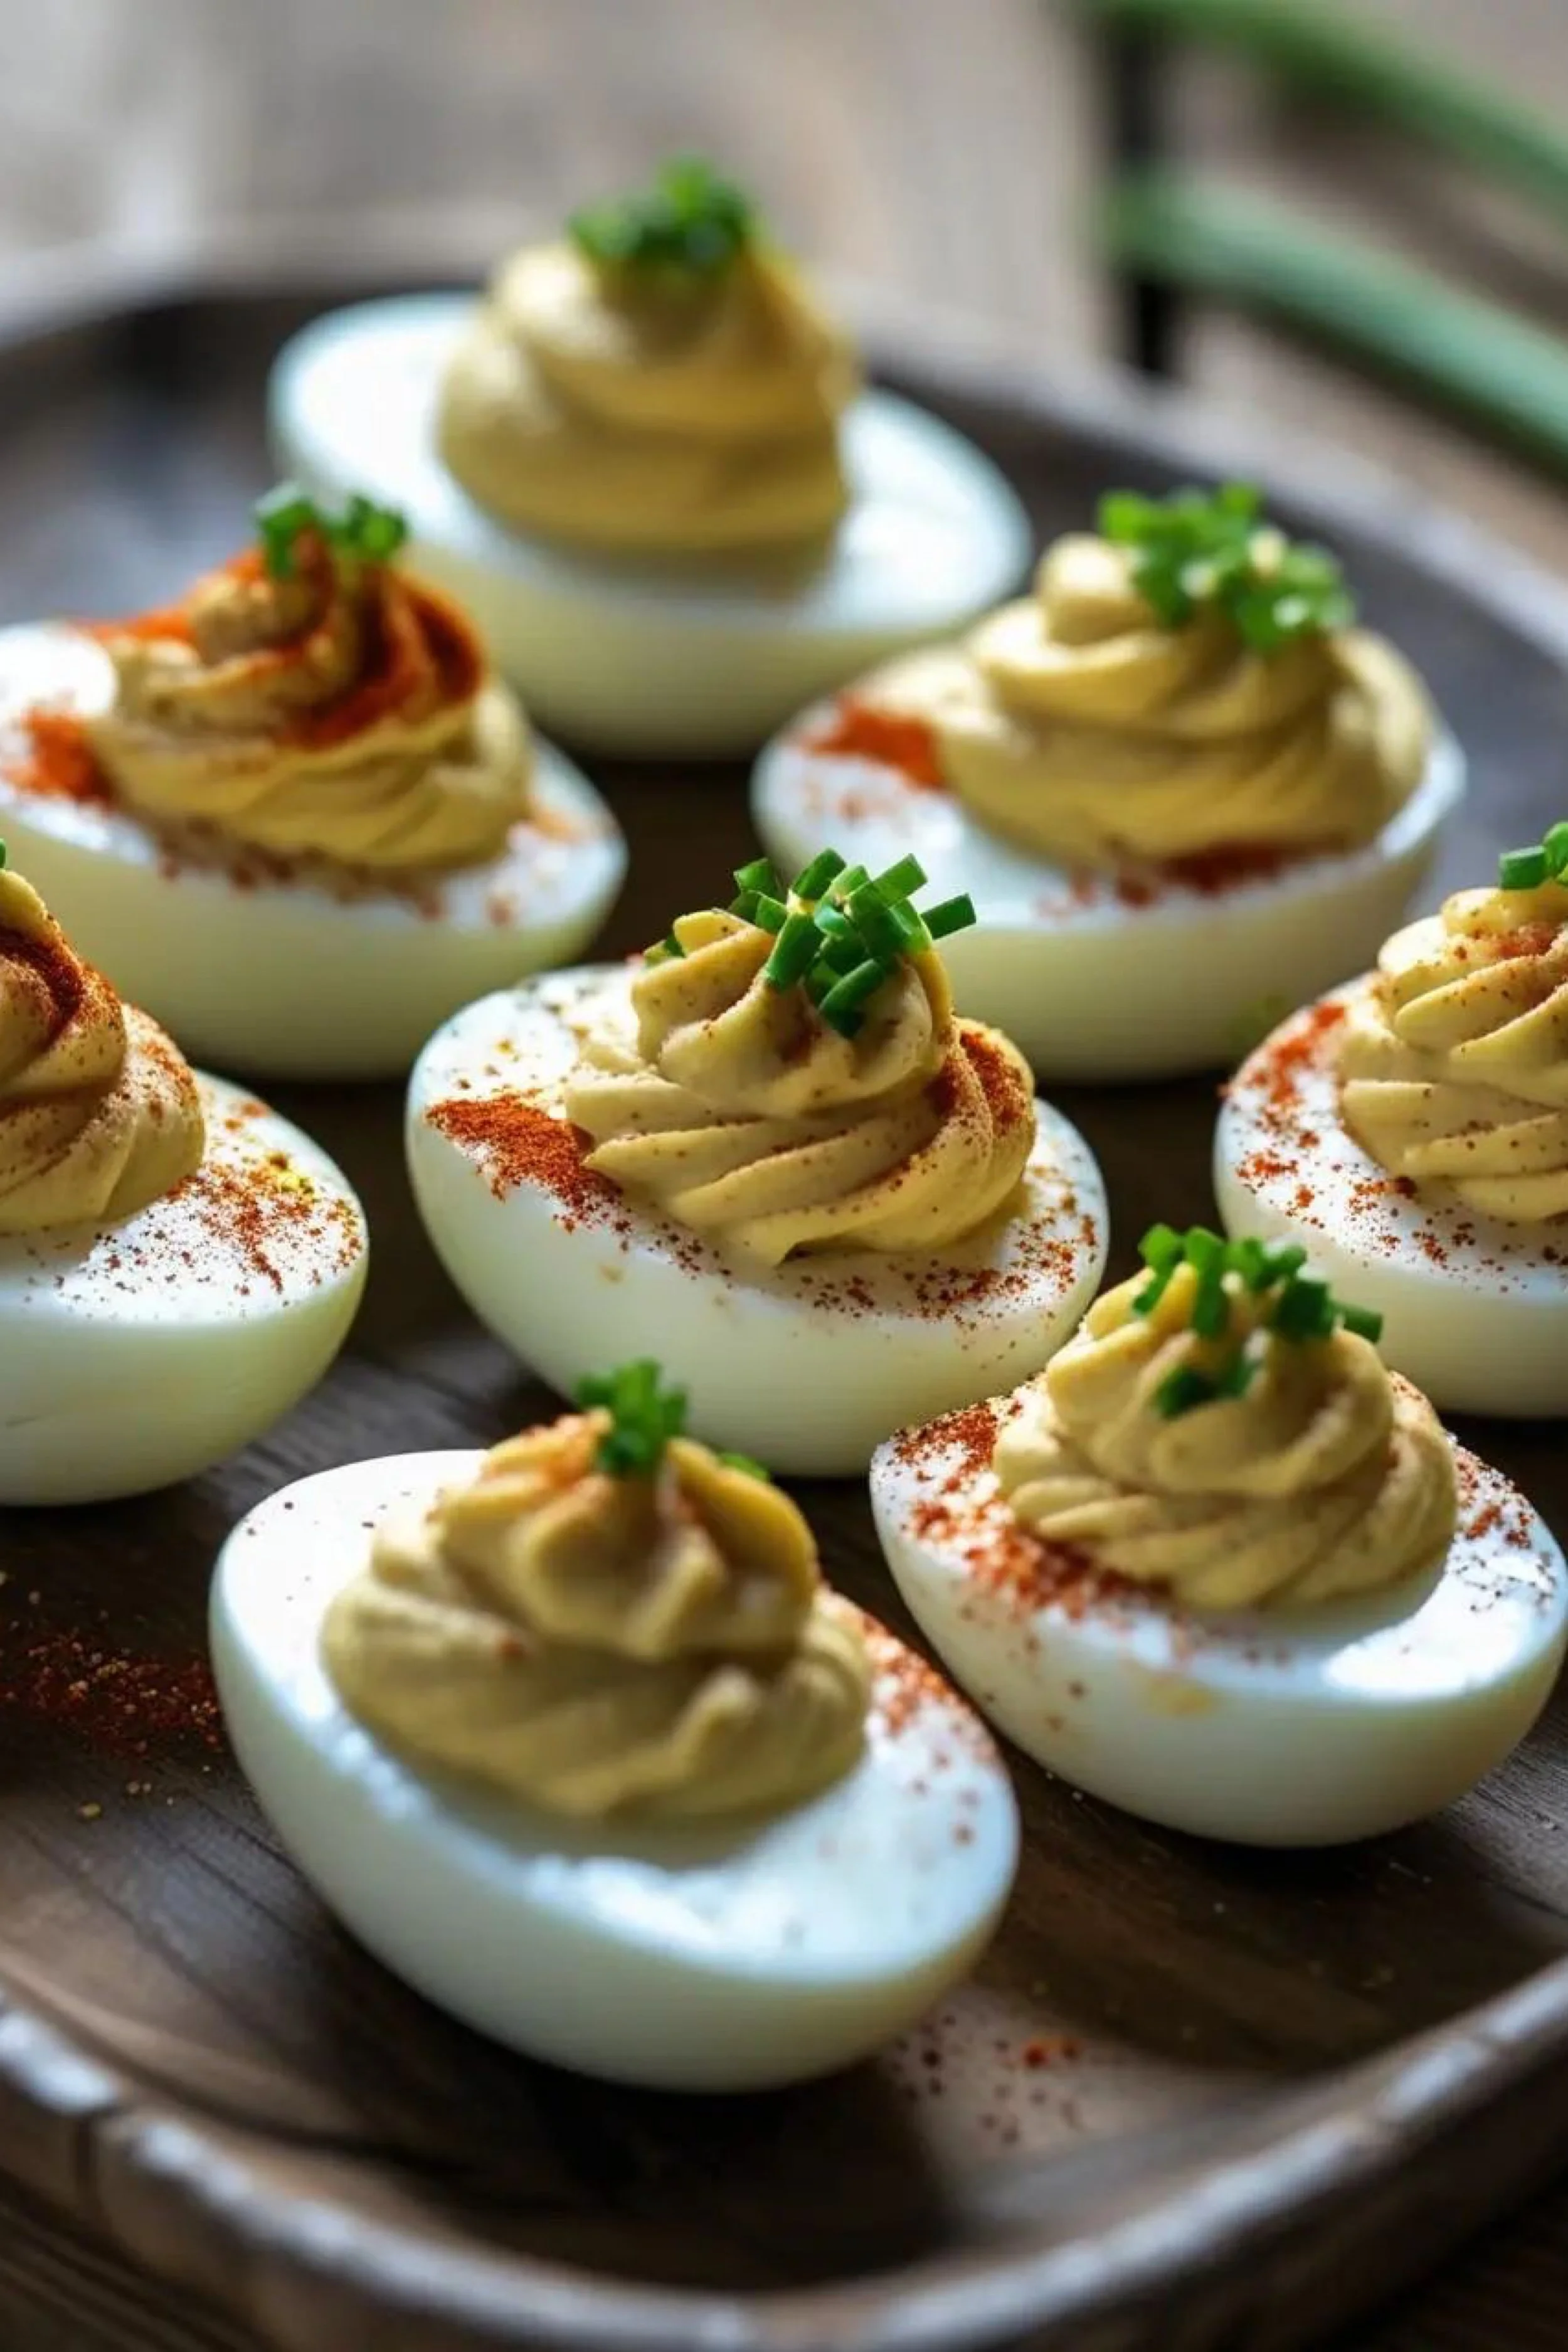
Spoon-filling is fine, but the photo’s elegance comes from piping. Use a star tip for those ridged spirals. A simple kit like a piping bag set with star tips gives you instant polish. Fill the bag, twist the top closed, and pipe from the center outward in a tight spiral, finishing with a soft peak. The key is steady pressure—think controlled, not fast.
If you don’t have a piping bag, a zip-top bag works in a pinch: fill it, push the mixture into one corner, snip a small opening, and pipe. You won’t get the same ridges, but you’ll still get a clean mound.
Step 6: Paprika as aroma, not just color
That warm dusting on the whites does two things: it frames the filling visually and adds a gentle spice fragrance that hits before the first bite. Smoked paprika adds an extra layer—subtle campfire warmth that makes the whole thing taste more “finished.” If yours has been sitting around forever, replacing it is worth it; fresh smoked paprika gives brighter color and a cleaner, more vivid aroma.
Apply lightly. You want a kiss of spice, not a blanket.
Step 7: Chives for lift and contrast
Chopped chives are the cleanest garnish for deviled eggs: they bring brightness without competing. Use kitchen scissors or a sharp knife and keep the pieces small so they sit neatly on top. For a more dramatic finish, swap in finely chopped dill, a tiny shard of crispy bacon, or a single pickled jalapeño slice—just keep it intentional.
Step 8: Chill for flavor bloom
Deviled eggs are best after a short rest in the fridge. Twenty to thirty minutes lets the flavors harmonize and the filling firm slightly, which also helps them travel better. If you’re prepping ahead, store them covered in the fridge and garnish right before serving for the cleanest look.
Make-ahead guidance:
- Up to 24 hours: boil, peel, and halve; store whites and filling separately. Pipe and garnish before serving.
- Same day: fully assemble and chill; garnish before putting out.
Step 9: Variations that still feel classic
- Southern tang: add a bit more pickle juice and a spoon of relish.
- Heat-forward: a pinch of cayenne plus a touch of hot sauce.
- Herb garden: swap chives for dill and parsley, and add lemon zest.
- Extra silky: use a hand mixer to whip the filling. For easy mixing, a compact tool like a handheld electric mixer can make the texture feel almost mousse-like.
Step 10: Serving like the tray in the image
Arrange the eggs close together so they read as a composed set. Keep the garnish consistent for a cohesive look—every egg gets the same paprika dust and the same chive finish. That uniformity is what makes a simple classic feel elevated.
If you’re transporting them, a tray with wells helps prevent sliding. If you’re serving at home, a wooden board and a neutral dish keep the palette calm and let the eggs glow. In a room full of loud food, these are the quiet, confident ones—the bites that look refined, taste familiar, and vanish first.