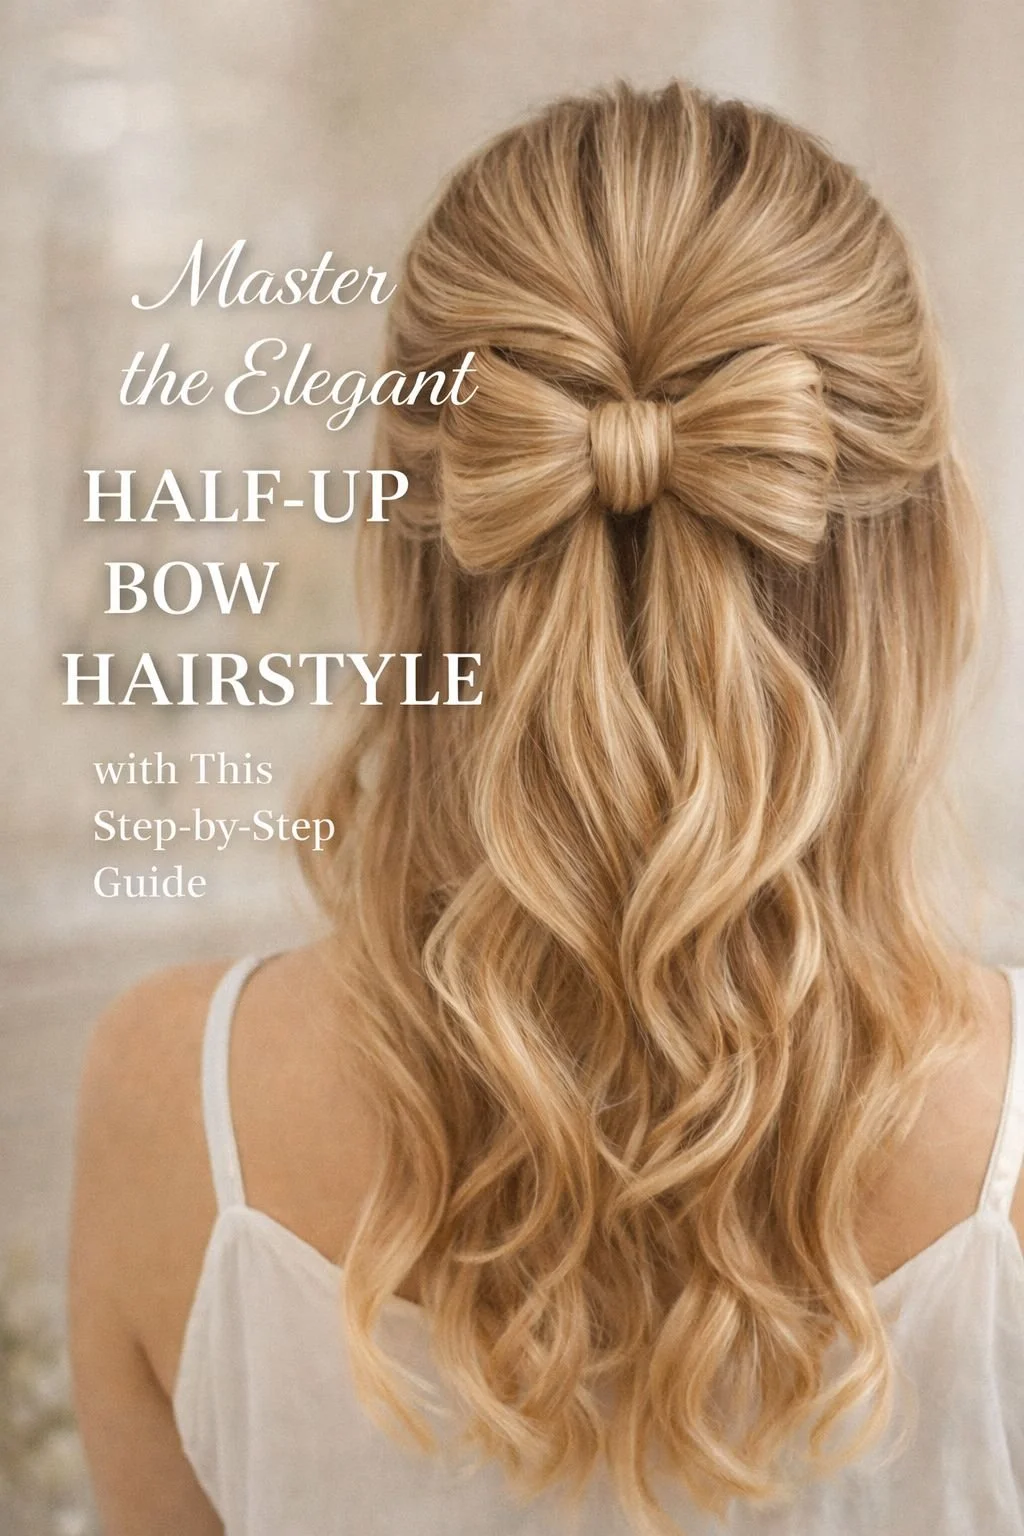
The Chic Illusion: Mastering the Faux Dutch Braid

The Chic Illusion: Why the Faux Dutch Braid Reigns Supreme
The modern woman’s hair speaks long before she does. It’s a visual language that whispers elegance, strength, charm, and mystique. Among the most enchanting of these styles is the Dutch braid—thick, sculpted, striking. It’s a look that feels like it took hours in front of a mirror or the hands of a salon expert. But what if we told you that the illusion of intricacy could be your simplest secret? That the braid everyone assumes is masterfully done is actually… faux?
Welcome to the world of the faux Dutch braid. A hairstyle built on clever technique, a few bobby pins, and a bit of patience. The kind of style that doesn't just turn heads but confuses them—in the best way possible. How did she do that? Is that a braid or a twist? Did she do that herself?
This style is the beauty equivalent of a magic trick. All the impact of a sculptural Dutch braid without the hand-cramping, tension-pulling, perfectly parted braid precision. No actual braiding required—just the illusion of it. And if you know how to pull off an elastic twist and a few tuck-and-pins, you already have the tools.
But let’s back up. Why has the Dutch braid, faux or not, earned such a devoted place in the pantheon of modern beauty?
The Braid That Framed a Generation
There’s a reason this look has endured for centuries. Dutch braids originated as practical styles for keeping hair neat in early agrarian societies but eventually evolved into visual symbols of femininity, youth, and regality. Think milkmaid braids, warrior princesses, and the rise of the festival braid culture. The Dutch braid is not just a braid—it’s a lineage. It’s the braid that says: “I made an effort, but I’m not trying too hard.”
The faux version builds on that legacy but adds a modern twist. Instead of weaving sections under one another for that signature outward pop, the faux Dutch braid relies on volume, layering, and precise placement to mimic the 3D effect without the time commitment.
It’s not cheating. It’s evolving.
Why the Faux Dutch Braid Belongs in Your Beauty Toolkit
There are dozens of reasons to master this look, but here are a few that stand out:
Time-Saving Elegance: Traditional Dutch braiding can take time and coordination. The faux method creates the same effect with far less effort. You’ll have a head-turning style in under ten minutes once you’ve practiced it a few times.
No Braiding Skill Required: Not everyone grew up learning how to French braid in the backseat on the way to soccer practice. The faux Dutch braid is perfect for those who’ve never quite mastered the over-under weave but still want that layered magic.
Gentle on the Scalp: Braids pull. And if you’ve got sensitive roots, tension headaches are real. The faux Dutch braid is softer, less tight, and far more forgiving on your scalp.
Ultra Versatile: Whether you’re headed to brunch in a flowy dress, bossing up a boardroom in a power blazer, or getting glammed up for a wedding, the faux Dutch braid adapts. It can look ethereal, edgy, romantic, or corporate—depending on how you accessorize it.
Perfect for Second (or Third) Day Hair: A little texture makes this style even better. Dry shampooed strands and tousled waves are ideal for giving the braid that lived-in softness that feels both styled and effortless.
What You Need Before You Start
Before we dive into the steps, let’s talk tools. You don’t need anything fancy, but a few basics will go a long way:
Clear or neutral mini elastics
Bobby pins that match your hair color
A teasing comb or brush
Texturizing spray or dry shampoo
Light-hold hairspray
A mirror you can tilt or pivot (you’ll want to see the back of your head)
Optional: ribbon, pearls, or gold cuffs for an added twist
Also, your hair doesn’t have to be freshly washed. In fact, it works better with hair that’s got some grit and hold. So if you’re on day two or three, this style is about to become your best friend.
The Power of Illusion in Beauty
Here’s the truth about the faux Dutch braid—it’s not just about tricking the eye. It’s about learning how to work smarter with your features, not harder. It’s about mastering the art of strategic volume, thoughtful placement, and creating dimension where there was none.
The most iconic beauty looks in history were not necessarily the most complicated. They were the most memorable because they understood shape, silhouette, and subtle drama. The faux Dutch braid plays into this philosophy. It gives you height without teasing. Curve without curling. Drama without destruction.
It’s the perfect style for romantic minimalists and glam maximalists alike.
A Look That Frames Everything Beautiful
One of the most underappreciated features of the faux Dutch braid is how beautifully it frames the face. The braid runs along the scalp line, creating a built-in contour for your head shape. Pull a few face-framing pieces loose and suddenly you’ve got softness and strength side by side.
Have layers? Even better. The layered structure gives the illusion more movement and texture. Have long straight hair? You’ll get a sleek, architectural version of the style. Curls? You’ll get romantic dimension. The braid flatters everyone—it’s just a matter of adapting it to your texture and flair.
You can even pair the faux Dutch braid with other styles. Want a braid crown? Make two on each side and pin them together. Want a boho pony? Use the braid as the base detail. Want something more edgy? Add accessories, slick the rest of the hair back, and pair with a smoky eye.
Transitioning From Everyday to Elevated
The faux Dutch braid walks the line between casual and formal. That’s what makes it such a powerhouse. You could wear it to run errands in an oversized hoodie and get compliments at Trader Joe’s. Or you could dress it up with a silk slip dress, gold earrings, and heels and wear it to a rooftop cocktail party. It performs across aesthetics.
Add glitter pins and go whimsical. Add a velvet ribbon and it’s vintage chic. Tuck in a few baby’s breath sprigs and you’ve got a wedding guest-worthy look. The possibilities are endless. That’s the charm of this braid—it is yours to shape.
From Pinterest Board to Your Mirror
You’ve saved it. You’ve pinned it. You’ve probably stared at influencers with hair that looks impossible to copy. But here’s your sign: it’s time to try it. Not tomorrow. Not “when I have more time.” Now.
Because the truth is, hair doesn’t have to be perfect to be stunning. It just has to be worn with confidence.
Once you realize that beauty is built on illusion as much as technique, you’ll unlock a whole new level of personal style. The faux Dutch braid is a masterclass in that mindset. It’s proof that you don’t need to know every trick in the book to create a little magic of your own.
And what’s more powerful than looking like you tried harder than you did?
So go ahead—gather your elastics, cue up your favorite playlist, tilt your mirror just right, and let’s step into the look that’s going to become your new signature.
Ready to Begin?
Now that you understand the story, the power, and the practicality of the faux Dutch braid, it’s time to learn exactly how to master it for yourself. The next section breaks it all down for you step by step—from parting your hair to final pinning techniques—so you can create this chic illusion with confidence and flair.
Let’s braid without braiding. Let’s fake it beautifully.
Scroll down to begin your step-by-step guide.

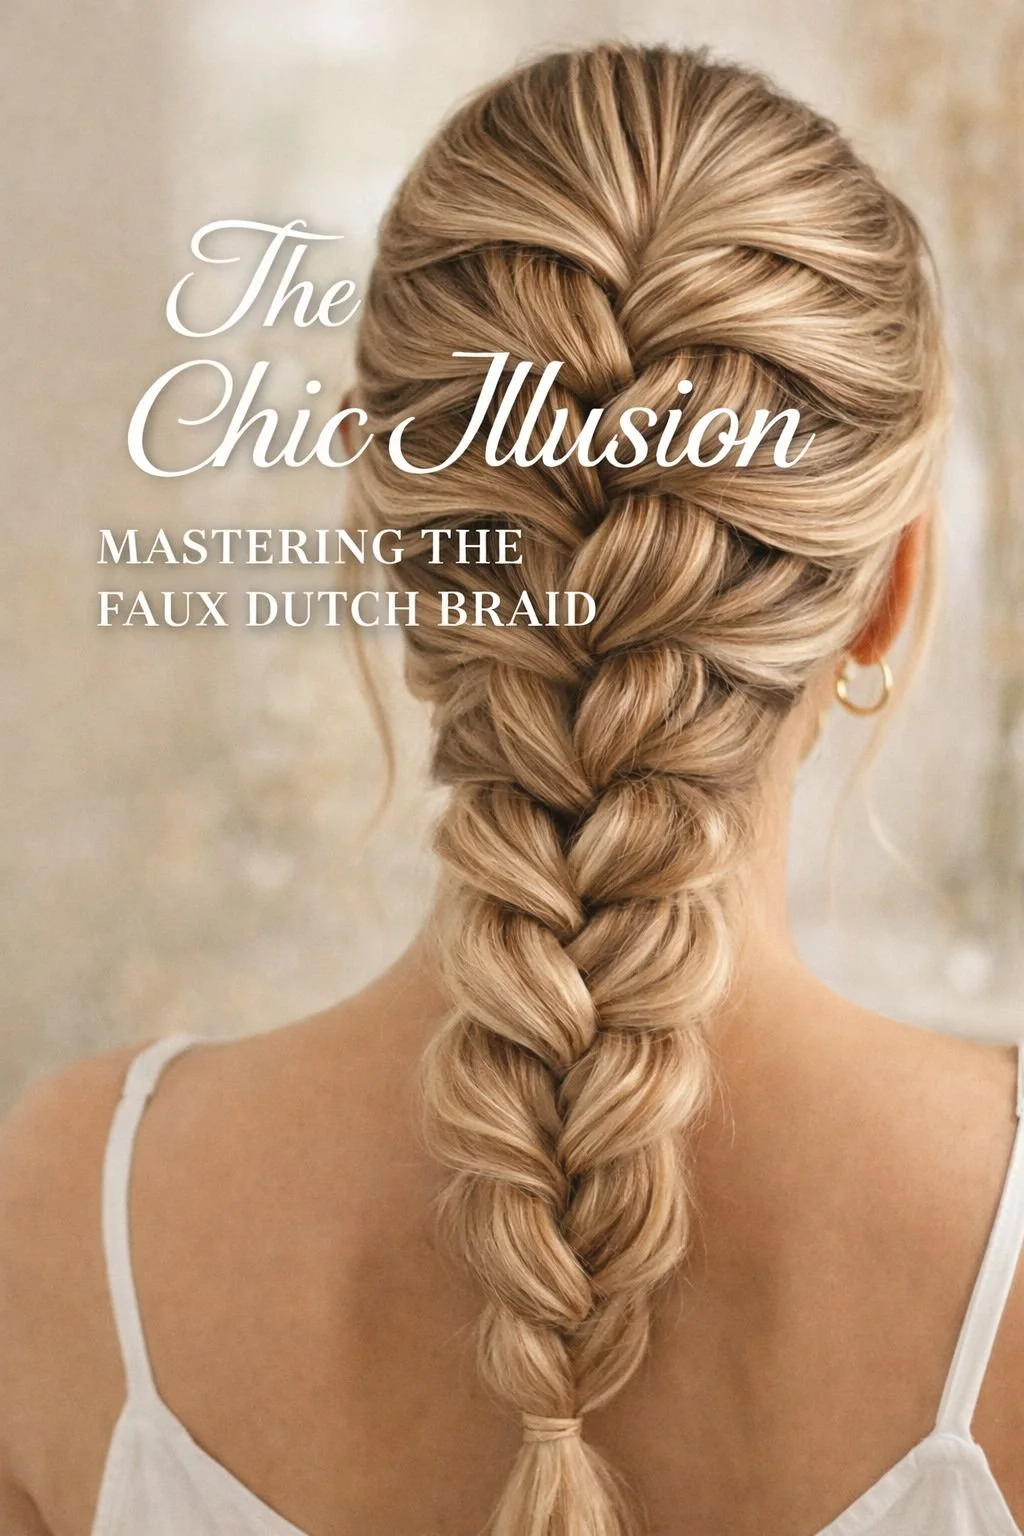
The Chic Illusion: Mastering the Faux Dutch Braid
Mastering the Faux Dutch Braid: A Step-by-Step Tutorial
Creating the illusion of a beautifully woven Dutch braid without ever lifting a single strand into a real weave? Yes, please. This step-by-step guide will walk you through how to recreate the iconic, head-turning look of a Dutch braid using simple twists, elastics, and volume-building techniques that work on most hair types. Whether your hair is shoulder-length or long and layered, this style adapts and flatters.
You don’t need to be a braid expert to pull this off. All you need is a mirror, a bit of patience, and a few go-to tools. Let’s dive in.
What You’ll Need
Before we begin, gather these essentials to make your styling session smooth and successful:
Clear or hair-colored mini elastics (at least 8 to 12)
Bobby pins (matching your hair color)
A rattail comb or parting tool
Texturizing spray or dry shampoo (for grip and volume)
Hairbrush and teasing comb
Light-hold hairspray
Optional: hair accessories like ribbon, pearls, or hair cuffs
Step 1: Prep and Prime Your Hair
Start with dry hair. Second or third-day hair works best, but you can always spritz in some dry shampoo or texture spray to add grit if your hair is freshly washed.
To prep:
Gently brush through your hair to remove any knots or tangles.
Apply a light mist of dry shampoo or texturizing spray throughout the roots and mid-lengths.
Use your fingers or a teasing comb to build volume at the crown if you want more height.
Pro tip: You can curl your ends lightly beforehand for a softer, romantic look, or keep them straight for a sleek, defined finish.
Step 2: Create a Deep Center or Side Part
Decide where you want your braid to live. A center part gives a balanced look, while a deep side part adds drama. Use a rattail comb to create a clean part from the front of your hairline down to the crown.
You’re going to be working with the section closest to the part, so make it sharp and intentional.
Step 3: Section Off Your First Ponytail
Start at the front of your part. Using your fingers or a tail comb, section off a piece of hair about one to two inches wide near your hairline—just above your forehead. This will be your first faux braid loop.
Secure it with a mini elastic to form a tight ponytail, pulling it slightly backward so the elastic isn’t sitting directly on your forehead.
Tip: Angle this first ponytail slightly back toward the crown so your “braid” follows a natural curve.
Step 4: Add a Second Ponytail Right Behind It
Take a section of hair just behind the first ponytail—again about one to two inches wide—and secure it with a second elastic.
You now have two ponytails stacked in a straight line heading toward the back of your head. These two will form the first “loop” of your faux Dutch braid.
Step 5: Flip and Loop the First Ponytail
This is where the illusion begins.
Split the first ponytail (closest to your face) into two equal sections.
Lift the second ponytail up and clip it out of the way temporarily.
Take the two split pieces from the first ponytail and wrap them around the base of the second ponytail.
Underneath the second ponytail, gather a small new section of hair from both sides of your head and combine it with the split pieces.
Secure them together under the second ponytail with a new elastic.
Unclip the second ponytail and let it fall naturally. You’ll now see a loop forming from the split ponytail that creates the look of a Dutch braid segment.
Step 6: Repeat the Looping Process
This method is all about repetition.
Move to the next section of hair just below your last ponytail.
Secure it into a new ponytail using a small elastic.
Take the ponytail above it, split it in two, and wrap the pieces around the newest ponytail.
Add more hair to the split pieces from the sides of your head (this mimics how traditional braids gather hair).
Secure the wrapped sections with another elastic under the newest ponytail.
Release the top ponytail and let it drop.
Repeat this process all the way down the centerline of your head or as far down as you want your braid illusion to go.
Step 7: Continue Down the Back or Stop at the Crown
You can go full faux braid from your hairline to your nape or stop halfway for a crown braid effect.
For a full braid: Continue sectioning, looping, and wrapping until you reach the nape of your neck.
For a half-up style: Stop once you reach the crown. Secure the final ponytail with a decorative clip or ribbon.
Either version looks beautiful and can be adapted for both casual and formal occasions.
Step 8: Fluff and Pancake for Volume
This is the game-changer. The whole illusion comes to life when you pancake the braid.
Starting at the top, gently pull outward on each looped section to widen it.
Don’t tug too hard or you’ll ruin the structure—use your fingertips to gently fan out the sides.
Work your way down, pulling at each wrapped piece to build that dimensional Dutch braid look.
This step makes your braid look fuller, thicker, and more intricate than it really is. You’ll be surprised how much drama you can build in less than a minute.
Step 9: Pin Any Loose Ends or Flyaways
Use a few bobby pins to secure any pieces that feel too loose, especially if your hair is layered. Tuck the pins behind the braid to keep the illusion seamless.
Spray a light layer of hairspray over the braid for hold without crunch.
Step 10: Accessorize or Leave It Minimal
Here’s where you can make the look entirely your own.
Ideas for styling:
Add small gold cuffs or pearl pins throughout the braid.
Wrap a velvet ribbon at the end and let the tails cascade down your back.
Weave a satin cord through each loop for a festival-ready aesthetic.
Add a barrette, bow, or hair charm at the base if you’re stopping at the crown.
The faux Dutch braid plays well with both minimalism and maximalism. Don’t be afraid to make it your signature.
Bonus Variation: Faux Dutch Braid Into a Ponytail
Want a chic, gym-to-glam look?
Stop your braid at the crown or just below the ears.
Gather all remaining hair into a sleek ponytail.
Wrap a small section of hair around the ponytail base to hide the elastic and pin it in place.
Curl the ends or straighten them depending on your mood.
This is the ultimate cool-girl hybrid: a structured braid meets carefree ponytail.
Troubleshooting and Tips
Hair too silky? Use dry shampoo or sea salt spray before starting to help your sections stay in place.
Loops falling flat? You may be pulling too tight. Looser elastics allow more room for pancaking.
Sections looking uneven? Make sure each ponytail is the same size and aligned vertically for a cleaner look.
Want more height? Backcomb the roots at the crown before starting your braid.
Style Maintenance Tips
Sleep on a silk pillowcase to preserve your braid overnight.
Touch up flyaways with a toothbrush and a spritz of hairspray.
Refluff the braid by gently pulling on loops if it starts to flatten during the day.
A Final Word Before You Flaunt It
The faux Dutch braid is more than a hairstyle. It’s a visual statement—part optical illusion, part power move. It tells the world you know your angles, your vibe, and your worth. You don’t need to master traditional braiding to look like a pro. This technique is proof that modern beauty is about working smart, not hard.
So go ahead. Make this your signature. Make it your Monday look or your Saturday night slay. Dress it up. Dress it down. Add your flavor and wear it like it was made for you—because it was.
Your crown is calling, and it’s braided in brilliance.

The Chic Illusion: Mastering the Faux Dutch Braid
Own the Illusion, Command the Room
There’s something magnetic about a hairstyle that looks impossibly intricate—like it took a team of stylists and a half-dozen tools to execute—but was actually crafted in your own mirror with nothing more than elastics and intention. The faux Dutch braid is that kind of magic. It’s a trick of the eye, a slight of hand in the world of beauty, and yet it leaves a lasting impression. A woman who wears this look does not follow trends. She bends them toward her.
This style is for the woman who walks into a room and makes people pause—not because she’s shouting for attention, but because her energy, her detail, her polish quietly demand it. It’s not just about looking put together. It’s about presenting yourself as artfully layered and composed as the illusion braided into your hair.
And the best part? You didn’t need to know how to braid. You didn’t need a special occasion. You didn’t need anyone’s help.
You took a handful of elastics, your own two hands, and a bit of confidence—and transformed it into something cinematic. Something worthy of street style galleries and dinner date glances. Something that makes strangers say, “How did she do that?”
So wear it to brunch. Wear it to boardrooms. Wear it to weddings, dance floors, coffee runs, and gallery nights. The faux Dutch braid doesn’t ask for permission. It just shows up and delivers.
Now that you’ve mastered the technique, the only question left is—how will you style the illusion next?
Pin it. Flaunt it. Make it yours.
To further enhance your understanding and enjoyment of the “The Chic Illusion: Mastering the Faux Dutch Braid” blog post, I’ve compiled a list of additional resources. These blogs offer a wealth of information, from the history of the dish to variations on the recipe:
How to do a dutch braid | Dutch braid tutorial - CLOUD NINE: This blog post provides a comprehensive guide to making the Dutch braid, complete with a recipe card and personal anecdotes.
13 DIY Braids and Braided Hairstyles - Lulus.com Fashion Blog: This blog offers a detailed breakdown of the 13 DIY braids and braided hairstyles, including special ingredients like brown sugar and cinnamon.
How To Do a Dutch Braid in 6 Easy Steps - All Things Hair: This blog post shares a unique variation of the Dutch braid in 6 easy steps.
I hope these resources deepen your understanding and appreciation of The Chic Illusion: Mastering the Faux Dutch Braid. Enjoy your exploration!