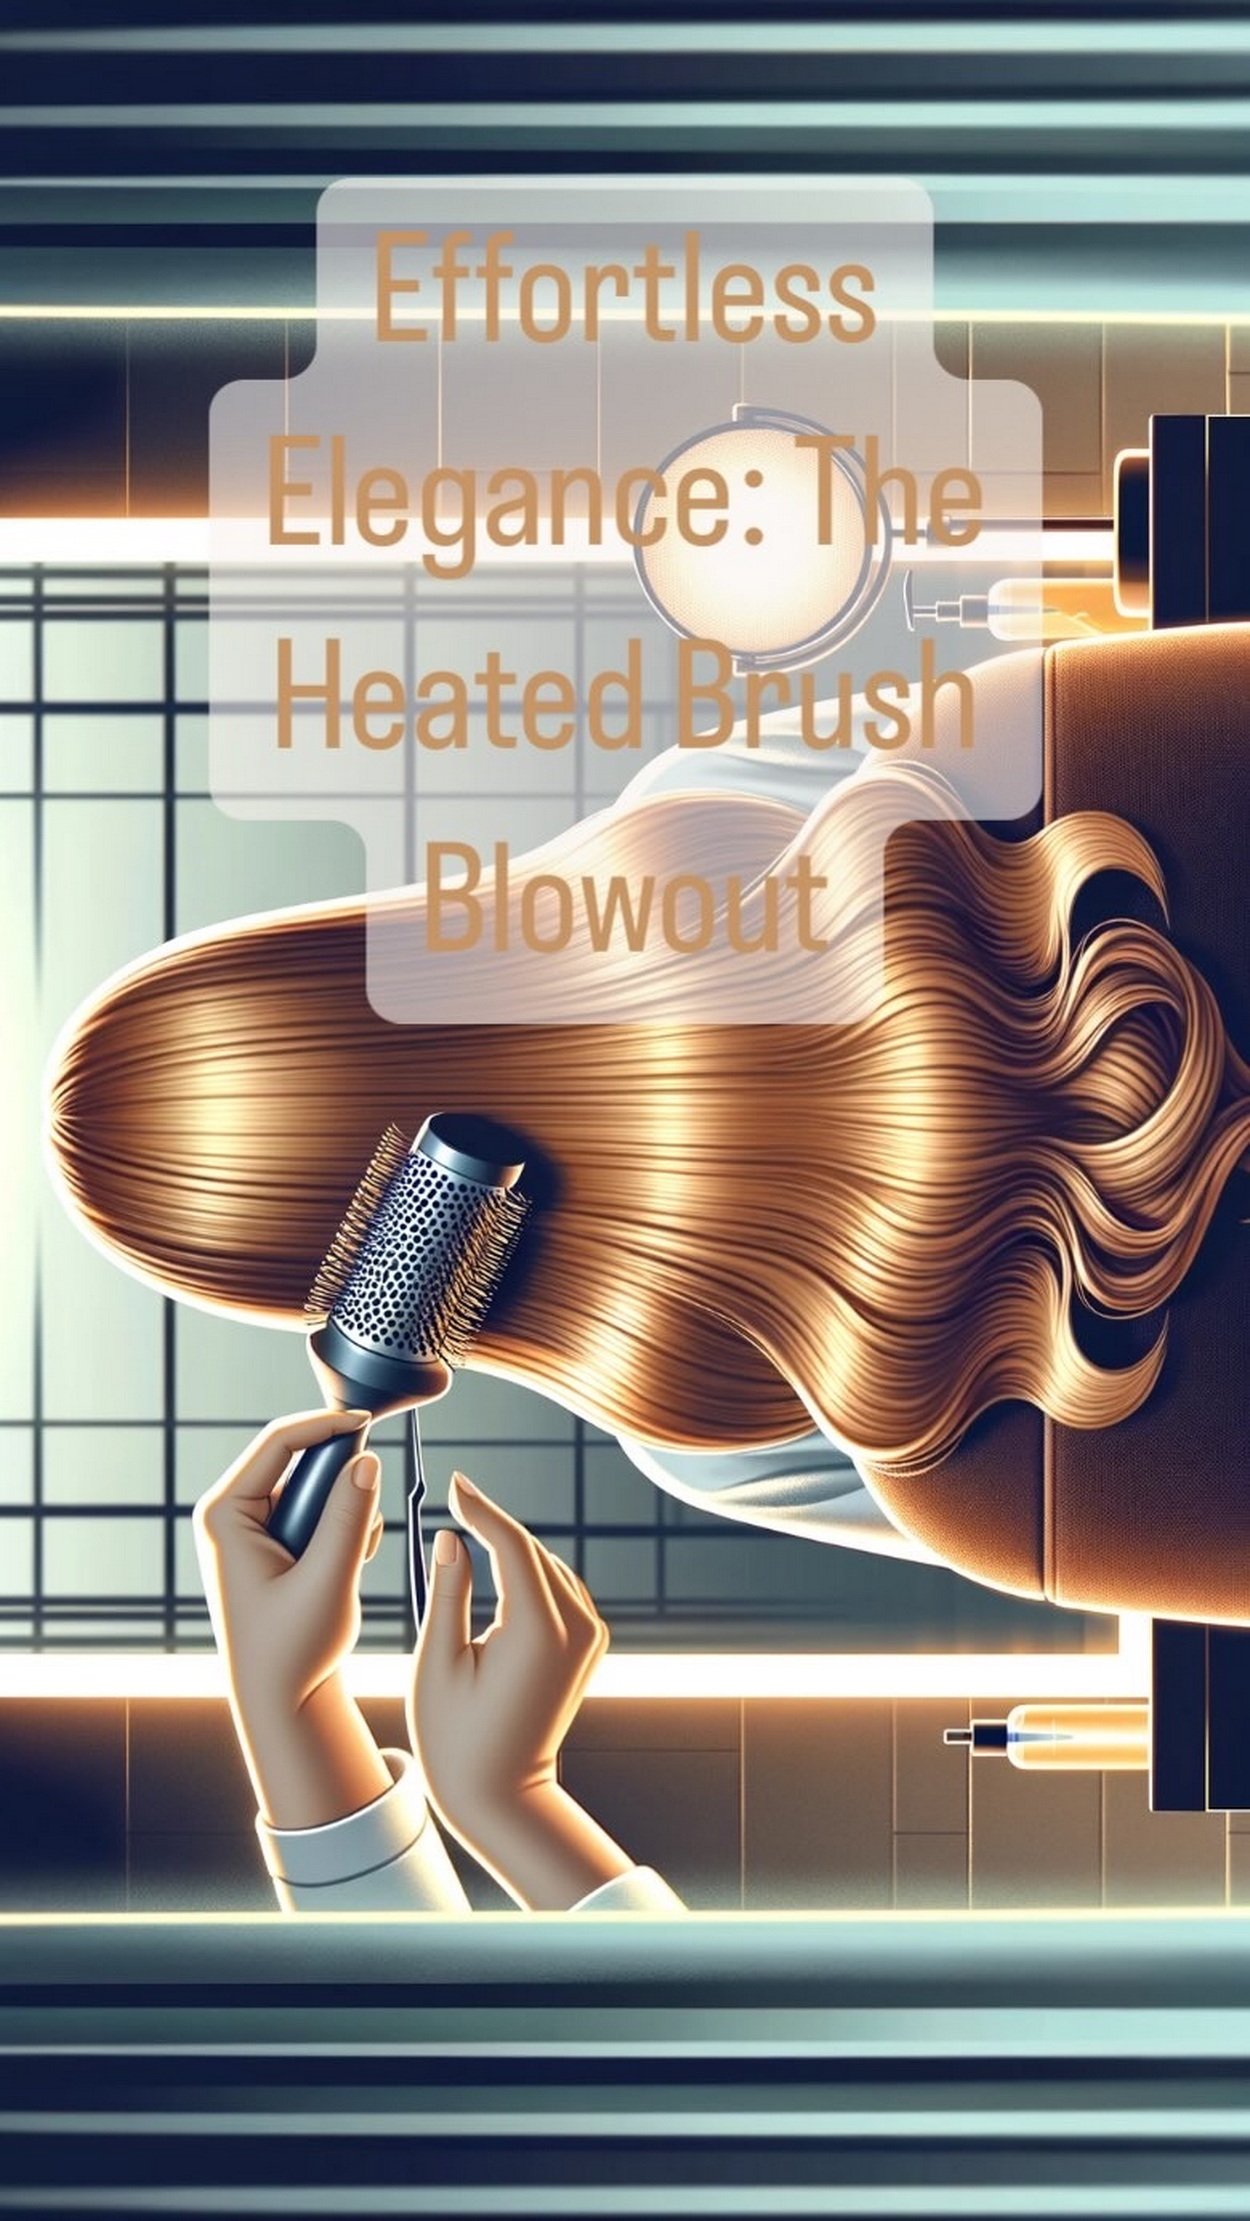
Effortless Elegance: The Heated Brush Blowout Tutorial

The Modern Girl’s Guide to Effortless Blowouts: Mastering Volume, Polish, and Heat-Brush Grace
In a world that rarely slows down, beauty routines must keep pace. We want the bounce of a salon blowout without blocking off an hour and a half on a Tuesday morning. We want polish without the parade of round brushes, awkward arm angles, and blistering hot tools. We want that effortless elegance — the kind that turns heads in the coffee shop line, the kind that makes someone say “your hair always looks so good, how?” as if it’s a secret you were born with.
And if you’ve landed here, you already know the secret is not being born with it. It’s knowing the tools. It’s refining the technique. It’s being smart about where you place your volume and how you shape your layers. It’s learning how to stretch your wash days with style that stays soft, moves naturally, and frames the face like it was painted on.
This is the rise of the heated brush blowout. A tool that feels like magic, looks like minimal effort, and plays well with both thick and fine hair types. It simplifies the chaos of styling into something smooth, intuitive, and — best of all — repeatable. Once you master this routine, your mornings change. So does your confidence. Your overall look becomes more put together, more intentional, more you.
But before we dive into the tutorial, let’s step back and reimagine what the modern blowout should be.
Why We’re All Ditching the Traditional Blowout
We’ve all seen the iconic round brush blowouts — the ones with rollers, sectioning clips, and a stylist wielding a dryer like a power tool. For decades, this was the gold standard. But let’s be honest: replicating that at home is part Cirque du Soleil, part upper-body workout, and usually ends in frustration or frizz.
The heated brush, in contrast, is both your brush and your heat source. It eliminates the need to juggle. And because it’s designed to smooth while styling, it respects the hair cuticle. It doesn’t just shape — it polishes. This is crucial for modern texture trends where we want smoothness without stiffness, and hold without crunch.
Unlike flat irons that compress and dehydrate, or curling irons that can burn with one misstep, the heated brush offers a gentler approach that mimics the tension of a salon brush-out while evenly distributing heat. No more fried ends. No more roots that fall flat five minutes after styling.
What Makes a Heated Brush Blowout So Game-Changing?
Let’s talk about what actually sets the heated brush blowout apart:
1. One-Step Styling: You're drying, smoothing, and shaping all at once. This streamlines your routine without compromising the results.
2. Root Lift and Volume: Most heated brushes are built to lift from the root thanks to their barrel structure and airflow placement. You’re not just flattening hair — you’re boosting it.
3. Face-Framing Control: With the right technique, you can direct the hair away from the face to create that signature blowout swoop, or turn it inward for a more classic soft curl finish.
4. Scalable to Hair Type: Whether your hair is long and thick or short and fine, the method adapts with a change in section size or heat setting.
5. Friendly to Second-Day Hair: A heated brush can revive flat hair without rewetting, making it ideal for next-day touchups that breathe life back into limp locks.
It’s the sweet spot between effort and elegance. And it’s no wonder this tool has become the go-to for celebrities, influencers, and busy beauty lovers alike.
Choosing Your Heated Brush: What to Look For
Before you can create the blowout of your dreams, you need the right tool in your hands. Not all heated brushes are created equal. Here’s what matters:
Barrel Size: Larger barrels (2–3 inches) are great for volume and body, while smaller barrels (1–1.5 inches) are better for shaping shorter styles or adding more defined curl.
Bristle Type: Combination bristles offer both tension and detangling. Look for nylon or boar-mix bristles that grip hair without snagging it.
Heat Settings: Multiple heat settings give you control. Fine hair benefits from lower temperatures, while thick or textured hair may need higher heat.
Ionic Technology: This reduces static and frizz while sealing the cuticle for a sleeker finish.
Cool Tip & Ergonomics: A cool tip helps you guide the brush safely near your roots. Lightweight design and a swivel cord are non-negotiable for ease of use.
Brands like Revlon, Amika, Dyson, and Drybar all offer excellent options across price points. Ultimately, the best heated brush is the one that fits your hair type, feels intuitive to use, and doesn’t stress your wrist halfway through styling.
Setting the Stage: Prep Is Power
Think of your blowout like a painting. A masterpiece only works if the canvas is prepped properly.
Start with Damp Hair, Not Wet: Hair should be about 75 percent dry. Towel blot gently or rough dry with a dryer if needed. Styling on hair that is too wet can overexpose strands to heat, leading to damage and limp results.
Apply a Heat Protectant: This is a non-negotiable. Spray or serum, just make sure it coats evenly and has thermal shield properties. Look for ingredients like dimethicone, argan oil, or keratin.
Use Volumizing Products Strategically: Mousse or root lift spray applied only at the crown can give your blowout more staying power. Avoid heavy creams that weigh hair down.
Detangle Thoroughly: Use a wide-tooth comb or detangling brush to remove all knots. The smoother your hair is going in, the easier it will be to style.
With proper prep, you set your blowout up for success. This is where many people go wrong — no tool can fix bad prep.
The Art of Sectioning
Sectioning might sound boring, but it’s the foundation of every good blowout.
Divide your hair into three main zones: top (crown), sides (left and right), and back. From there, work in smaller sections roughly 1–2 inches thick. Clip the rest out of the way with strong sectioning clips.
Start with the bottom back section, moving upward.
Then move to the sides, from lower to higher.
Save the top/crown for last, since this is where you want the most lift and definition.
Working in small, clean sections lets the brush do its job. You’ll get more control and more even results.
The Heated Brush Blowout Method: Core Techniques
Step 1: Root Lift
Place the heated brush at the root of a section and pull upward gently, holding for 3–5 seconds. This gives lift and support at the crown and sides. Avoid yanking or rushing — tension and patience are key.
Step 2: Glide & Curl
After lifting, slowly glide the brush down the length of your hair while twisting slightly under or outward depending on the direction you want the ends to go. For that signature face-framing curve, twist away from the face.
Step 3: Cool and Hold
Once you’ve finished a section, let it cool in the shape you styled it. You can clip it in place or let it fall naturally. Cooling locks the shape, just like setting spray does for makeup.
Step 4: Crown Volume
When you reach the top, lift each section straight up and pull the brush through the underside, rolling it under slightly. This technique builds fullness right where your head naturally flattens.
Step 5: Frame and Blend
The final step is unifying the look. Gently brush through the ends with your fingers or a soft-bristle brush. Add a touch of shine serum or texture spray depending on the finish you prefer — glossy or lived-in.
Maintenance Tips: Making Your Blowout Last
A great blowout should last 2–4 days depending on your hair type. Here’s how to help it stay:
Sleep with Hair Loosely Clipped Up or in a Silk Wrap: Prevents crushing volume at night.
Avoid Touching Your Hair Too Much: The oils from your hands transfer quickly.
Use Dry Shampoo at the Roots by Day 2: Adds volume and absorbs oil.
Refresh With the Heated Brush: A quick root lift and shape pass revives the look in minutes.
Blowout Styling Add-Ons
Once your blowout is in place, you can shift the mood entirely with a few extras:
Soft Beachy Waves: Wrap a few sections loosely around the heated brush barrel and hold for texture.
Volume Boost at the Bangs: Style fringe pieces by lifting upward and rolling away from the face.
Half-Up Styles: Add a clip or soft twist for elegance with zero effort.
Ponytail Pop: A blowout base makes your pony sleek, bouncy, and elevated.
The Confidence Factor
There’s a quiet confidence that comes from knowing your hair looks great. And unlike rushed styling or relying on hats and headbands, a polished blowout projects intentionality. You feel put together. You move differently. And others notice, even if they can’t put their finger on why.
Blowouts used to feel like a luxury — something for special events or paid appointments. But the heated brush has changed the game. Now, you can build that salon-fresh look into your weekly routine without stress or struggle.
If you’ve been avoiding blowouts because they feel time-consuming or intimidating, this is your moment. The method below will guide you step by step. You don’t need three arms or a professional background. You just need a little prep, the right tools, and this guide.
Now Let’s Break It Down: The Heated Brush Blowout Tutorial
Ready to make the magic happen? Scroll on for a detailed, easy-to-follow tutorial that walks you through every step — from damp strands to voluminous, glossy perfection. Let’s turn the everyday into something extraordinary.

Effortless Elegance: The Heated Brush Blowout Tutorial
@hairflairaffair "✨ Salon-style blowout at home! ✨ Apply heat protectant on damp hair. Pre-dry to 80%. Section hair & clip. Roll heated brush from roots to ends. Cool each section for volume. Finish with serum for shine. @anggwells ♬ original sound - Hair Flair Affair
The Heated Brush Blowout: A Step-by-Step Tutorial for Flawless, Effortless Elegance
So you’ve got your heated brush in hand. Maybe you’ve watched a few reels or TikToks showing women gliding this magical wand through their hair and walking away with volume, gloss, and bounce. But once you try it yourself, things feel... less than magical. The roots fall flat. The ends flip the wrong way. That face-framing swoop turns into a fried kink.
The truth? A flawless heated brush blowout takes more than a few quick passes. It takes intention, rhythm, prep, and technique. This is your masterclass in making that blowout not just good — but professional, head-turning, and repeatable.
Let’s break it all down.
Step 1: Start With a Smart Wash Day
Your blowout begins before the brush ever touches your hair. The shampoo and conditioner you use will either set you up for volume and hold, or sabotage it with heaviness and slip.
Use a clarifying or volumizing shampoo. You want something that removes product buildup and doesn’t leave a waxy coating. Avoid thick, moisturizing shampoos unless your hair is dry or damaged.
Condition just the ends. Do not slather your roots. A lightweight conditioner from the midshaft down is enough to detangle and smooth without flattening your natural lift.
Towel dry without rubbing. Gently squeeze out excess moisture and wrap your hair in a microfiber towel or soft T-shirt while you do your skincare or makeup. Hair should be damp, not wet, before you begin.
Step 2: Prime With Precision
Heat protectant isn’t optional — it’s essential. But the way you apply it matters just as much as the product itself.
Choose a thermal protectant spray, cream, or serum based on your hair texture.
Fine hair: Opt for a weightless mist that won’t weigh you down.
Thick or textured hair: Choose a serum or cream that tames frizz and adds slip.
Apply in sections. Spray each quadrant of your hair while lifting layers to ensure roots get protected too. Comb through with a wide-tooth comb or detangling brush to distribute evenly.
Add a volumizer if needed. Mousse or thickening spray applied at the crown will help you build that salon-style body. Avoid heavy oils or styling creams unless your ends are parched.
Step 3: Section Like a Pro
Sloppy sectioning leads to uneven results. For a sleek, voluminous blowout, divide your hair into five key zones:
Bottom back
Mid-back
Left side
Right side
Crown/top
Use sectioning clips to secure everything out of the way except your starting point. If you have a lot of hair, divide each zone into smaller, horizontal sections about 1.5 inches thick. The goal is full control — you want each pass of the brush to be thorough, even, and unhurried.
Pro tip: Section clips with strong hold make all the difference. Flimsy ones slip out and kill your rhythm.
Step 4: Begin at the Bottom
Start with the lowest back section of your hair. Place the heated brush under the section, close to the roots. Slowly glide it downward, adding a gentle twist at the ends — either curling under for a polished look or flicking out for a playful finish.
Repeat each section 2–3 times until it feels dry, smooth, and shaped.
Key tips:
Always pull the brush slowly for maximum smoothing
Don’t rush — let the heat do the work
Keep tension steady from root to tip
Glide, don’t yank
If you want more volume at the ends, roll the brush under and hold for 3–5 seconds before releasing.
Step 5: Build the Shape in Layers
As you work upward through the back and side sections, your brush technique becomes your sculptor’s tool. You’re not just drying — you’re shaping.
Pull hair out at a 90-degree angle from the scalp to maintain volume.
Roll under for bounce, or twist outward for soft waves.
Alternate direction on some pieces if you want natural movement instead of a uniform flip.
When working on the sides, focus on the face frame. These sections make the biggest impact visually, so take your time.
For each front section:
Pull hair forward
Slide brush through the length
Twist away from the face at the ends
Hold for a few seconds to shape
Let each styled section cool before touching it. This sets the shape and helps it last.
Step 6: The Crown Is Your Power Zone
Now it’s time for the grand finale: the crown. This is where the volume lives.
Take a horizontal section at the top and lift it straight upward. Place the brush underneath, close to the roots, and roll backward while pulling gently upward and back. Hold for a few seconds, then glide through the ends with a full twist for soft roundness.
Repeat this across the top of your head, working from front to back. Think about where you want your part. If you’re doing a side part, direct those front pieces the opposite way and let them fall into place naturally.
When finished, let everything cool for two minutes before doing anything else. This is critical. Heat shapes, but cool air locks.
Step 7: Set the Look
Now that every section is smooth and shaped, it’s time to blend and finish.
Use your fingers or a soft bristle brush to lightly brush through the ends and break up any stiff shape. This adds movement and makes the look more natural.
If your ends feel dry, add a pea-sized drop of shine serum and run it through the lower half of your hair.
If your roots need lift, spritz a texturizing spray at the crown and use your fingers to lift and separate.
Want more hold? Use a flexible-hold hairspray in short, controlled bursts. Avoid freezing the style in place — this look should have flow.
Step 8: Elevate and Experiment
Your blowout doesn’t have to be the end result. It can be the base for other styles:
Blowout Ponytail: Brush your hair into a high or mid ponytail. The pre-smoothed volume makes the tail bounce and swing with polish.
Half-Up Style: Use a claw clip or pins to lift the top layer. This shows off the crown volume while keeping your face clear.
Soft Waves: Wrap random sections around the heated brush again and hold briefly to add subtle waves. It layers beautifully on a blowout base.
Glamour Flip: Flip your hair side to side and shake it out. This adds natural body and gives that windblown finish you see on runways.
You can also change the part or tuck one side behind your ear for different moods without restyling.
Step 9: Day Two Refresh
The real win? Waking up the next day and still loving your hair.
Here’s how to revive it:
Flip your head over and brush gently from underneath
Use a spritz of dry shampoo or texture spray at the crown
Rework face-framing pieces with the heated brush for 10 seconds
Massage your roots with your fingertips to wake them up
You can repeat this refresh routine on day three or even four, depending on your hair type.
Avoid overwashing. Letting your hair settle between washes preserves natural oils and protects the integrity of your blowout.
Step 10: Long-Term Care and Touchups
To get the most out of your heated brush styling routine, keep your tool clean and your technique consistent.
Clean the bristles weekly with a damp cloth or cleaning brush to remove product buildup. Turn the tool off and unplug it first.
Store your brush safely. Let it cool completely before wrapping the cord or storing it. Keep it in a drawer or basket to avoid dust.
If your ends start looking dull, use a hair mask once a week and apply a strengthening treatment to prevent heat damage.
Final Thoughts
The heated brush blowout isn’t just a technique. It’s a beauty ritual that gives you more control over your image, your time, and your mood. There’s power in starting your day with hair that feels done, fresh, and truly styled — not just managed.
Whether you’re headed to the office, a brunch, a school run, or a candlelit dinner, this tutorial arms you with the confidence and control to look your best — without hiring a stylist or waking up at dawn.
Once you master the rhythm and motion, the entire routine can be done in under 20 minutes. Over time, you’ll finesse your personal variations, building in more swoop, more shape, or even less structure — depending on the vibe you want that day.
Effortless Elegance: The Heated Brush Blowout Tutorial
The Finishing Touch: Blowout Beauty That Moves With You
A flawless blowout is never just about the hair. It’s about the way you walk into a room afterward. The quiet confidence of knowing you look polished but not overdone. It’s about the sway in your shoulders when your ends bounce just right. The way the light catches your strands when you tilt your head mid-laugh. That subtle flip of the fringe that feels like punctuation to your presence.
The heated brush doesn’t just offer convenience — it delivers power. Power to elevate a Tuesday into a runway moment. Power to stretch a wash into four days of unstoppable glam. Power to frame your face, define your style, and command attention without ever raising your voice.
With practice, this becomes more than a routine. It becomes a ritual. A beauty discipline that moves with you, grows with your technique, and transforms your mornings from rushed to radiant.
So don’t just scroll past the next time you see someone say “It’s just a blowout.” You’ll know better. You’ll know that with the right tool, the right rhythm, and the right touch, it’s never just a blowout.
It’s your signature. And now it’s yours to master.
To help you master the elegant heated brush blowout, I’ve put together a list of additional resources. These blogs and articles provide a wealth of information on hairstyles, hair care, and styling techniques that can complement our guide and help you achieve your desired look.
Martha Stewart: Offers a comprehensive guide on how to use a heated styling brush to create easy blowouts. It also provides safety tips and hair prep advice.
YouTube Tutorial by Rachel McKeown: Provides a detailed step-by-step review and tutorial for a salon-grade bouncy blow dry using the Revlon Heated Round Brush.
Lulus.com Fashion Blog: Features an easy tutorial on how to do a 90s blowout.
SUTRA: Shares the most straightforward way to use a blowout brush.
Remember, the joy of hairstyling lies in experimentation and personalization. Use these resources to inspire your creativity and make a hairstyle that suits your personal style. Happy styling!