Perfectly Sleek: Your Ultimate Guide to Flawless Hair Straightening
The Allure of Sleek: A Masterclass in Hair Straightening that Redefines Glamour
There’s something quietly commanding about sleek, straight hair. It doesn't beg for attention. It claims it. Whether cascading down the back like a silk ribbon or tucked behind the ear with clean, architectural precision, perfectly straight hair is a beauty power move. It frames the face with intention. It sharpens every feature. It suggests control and radiance without uttering a single word.
But behind that effortless gloss lies an art form—a ritual of discipline, products, temperature mastery, and technique. The world of modern straightening has evolved well beyond a simple pass of a flat iron. We’re talking pre-treatment serums, sectioning choreography, ionized plates, humidity resistance, and post-gloss sealing. Getting it right is like sculpting. And when it’s done right? It’s transformative.
This post is your deep dive. Not a quick tip. Not a listicle. This is your hair-straightening manifesto—created to teach, elevate, and inspire. Whether you're fighting frizz, chasing a mirror-like shine, or just trying to finally get your ends to stop flipping like rebellious exclamation points, this guide meets you exactly where you are. And then it takes you to the next level.
Let’s begin at the roots—literally and metaphorically.
Why Sleek Hair Holds Cultural Power
The psychology of straight hair is deeply interwoven with fashion, media, and feminine identity. It has long been a symbol of polish, wealth, modernity. From Cleopatra’s ink-straight locks to Cher’s iconic seventies mane, the image of flawlessly straight hair remains etched into the cultural imagination.
In contemporary beauty, the look has expanded. It now holds hands with rebellion (think slick middle parts and sharp bobs), soft power (glass hair on a luxury skincare influencer), or complete sensuality (the wet-gloss runway variant that mimics post-ocean radiance). It’s a hairstyle that adapts to the wearer’s message—and amplifies it.
But what hasn’t changed is this: sleek hair signals precision. And precision is magnetic.
Understanding Your Hair Type Before You Touch the Flat Iron
Hair is not one texture fits all. Before you straighten, you need to know what you’re working with. Is your hair naturally fine? Wavy? Curly? Coarse? Do you have high porosity or low porosity strands? Does your hair get weighed down by product or drink it up like a sponge?
Fine hair needs lower heat settings and lightweight serums that won’t flatten volume.
Curly and coily hair demands intense hydration and a higher heat pass—but only with the right protection.
Frizz-prone hair must be pre-smoothed with products that fight humidity and static.
Color-treated or chemically-processed hair? Extra care, always. Go in with bond-building treatments or thermal reconstructors before styling.
Once you understand your hair blueprint, you can craft a plan—not just for straightening, but for making the results last.
Tools of the Sleek Trade: What to Use and What to Avoid
Not all straighteners are created equal. Choosing the wrong tool is like using a butter knife to carve marble.
Flat Iron Materials
Titanium plates: Best for coarse or curly hair. Heats quickly and penetrates thick strands.
Ceramic plates: Offers even heat. Great for medium to fine hair. Less damaging with daily use.
Tourmaline ceramic: Adds ionizing properties that reduce frizz and seal moisture. Great for dry or flyaway-prone hair.
Plate Width
Narrow plates (1 inch): Precision styling and edge detailing
Wide plates (1.5–2 inches): Long or thick hair, faster pass-throughs
Other must-have tools:
Heat-protectant mist or cream
Detangling brush or wide-tooth comb
Sectioning clips
Blow dryer with concentrator nozzle
Microfiber towel or t-shirt for drying
Boar bristle brush for post-style polishing
Satin or silk pillowcase to preserve results
This is not optional. These are your essentials.
The Anatomy of a Perfect Straightening Routine
This is where most people fail—not during the straightening itself, but everything that comes before it.
Step 1: The Pre-Cleanse Ritual
Start with a clarifying shampoo if you use a lot of products, followed by a hydrating shampoo and conditioner. Your strands must be clean but not stripped. Towel blot gently with a microfiber towel or soft cotton tee to minimize breakage.
Step 2: Layer Your Protection
While damp, apply a leave-in conditioner to soften and detangle. Then layer in a heat protectant serum or spray. If you’re using oils, keep them lightweight and apply only to the mid-lengths and ends.
Step 3: Blowout Basics
Never go in with a flat iron on damp hair. Blow-dry with a round brush or paddle brush to smooth the cuticle first. Use medium heat and always dry in downward strokes to prevent raised cuticles and frizz. Think of this as your pre-straightening blueprint.
Step 4: The Sectioning Breakdown
Divide your hair into four or more sections depending on its thickness. Work from the nape upward, clipping each section securely. Straightening in random chunks leads to uneven results and frizz.
Step 5: The Straightening Pass
Set your iron to a safe temperature for your texture:
Fine hair: 275–325°F
Normal hair: 325–375°F
Coarse or curly hair: 375–450°F (with care)
Glide in slow, consistent passes from roots to ends. Don’t clamp and hold. Let the heat do the work. If you hear sizzle, you’re either going too slow or your hair is still damp. Stop.
The Finishing Touches That Make It Editorial-Level Sleek
Straight hair needs polish. That editorial glassy shine is never an accident.
After straightening:
Use a tiny drop of shine serum or dry oil and run it through the ends with your hands
Mist a lightweight humidity shield spray across the outer layer
For flyaways at the crown, use a clean mascara wand dipped in hairspray to smooth everything down
For ultra-gloss, finish with a pass of the flat iron on the outer layer only after all styling products are set
Want more drama? Tuck it behind the ears with bobby pins or add a center part and tuck the ends into a jacket collar for that model-off-duty precision. A little intentionality goes a long way.
Sleek Hair That Lasts: Preservation Secrets
Sleeping on straight hair is a gamble—unless you prep for it. Here’s how to make the sleek last:
Use a satin or silk pillowcase (cotton creates friction and frizz)
Tie your hair into a loose low pony or bun
Use a satin bonnet if your hair is prone to reverting overnight
In the morning, refresh with a dry oil mist and a boar bristle brush. You may only need to re-touch the face-framing sections.
If you live in a humid climate, stash an emergency mini iron or a smoothing serum pen in your bag. Weather doesn’t play fair.
Straight Hair Styling Ideas That Keep the Look Fresh
Let’s say you nailed the straight look. Don’t stop there. Use it as a canvas.
Glass hair lob: Tucked and pinned behind one ear with bold earrings
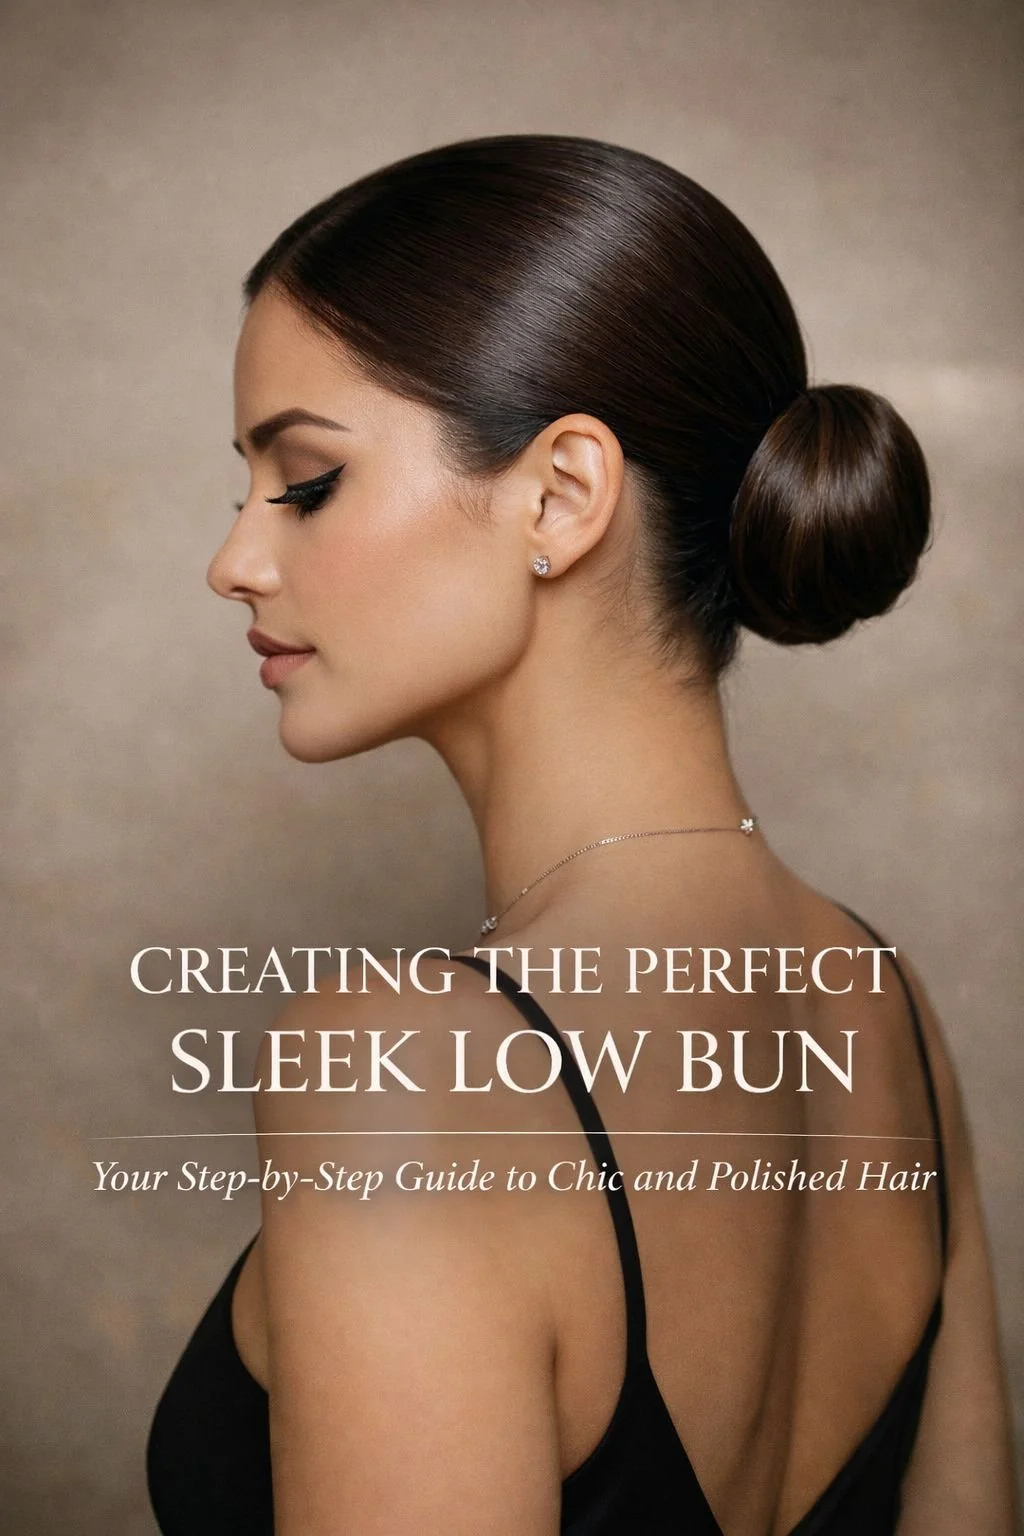
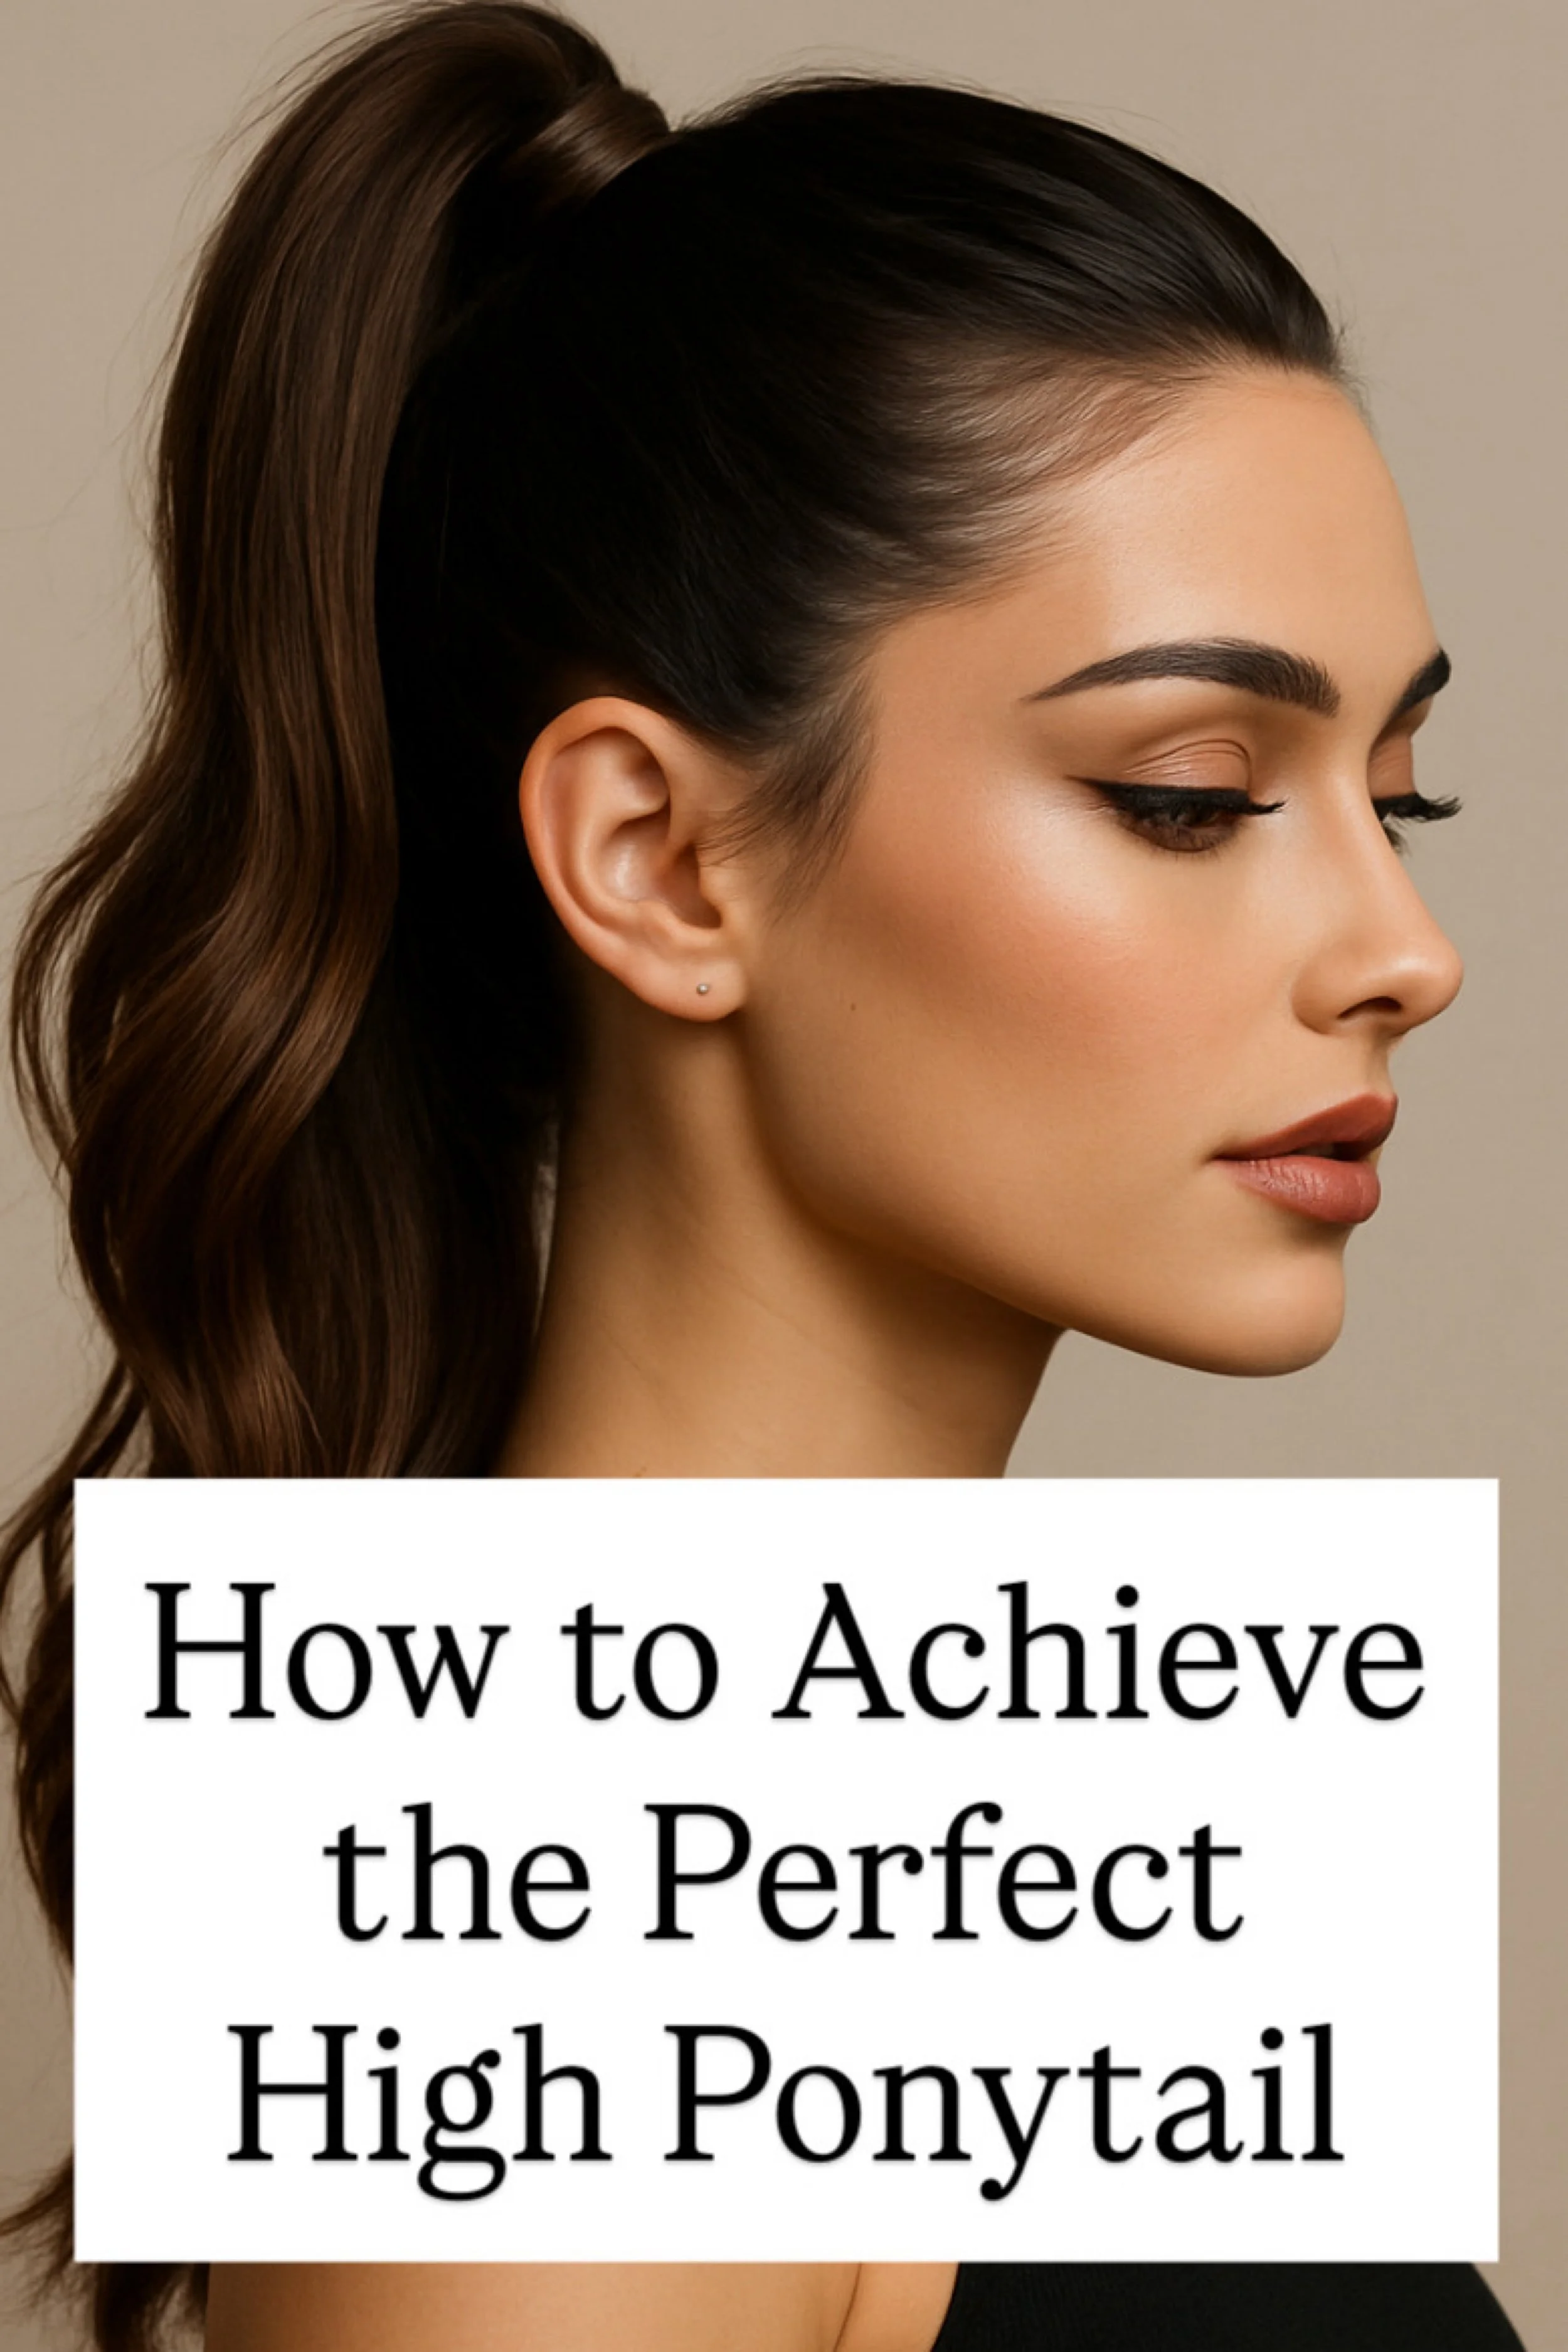
Sleek ponytail: Center-parted, low at the nape, wrapped with a strand of hair
Straight ends with curled bangs: Softens the look while keeping the structure
Half-up twist with jeweled pins: Adds softness while keeping polish
Face-framing strands with the rest tucked back behind a headband or scarf
A sleek base can go playful, romantic, or powerful depending on how you dress it. This is versatility on a silver platter.
Final Thoughts: The Art of Mastery
The reason some women seem to make straight hair look expensive is not genetics—it’s habit. They don’t rush the process. They respect each step. They invest in tools that preserve integrity. They make the look feel intentional every time.
Sleek hair is more than just a trend or a technique. It’s a statement about control, precision, care, and self-presentation. It doesn’t scream. It whispers in velvet tones. And when the light hits it just right, it turns heads in slow motion.
Now that you’ve mastered the full framework, it’s time to get practical.
Below, you’ll find our step-by-step tutorial designed to walk you through the exact method—from prepping strands to locking in shine. This is where theory becomes action. This is where you learn to turn your hair into silk.
Let’s begin.

Perfectly Sleek: Your Ultimate Guide to Flawless Hair Straightening
@hairflairaffair Repost from @audboos • how to straighten your hair the RIGHT way 🧖🏻♀️ #hairtutorial #straighthair #hairtok ♬ original sound - Hair Flair Affair
The Step-by-Step Ritual to Perfectly Sleek Hair
Straightening your hair isn’t just a beauty routine—it’s a transformation ceremony. When done with precision, it turns chaos into clarity and frizz into silk. Below is your fully elevated breakdown of how to get that flawless, sleek finish at home, with no shortcuts and no regrets. Whether your hair is wavy, curly, coarse, or unruly, this guide adapts to your texture and your vision.
Step 1: Start with a Clean Slate
Healthy sleekness begins in the shower. Use a sulfate-free clarifying shampoo if your hair has buildup or heavy product residue. Follow with a moisturizing or smoothing conditioner designed for your hair type. Look for ingredients like argan oil, keratin, biotin, or shea butter—these help smooth the cuticle and prepare strands for heat styling.
Pro Tip: After rinsing your conditioner, blast your hair with a final cold water rinse to lock down the cuticle and add natural shine.
Step 2: Gently Towel Dry—Never Rub
Avoid wrapping your hair in a rough towel turban. That friction causes frizz and breakage. Instead, blot your hair with a microfiber towel or soft cotton T-shirt to soak up excess water. Never twist, scrub, or rub your strands.
If your hair is very curly or textured, work a detangling spray through while damp to make brushing easier later.
Step 3: Apply Your Heat Shield Like a Stylist
This is the most crucial layer of protection. Select a heat protectant suited to your hair’s needs: lightweight spray for fine or oily hair, creamy balm for thick or dry strands, or a hybrid serum for frizz-prone types. Distribute the product evenly from roots to ends using your fingers or a wide-tooth comb. Do not skip this. Your future self will thank you.
Step 4: Blow Dry with a Purpose
Never use a flat iron on damp hair—it can cause sizzling, steam damage, and even breakage. Always blow-dry your hair fully first. Use a round brush or paddle brush depending on your hair type.
For smoothness: use a round ceramic brush and direct the nozzle downward to keep the cuticle sealed.
For volume: lift at the roots and pull hair forward as you dry.
For speed: section your hair into four parts and work from the bottom up, clipping each section as you go.
Optional Add-On: Apply a smoothing blow-dry cream or lightweight serum before drying to cut frizz and speed up straightening.
Step 5: Section Like a Pro
Once your hair is dry, it’s time to create your blueprint. Divide your hair into four to eight sections depending on thickness and density. Use salon clips to hold each section in place.
Work from the nape of your neck upward and from inner layers outward. This method ensures you never miss a spot, and each strand gets the attention it deserves. The secret to sleek isn’t in the heat—it’s in the control.
Step 6: Choose the Right Flat Iron Temperature
Heat settings should be based on your hair’s needs, not guesswork. Here’s a general guide:
Fine or damaged hair: 275°F to 325°F
Normal hair: 325°F to 375°F
Coarse or curly hair: 375°F to 450°F
Use a professional-grade flat iron with ceramic, tourmaline, or titanium plates. Thin plates give precision. Wide plates cover more ground. Avoid using the highest heat if it’s not needed.
Step 7: Glide, Don’t Clamp
Take a small subsection from your first clipped section. Clamp your flat iron at the root and glide slowly down to the ends in one smooth motion. Do not pause, sizzle, or go back and forth over the same strand.
If your hair is extremely curly or coarse, you may follow the “chase method” using a fine-tooth comb in front of your flat iron for added tension and precision. One slow pass is better than three rushed ones.
Repeat this on each subsection, moving systematically until your entire head is sleek.
Step 8: Tame the Flyaways
After all sections are done, step back and assess. If you see static, frizz, or puffiness along the crown or sides, mist a little anti-frizz spray or rub a pea-sized amount of serum between your palms. Lightly smooth your hands over the surface to compress and polish.
You can also use a clean toothbrush or disposable mascara wand dipped in hairspray to smooth baby hairs or edge flyaways.
Step 9: Finish with a Glass-Like Shine
Now’s the time to bring your sleekness to editorial levels. Pick a dry oil, shine mist, or silicone-based glossing spray and apply sparingly—mid-lengths to ends only. Overdoing it can flatten the style or make it greasy. Think runway gleam, not product overload.
For an even glossier finish, you can do a final light pass with your flat iron after applying your shine product—but only if your hair still feels fully dry and heat protected.
Step 10: Lock in the Look
If you want the sleekness to last more than a day, you’ll need a few final rituals:
Lightly mist with a humidity-resistant spray
Sleep on a satin or silk pillowcase
Tie hair into a low loose braid or bun before bed
Use a satin scarf or bonnet to preserve the shape
Avoid water, steam, or excessive sweating immediately after styling
In the morning, refresh the look with a brush-down, a mist of dry conditioner, or a few retouches on face-framing sections if needed.
Bonus: Troubleshooting Common Issues
Problem: Hair puffs back up after straightening
Fix: Use a humidity-resistant serum or finishing spray and reduce water content during prep. Also double-check if your hair was 100% dry before ironing.
Problem: Ends feel dry and stiff
Fix: You’re likely using too high of a temperature or skipping heat protectant. Add a nourishing hair oil to your nightly routine and trim split ends regularly.
Problem: Greasiness at roots
Fix: Keep product off the root area and refresh with a dry shampoo mist the next day to absorb excess oil without disrupting your style.
Problem: Hair won't stay straight
Fix: Your flat iron may not be hot enough, or your hair needs more tension during straightening. Consider using the chase method and investing in a higher quality tool.
Final Touches: Custom Styling Ideas
Sleek straight hair doesn’t mean boring. Here are a few style upgrades you can try post-straightening:
Add a jeweled clip to one side for a glam asymmetric finish
Part sharply in the center and tuck behind both ears for a clean, editorial silhouette
Try a deep side part with one side pinned back for dramatic flair
Pull the front back into a half-up style with a velvet scrunchie or gold barrette
Add a headband or scarf wrap for a retro-meets-modern twist
Each of these adds personality without undoing all your precision work.
You Made It: Your Sleek Era Has Officially Arrived
Straight hair isn’t just a texture. It’s an aesthetic statement. It says you're in control. You know what you want. You understand detail. The ritual of straightening invites you to slow down, take ownership of your beauty, and step into your day already polished.
The shine is just the beginning.

Perfectly Sleek: Your Ultimate Guide to Flawless Hair Straightening
Sleek hair is never just about aesthetics. It’s about intention. Precision. Power. Every smooth pass, every crisp part, every glint of shine is a reflection of control—of taking your time, understanding your texture, and shaping it into something undeniably polished. You didn’t just straighten your hair. You elevated it. You took the chaos and made it elegant.
That’s what makes sleek hair so iconic. It’s timeless, but never boring. Clean, but never flat. It can be minimalist or maximalist, fierce or soft, depending on how you wear it. And now, you don’t just know how to achieve the look—you understand the ritual behind it. The prep. The technique. The finesse.
This isn’t about chasing trends. It’s about mastering one of the most refined beauty statements out there and wearing it with confidence. Because sleek hair doesn’t scream for attention—it already has it. Now go let that shine catch the light, and walk into the room like you’re the reason the air shifted. You are.
Welcome to “Perfectly Sleek: Your Ultimate Guide to Flawless Hair Straightening,” where we explore the art of achieving beautifully smooth and sleek hair. Whether you’re preparing for a special occasion or simply seeking to refine your everyday look, this guide is designed to provide you with the knowledge and techniques necessary for perfect hair straightening. To complement your reading and enhance your hair styling journey, we’ve carefully selected a variety of sources, each linked by a keyword, to offer you a comprehensive understanding of the process. Embrace the elegance of flawlessly straight hair and let these resources guide you to your sleekest self.
Flawless Hair Straightening Sources:
Frizz-Free: AnitaSamantha’s video tutorial shows how to achieve straight, sleek, and frizz-free hair.
Expert Tips: Tymo Beauty’s blog provides top hair straightener tips for achieving sleek styles.
Shampoo: We Heart This lists the top hair-straightening shampoos for sleek, smooth hair.
May these sources be your allies in the quest for the perfect sleek hairdo. Enjoy your styling adventure!