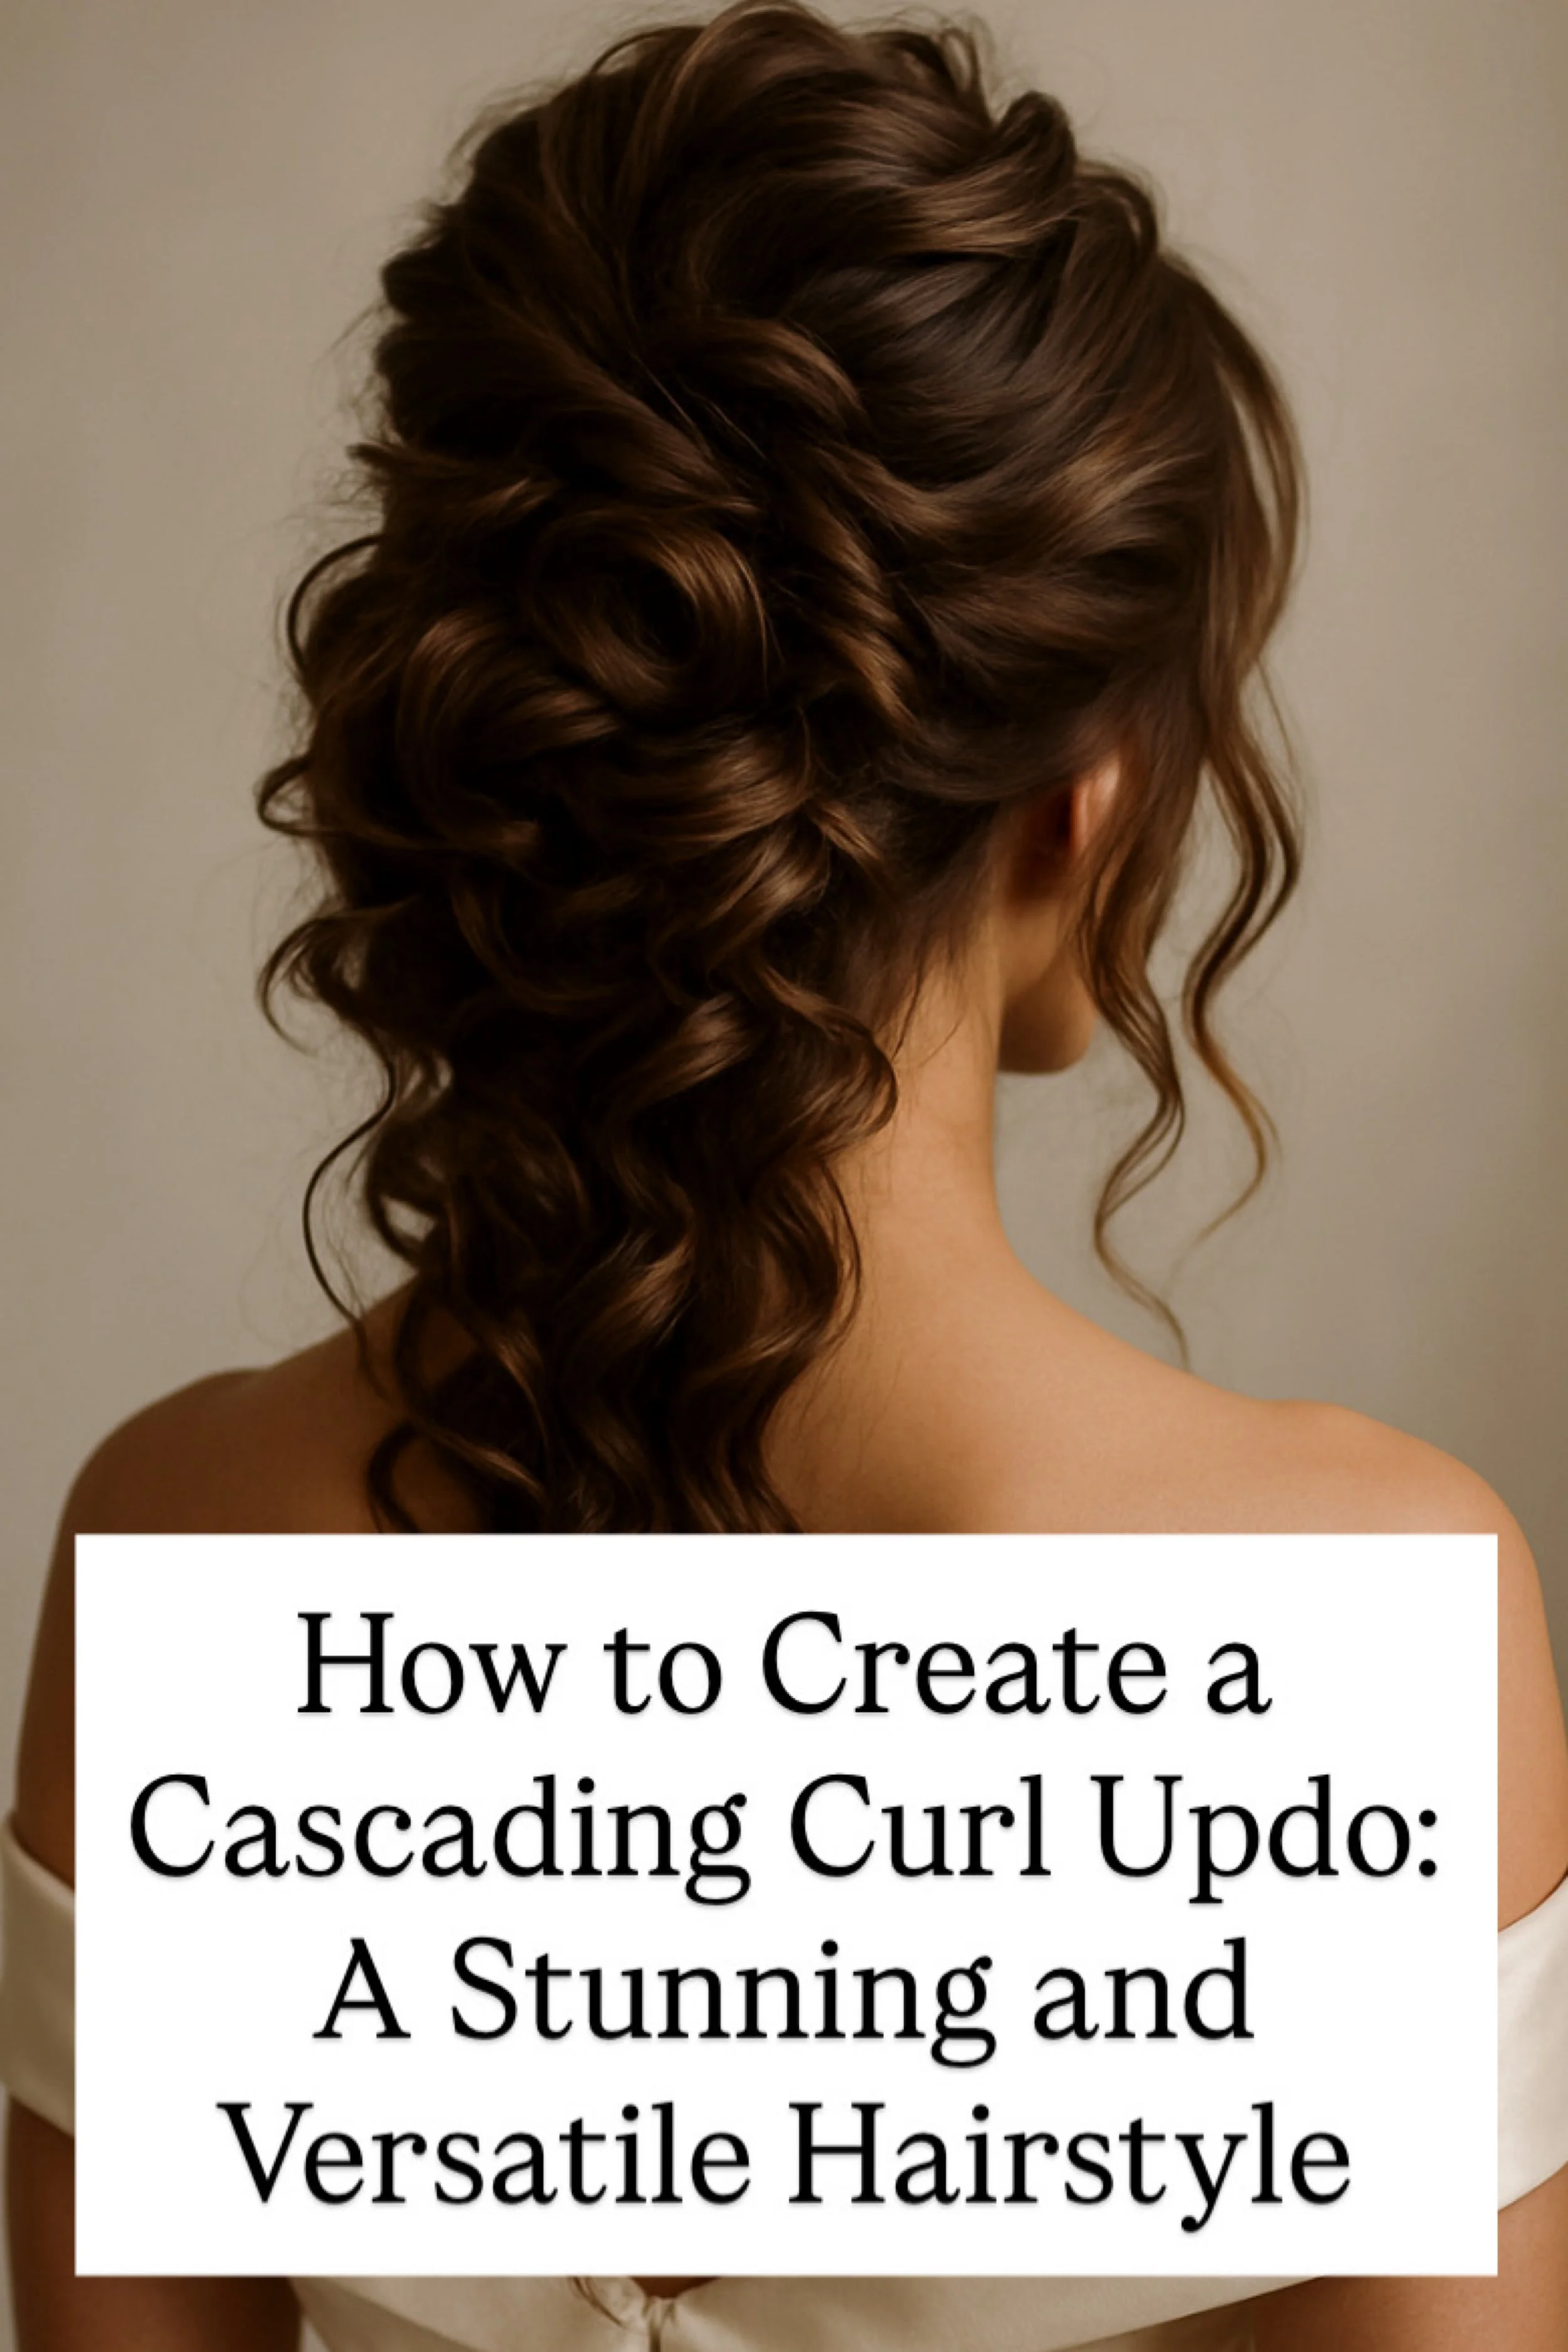
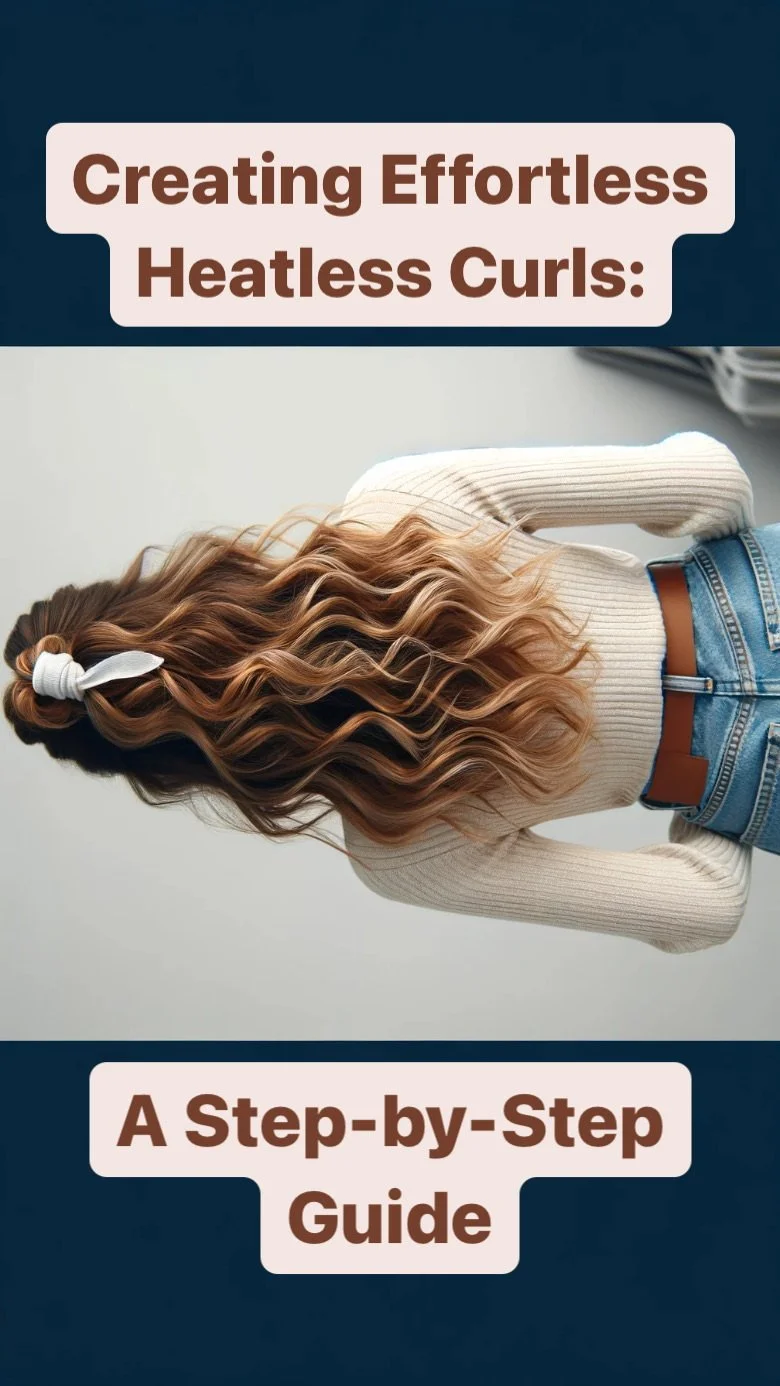
Creating Effortless Heatless Curls: A Step-by-Step Guide
Embracing the Art of Effortless Beauty: A Deep Dive into Heatless Curls
There’s something undeniably alluring about a head full of soft, voluminous curls. They sway with confidence, hint at rebellion, and somehow always feel just a little bit extra. But the pursuit of curls has long come at a cost—split ends, scorched strands, and that unmistakable scent of singed hair. We’ve been taught to tame our texture or transform our straight strands with curling wands, hot rollers, and flat irons. And while modern heat tools have evolved, their long-term effects haven’t disappeared. If you’ve ever caught your reflection under fluorescent light only to realize your hair’s sheen is really just breakage... you’re not alone.
This post isn’t here to scold you for heat styling. Instead, it’s here to offer a quieter rebellion. One that ditches damage for patience, and high heat for a little ingenuity. Enter: the era of heatless curls—a beauty renaissance that’s been quietly building behind the scenes. Not new, not trendy, but timeless. It’s a movement rooted in care, artistry, and the kind of slow beauty that actually delivers longer-lasting results with fewer regrets.
Let’s unravel the history, the methods, and the psychology behind heatless curls, and why this old-school technique is making the ultimate comeback in the high-speed world of today.
The Haircare Industry's Quiet Reckoning
The average woman cycles through dozens of products trying to achieve “effortless” hair. That word alone—effortless—has become the beauty industry’s most deceptive promise. We’ve been sold shampoos, masks, glosses, and sprays, all meant to restore what we’ve unknowingly stripped away with heat. Every hot tool tutorial is followed by a product haul meant to repair, protect, or fake the appearance of healthy hair.
But what if the most powerful shift in your routine wasn’t a product, but a method? Something so low-tech, it doesn’t even plug in?
Heatless curling techniques have existed for centuries. From rags tied overnight to soft foam rollers worn while reading novels by candlelight, women have always found creative ways to shape their hair while they slept. These methods fell out of favor as time became scarce and convenience overtook patience. But in today’s era of wellness, minimalism, and mindful beauty, heatless curls are having their moment once more.
Why Heatless? Why Now?
Women are busy. Between work, parenting, commuting, relationships, and the ever-growing pressure to be both high-performing and camera-ready, our hair can quickly become a casualty of our schedules. Heatless curls offer something rare: the ability to multitask beauty with rest. You can be deep in REM sleep while your waves are setting.
But there’s more. Choosing heatless curls means choosing hair health. You’re giving your strands time to strengthen, your ends a chance to remain intact, and your natural oils a role in nourishing your scalp. It also means styling with purpose—an intentional act of self-care that speaks to the rhythm of slow beauty.
There’s a confidence that grows when your beauty routine aligns with your values. Going heatless means you can look good without damage. It means your shine is real, not sprayed on. Your volume is natural, not teased and shellacked into submission.
Debunking the Myths
Let’s address the skeptics.
Myth 1: Heatless curls only work on naturally wavy or fine hair.
False. With the right products, sectioning techniques, and tools, nearly every hair type can achieve heatless curls—from pin-straight strands to 4C coils. The results will vary in texture and tightness, but they will hold.
Myth 2: They take too long.
Yes, they take longer to set. But the active time—your effort—is minimal. Think of it like baking bread: slow rise, beautiful finish. You’re not standing in front of a mirror for 45 minutes; you’re winding down for the night while your hair does its thing.
Myth 3: It looks old-fashioned.
Only if you make it look that way. Today’s heatless methods are chic, Instagrammable, and wildly adaptable. You can go full cottagecore with ribbons and rags or opt for sleek satin rods and modern twists. There is a method to suit your vibe.
Understanding the Science of Curl Formation
Hair memory plays a big role in curl longevity. When wet or slightly damp, your hair’s hydrogen bonds temporarily break and become pliable. By wrapping your hair around a form—whether a rod, roller, or even a belt—you’re guiding it into a new structure. As your hair dries, the hydrogen bonds re-form, locking the curl pattern into place.
This is the same science behind curling irons, only minus the scorching temperatures. Heat forces rapid bond breaking and re-setting, which is faster but more damaging. Heatless methods simply give your hair more time to achieve the same result—minus the trauma.
The Texture Spectrum: Matching Methods to Hair Type
Heatless curls are not one-size-fits-all. Matching your method to your hair texture is key.
Fine Hair:
Opt for no-slip tools like velcro rollers, flexi rods, or silk curl ribbons. Use volumizing mousse before wrapping to create bounce without weighing the hair down.
Medium Hair:
You have options. Most heatless curling methods will work for you. Satin-wrapped rods, bathrobe tie curls, or French twist overnight buns are all effective.
Thick or Coarse Hair:
Moisture and hold are your friends. Prep your damp hair with a curl cream or setting lotion. Try bantu knots, large twists, or chunky braids secured with soft scrunchies. Add a silk wrap overnight to preserve moisture.
Curly or Coily Hair:
You already have curl pattern—this is about re-defining it. Use heatless curlers to stretch, define, or reshape your natural curls. Flexi rods, perm rods, and banding methods are amazing tools. Just be sure to detangle and section evenly.
The Ritual of Nighttime Beauty
There’s something sensual, almost romantic, about preparing your hair for heatless curls. You detangle slowly, perhaps with a wide-tooth comb or boar bristle brush. You massage a nourishing product through your strands. You separate and wrap each section with care. There’s no rush. No buzzing tools. Just you, a mirror, and the soft sounds of your nighttime routine.
For many women, this becomes a ritual. The same way skincare routines become a meditative wind-down, heatless curling is a way to care for your crown without rushing. It’s an act of self-respect. A softness.
And when you wake up, unraveling each curl becomes its own reward. A small unveiling. A quiet magic.
Bonus: Sustainability and Style
Heatless methods are not just gentle on your hair—they’re gentle on the planet. Less electricity use, fewer broken tools in landfills, and less product waste. A curling wand burns energy with every use. Heatless tools? They last for years.
Plus, you’ll spend less time and money trying to reverse damage. No more emergency trims. No more weekly deep-conditioning panics. Just long-term gain.
The styles themselves are also versatile. Heatless curls are not just for loose waves. You can create spirals, beachy texture, glamorous ringlets, or brushed-out vintage volume—all with a little creativity.
Empowerment in the Everyday
There’s power in reclaiming your beauty routine. Power in saying no to the pressure to “get ready faster” or “curl your hair in 10 minutes flat.” Not everything has to be instant. Not every curl needs to be burnt into place.
By choosing heatless curls, you’re choosing an aesthetic that honors softness, patience, and elegance without punishment. You’re learning to work with your hair, not against it. And in doing so, you’re rediscovering what beauty can feel like when it’s both real and gentle.
Let’s Get Practical
Ready to wrap, twist, roll, or braid your way to heatless perfection? We’ve compiled the best modern methods for you to explore, complete with steps, tips, and options for every lifestyle. Whether you’re a beginner who just wants a soft wave, or a seasoned beauty lover experimenting with overnight volume, there’s a technique below that will fit seamlessly into your schedule.
Each method is designed to be beginner-friendly, low-effort, and stylish. No tight pincurls unless you want them. No crunchy ends or unbrushable tangles. Just wearable beauty that begins while you rest.
Scroll down and explore our full guide below.

Creating Effortless Heatless Curls: A Step-by-Step Guide
@hairflairaffair Repost from @bebbyblog • #hairtutorial #hairstyle ✨ Transform Your Hair Overnight! ✨ #HeatlessCurls #HairTok #DIYBeauty #SockCurls Say goodbye to heat damage and hello to bouncy curls with this easy trick! 🌀💤 What you need: • 2 socks 🧦 • Damp hair 💦 • Some patience 😉 How to: 1. Part & tie your hair into sections. 2. Wrap your hair around a sock from ends to roots. 3. Secure it and have beauty sleep! 😴 4. Gently unwrap in the morning for amazing curls! Swipe ➡️ for the full tutorial! Trust me, it’s a game changer! #HairHacks #BeautyTips #OvernightCurls #NoHeatWaves ♬ original sound - Hair Flair Affair
The Ultimate Step-by-Step Guide to Heatless Curls: Your Path to Luxurious Texture Without Heat
Heatless curls aren’t just a trend—they’re a movement. A declaration of elegance, patience, and care. Whether you’re after soft waves that feel like a gentle ocean breeze or tighter spirals with a vintage edge, this comprehensive step-by-step guide will walk you through every method and trick to master the art of curling without ever plugging in a tool.
This guide is structured to be flexible, so you can choose the approach that suits your lifestyle, hair texture, and the final look you desire.
STEP 1: Begin With the Right Hair Condition
Start Damp, Not Soaked
Heatless curls need a little moisture to take shape. The sweet spot is towel-dried or lightly misted hair—not dripping wet. Water helps soften the hydrogen bonds inside the hair shaft, which allows curls to form and set as the hair dries.
Product Prep: Prime for Hold and Shine
You’ll want to add a styling product that helps hold the curl once set:
Fine hair: A lightweight volumizing mousse or texturizing spray
Medium hair: A light styling cream or curl-enhancing leave-in
Thick/coarse hair: A nourishing curl cream or setting foam with light hold
Apply evenly through damp hair, focusing on the mid-lengths to ends. Comb through with a wide-tooth comb to eliminate tangles and distribute product.
STEP 2: Pick Your Curling Method Based on Your Hair and Mood
Below are five effective methods that offer distinct curl shapes and vibes. Each includes detailed technique steps.
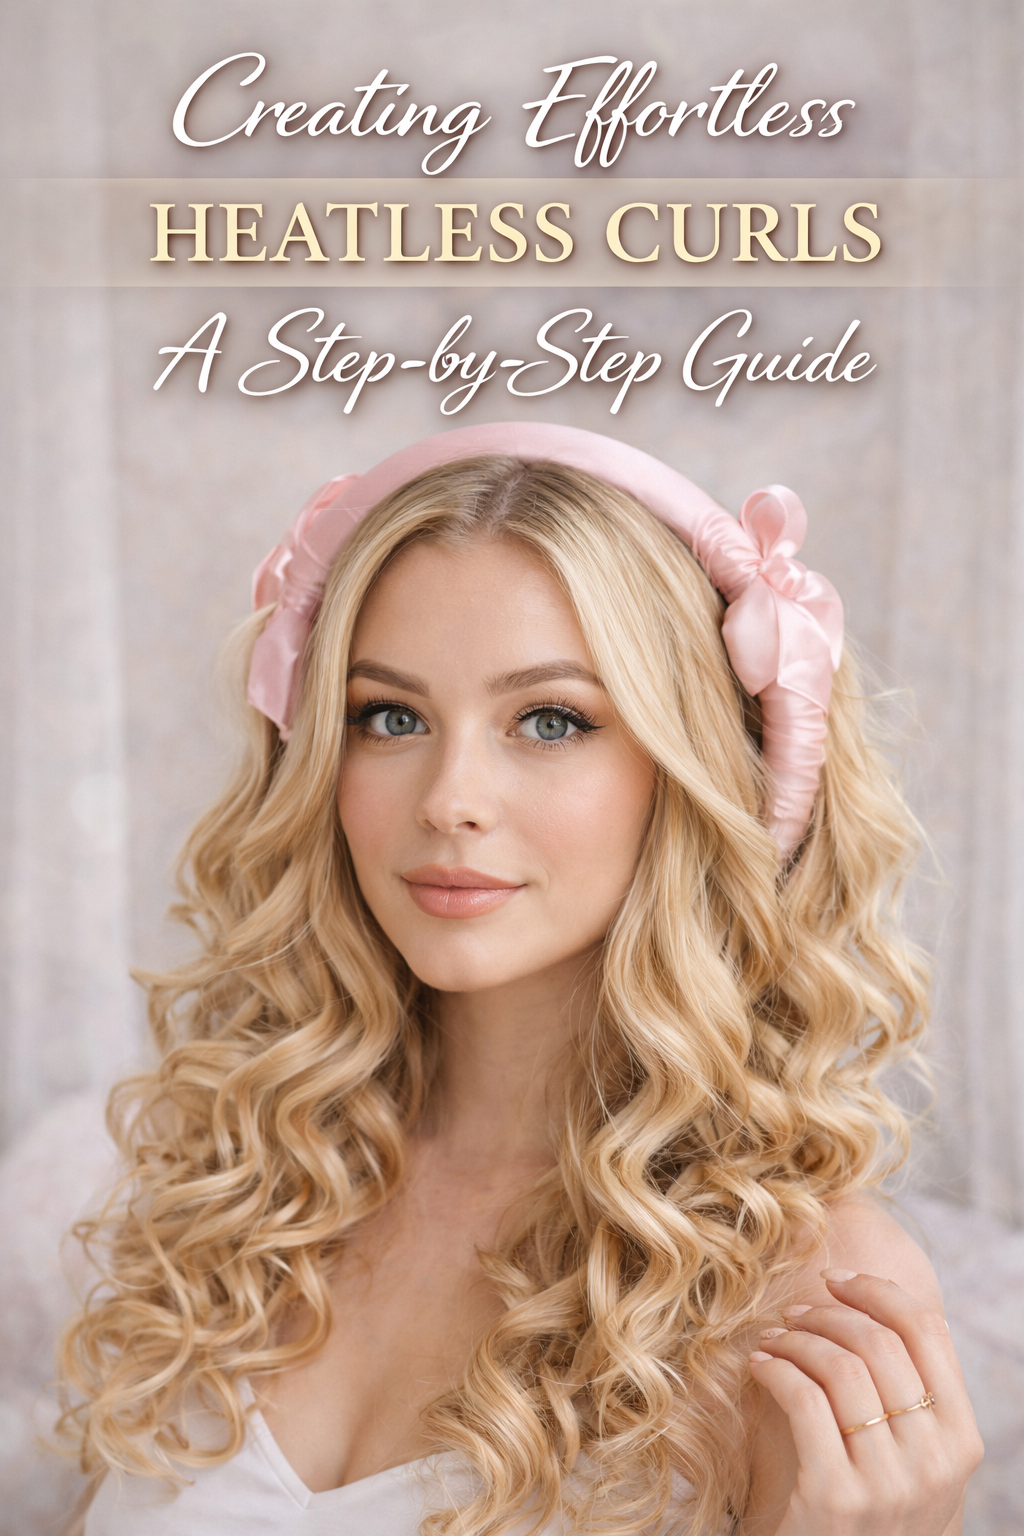
Method 1: Bathrobe Tie Curls (The Viral Classic)
Perfect for: Soft, voluminous waves similar to hot tool blowouts
What You’ll Need:
A long, soft fabric tie (like a bathrobe belt or satin curl ribbon)
Two scrunchies
Optional: Hair clip
Steps:
Part your damp hair down the middle and place the tie over the top of your head like a crown.
Use a clip to secure it temporarily at the top.
Begin on one side. Take a small front section of hair and wrap it around the tie, away from your face.
Add more hair to the section as you wrap (like a French braid motion), continuing until all hair is wrapped.
Secure the ends with a scrunchie and repeat on the other side.
Leave it overnight, or at least 6 hours.
In the morning, gently unravel and shake out the curls with your fingers.
Style Tip: Add a silk scarf over everything for a more secure overnight set and frizz protection.
Method 2: Sock Curls (Clever and Comfy)
Perfect for: Defined curls with bounce and minimal frizz
What You’ll Need:
4–6 clean, long socks
Small elastics or satin scrunchies
Steps:
Divide your damp hair into 4–6 equal sections depending on your hair thickness.
Lay the sock against the section from the root downward.
Wrap the section of hair around the sock in a spiral motion.
Tie the ends of the sock into a loose knot to hold the curl in place, or use a scrunchie at the end.
Repeat for each section.
Sleep in them or leave in for several hours.
Unwrap gently and separate curls with your fingers.
Style Tip: Lightly mist each section with setting spray before wrapping for extra staying power.
Method 3: Bantu Knots (Bold and Beautiful Definition)
Perfect for: All textures, especially natural or coily hair
What You’ll Need:
Sectioning clips
Small elastics or bobby pins
Steps:
Section damp hair into 6–12 equal parts depending on your thickness and desired curl tightness.
Take one section, twist it tightly from root to end until it starts to coil on itself.
Wrap the twist into a tiny bun (like a snail shell) and secure it with a bobby pin or small elastic.
Repeat for all sections.
Sleep in the knots overnight.
Unwind gently, separating the curls with oiled fingertips.
Style Tip: Use a light oil or shine serum on your hands while unraveling to avoid frizz and add sheen.
Method 4: Flexi Rods or Foam Rollers (Salon-Level Definition)
Perfect for: Spiral curls with a polished finish
What You’ll Need:
Flexi rods or foam rollers in your preferred size
Rat-tail comb
Satin scarf or bonnet
Steps:
Apply setting lotion or mousse through damp hair.
Section hair into small parts using a rat-tail comb.
Roll each section around a flexi rod from the end upward toward the scalp.
Bend both ends of the rod to secure the roll in place.
Continue until all hair is set.
Let dry completely—preferably overnight or with a bonnet dryer.
Gently unwind each rod and separate with fingers or a pick.
Style Tip: Use smaller rods for tighter curls and larger ones for soft waves. Do not brush—use fingers to fluff.
Method 5: Braided Curls or Rope Twists (Low-Effort, High-Impact)
Perfect for: Soft beachy texture or romantic ripples
What You’ll Need:
Sectioning clips
Hair ties
Silk bonnet (optional)
Steps:
Divide damp hair into 4 to 8 sections depending on hair density.
For classic waves, braid each section. For looser waves, do fewer braids. For tighter definition, create smaller ones.
For more volume, do rope twists by splitting each section into two and twisting them around each other.
Secure the ends with soft hair ties.
Sleep overnight or let dry fully.
Unravel in the morning and fluff the hair.
Style Tip: For more bend near the roots, French braid each section rather than starting mid-length.
STEP 3: Lock in the Curls Without Weighing Them Down
Once your curls are unraveled, it’s time to lock in the magic:
Use a light mist of flexible-hold hairspray to maintain bounce without stiffness.
Flip your head upside down and tousle with fingers for volume.
Avoid brushing unless you’re going for a brushed-out vintage glam look. A wide-tooth comb or your hands are enough.
Optional finishing touches:
Add dry shampoo to the roots for extra lift
Mist with shine spray for that polished finish
Use a drop of hair oil to smooth any flyaways
STEP 4: Maintain the Style for Days
Want those curls to last? Here’s how to protect and revive:
Sleep with a satin or silk pillowcase to reduce friction and preserve shape.
Pineapple your hair at night with a loose scrunchie to keep volume intact.
Use a curl-refreshing spray or water and leave-in mix to rehydrate curls each morning without starting from scratch.
Re-braid or twist sections nightly if needed to reshape and extend longevity.
STEP 5: Troubleshooting Common Issues
Problem: Curls fall flat quickly
Fix: Try smaller sections when wrapping, use more product, and allow more time to fully dry. Hair that’s still damp won’t hold a shape.
Problem: Too much frizz
Fix: Wrap hair tighter, use satin fabric where possible, and apply an anti-frizz serum during styling.
Problem: Uneven curl shapes
Fix: Use consistent section sizes and tension. Take your time wrapping or braiding evenly.
BONUS: Add Your Signature Twist
Your curls can become a personal signature. Play with placement, parting, and accessories:
Middle part for symmetrical glam
Side part for old-Hollywood flair
Ribbon-tied ends for a romantic look
Claw clips for Y2K flair
Headbands or barrettes to frame your face
You’re not limited to replicating what you see—you’re invited to create what feels true to you.
Now that you’ve mastered the methods, there’s only one thing left to do: embrace the results.
Whether you’re walking into a meeting, heading to brunch, or just feeling yourself while folding laundry, there’s something transformative about waking up with hair that says I cared for myself. Not with heat. Not with haste. But with intention.
Creating Effortless Heatless Curls: A Step-by-Step Guide
The Beauty of Choosing Care Over Convenience
There’s a quiet kind of rebellion in choosing heatless curls. In a world that moves fast, rewards shortcuts, and applauds high-heat instant transformations, you’re choosing a slower, softer path. One that prioritizes long-term health over immediate results. One that favors nourishment over damage. One that honors the natural rhythm of your hair instead of forcing it into submission.
Heatless curls aren’t just about skipping heat tools. They’re about reclaiming your beauty ritual as something indulgent, intentional, and sustainable. They’re about waking up and seeing your reflection without damage control. They’re about having options—about realizing that you don’t need to burn, blast, or strain your strands to feel radiant.
Each night you wrap, twist, knot, or braid, you’re not just setting curls. You’re setting boundaries. You’re deciding that beauty doesn’t have to hurt, rush, or come at the expense of your future self. You’re turning haircare into a love language. And that’s the kind of beauty that radiates through everything else.
So whether you’re curling for a big event, a romantic night in, or just because you deserve to feel good while making your morning coffee—know that every curl formed without heat is a small triumph of care. A soft victory. And a beautiful reminder that sometimes the most powerful results come from the gentlest methods.
Your crown deserves patience. Your strands deserve mercy. And you deserve to look in the mirror and fall in love—with the curl, the care, and the woman who created it.
Now go unravel your masterpiece.
As you delve into the world of heatless curls, we understand the importance of having a wealth of knowledge at your fingertips. To enhance your reading experience and provide you with a treasure trove of inspiration, we’ve curated a comprehensive list of blog sources. These resources are brimming with tips, tricks, and tutorials that will guide you through the process of creating beautiful curls without the heat. So, let’s dive in and explore the art of heatless hairstyling together!
These resources will not only guide you to achieve the curls of your dreams but also inspire you to experiment with new styles and methods. Remember, the journey to mastering heatless curls is as rewarding as the stunning results. Enjoy the process and embrace the natural beauty of your hair!
Warm regards, Your Guide to Gorgeous Curls