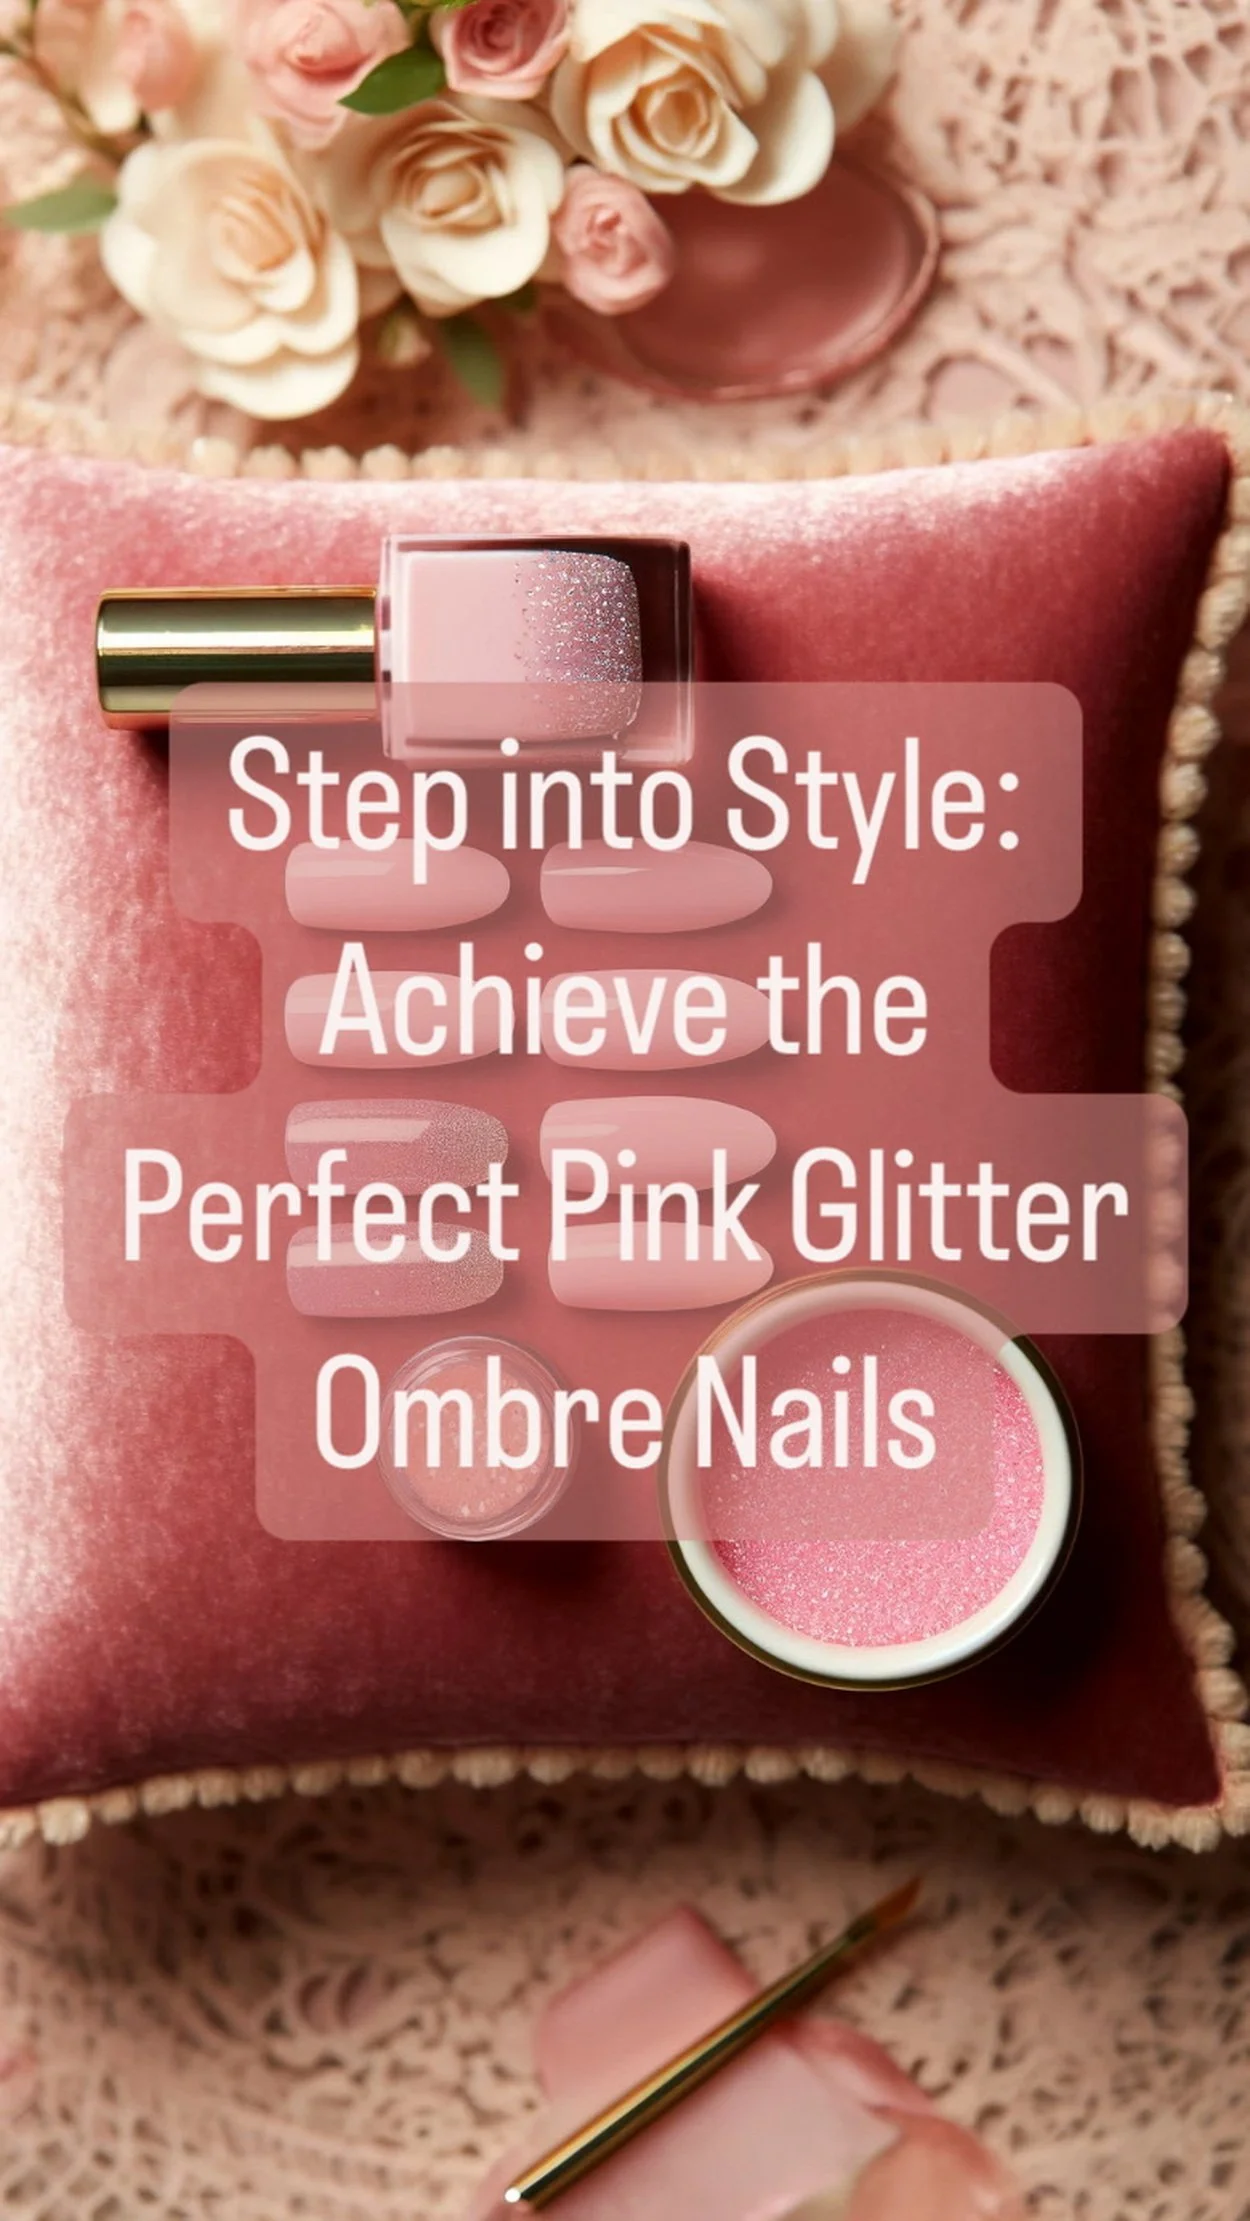
Step into Style: Achieve the Perfect Pink Glitter Ombre Nails

The Allure of Ombré: Why Pink Glitter Nails Are the Ultimate Statement of Soft Power and Sparkle
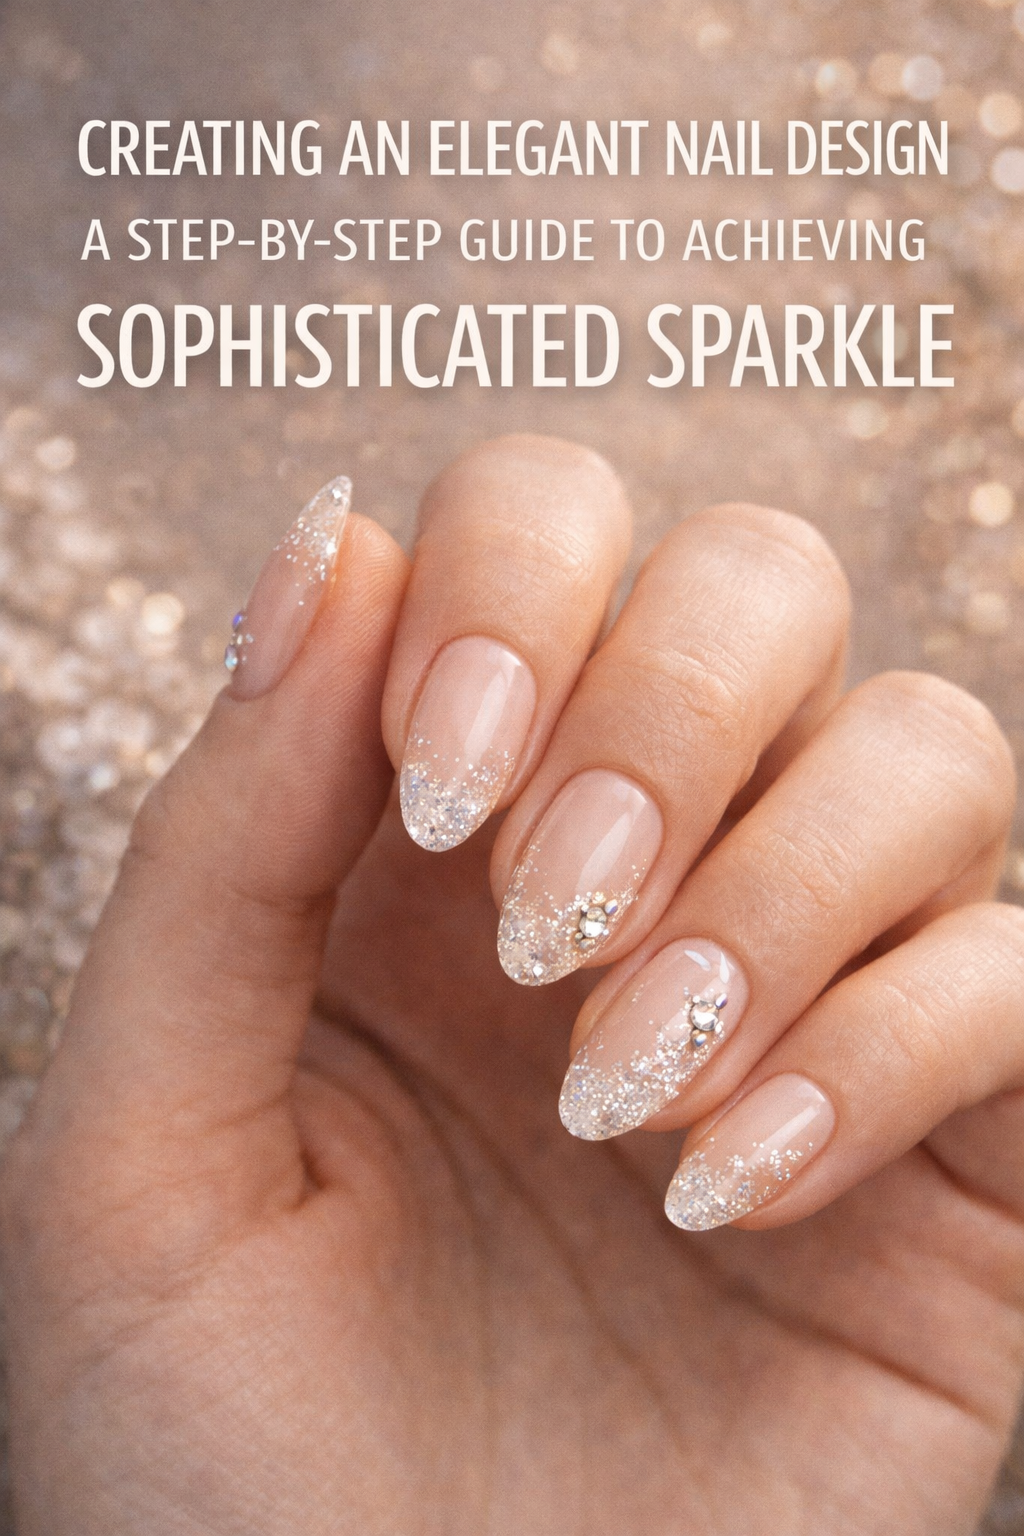
In the ever-shifting world of nail aesthetics, one look has remained timeless and untouchably chic—pink glitter ombré. It’s more than a passing trend. It’s a statement of polish, power, and playful femininity. Whether you’re slipping into stilettos for a night out or typing with manicured grace at your desk, pink glitter ombré nails are a small act of beauty rebellion. They demand attention without raising their voice. They shimmer with confidence but never shout. And above all, they speak to the part of us that wants to sparkle, quietly but unmistakably, in a world that often asks us to tone it down.
Let’s be honest. There’s something almost magical about watching two shades blur together at your fingertips. Ombré art has always carried a certain mystique, and when you add glitter into the equation—specifically a pink base that ranges from pale ballerina to bold Barbie—you’ve landed in nail heaven. These nails work for every season. In spring, they echo blooming peonies and cotton candy skies. In summer, they catch the sunlight and turn heads poolside. Fall and winter? They’re your built-in sparkle for holiday parties and cozy sweater selfies. Few looks have this level of year-round adaptability without ever feeling tired.
But beyond the aesthetics, this particular look embodies a mindset. Pink glitter ombré nails are about self-love. They’re a form of soft armor. The kind of small indulgence that makes you feel put together even when everything else is chaos. You can wear them with a designer gown or with sweatpants and still feel like you have your life figured out. Because it’s not about the glitter. It’s about the intention. Choosing to sparkle in a world that wants you to be neutral.
The Psychology of Pink and Glitter
Let’s go deeper. Why pink? Why glitter? And why do the two together feel like visual serotonin?
Pink has long been associated with femininity, but it’s evolved into something far more layered. Today, pink represents confidence, individuality, and even quiet protest. It says: I’m not here to play small. It carries that “I’m soft, but don’t mistake me for weak” energy. Whether it’s blush, bubblegum, fuchsia, or dusty rose, each variation tells a slightly different story—but they all glow with intention.
Glitter, on the other hand, taps into something primal. Our attraction to sparkle is rooted in biology. Humans are naturally drawn to shimmering surfaces because they mimic light on water—essential for survival. Add glitter to nails, and you’re triggering that same sensory delight. But in 2024 and beyond, glitter isn’t just fun—it’s powerful. It’s unapologetic. It says: I know I’m dazzling, and I’m not asking for permission.
When you blend these two elements through the ombré technique, something transformative happens. The gradient effect mirrors change. Movement. A natural transition from one state to another. It becomes symbolic—an echo of personal evolution. You’re not just painting your nails. You’re creating a micro-universe of transformation at your fingertips.
A Canvas of Endless Variation
The beauty of pink glitter ombré nails lies in their infinite customizability. No two sets have to be the same. You can go barely-there with a soft nude-pink base fading into iridescent shimmer, perfect for bridal elegance or office wear. Or you can dial it up with hot pink tips dusted with chunky holographic glitter that reads like a disco on your fingertips.
Consider adding additional design elements for a twist:
Micro-crystals along the cuticle line
Tiny foil flakes embedded within the fade
A matte topcoat over the glitter for a modern, textured finish
Abstract white linework to turn the glitter into a backdrop for nail art
This is one look that welcomes layering and experimentation. You can even reverse the ombré for a glitter-to-pink fade starting at the tip and deepening toward the base for a more dramatic twist. Nail art has entered a maximalist era, and pink glitter ombré nails are your blank slate to build from.
Who Wears This Look?
The better question is—who doesn’t? But let’s paint some personality sketches.
The Romantic Rebel
She wears soft pinks with multicolor glitter, pairing her manicure with floral prints and wild curls. She’s dreamy but never ditsy. Her nails match her philosophy: open-hearted but never passive.
The Boss with Edge
She wears high-shine fuchsia fading into metallic rose glitter. Power suits, structured handbags, and stilettos. She uses her nails to punctuate deals and drinks, boardrooms and boudoirs alike.
The Minimalist Siren
She goes for sheer milky pink with ultra-fine champagne sparkle. It’s almost imperceptible until it catches the light. That’s how she likes it—lowkey luxury with maximum payoff.
The Maximalist Muse
Think pink base with rhinestones, stars, chrome overlays. Her nails are jewelry in motion. Every set is a custom creation, and no two weeks ever look the same.
No matter your personal style, there’s a pink glitter ombré variation with your name on it.
Maintenance, Upkeep, and Wearing it Well
This look can be done with traditional polish, dip powder, acrylics, or gel—each with their own pros and longevity. For a high-end, long-lasting result, opt for gel or dip with UV-cured topcoats. These options ensure the glitter locks in without flaking or fading and keep your ombré gradient smooth and pristine.
Here are some quick upkeep tips:
Hydrate your cuticles daily with oil to keep the edges looking fresh
Use gloves when cleaning or using harsh chemicals to avoid dulling the glitter
Reapply a thin topcoat after 7–10 days to extend wear
Resist the urge to peel or pick—let your tech remove them safely
Also, do not underestimate the power of nail shape. Almond and coffin nails elongate the hand and provide a natural taper that complements the ombré gradient beautifully. Square shapes create a modern, graphic effect when paired with bold pinks and glitter-heavy finishes.
Cultural Momentum: Pink Nails and the Beauty Zeitgeist
Pink glitter ombré nails have transcended their initial Instagram popularity and embedded themselves into the wider beauty culture. From red carpets to runway shows, this aesthetic has evolved from a girly indulgence to a fashion staple.
Influencers, celebrities, and even A-list makeup artists now incorporate matching pink ombré nails into overall looks. They're coordinated with eyeshadow palettes, hair extensions, and mood boards. This trend has matured—it’s grown up with its audience, and it’s not slowing down.
Even bridal salons now list pink glitter ombré as a top requested style, and it’s common to see this look paired with pearl-accented gowns or sheer mesh gloves at weddings and formal events. What started as a niche has become the new neutral.
Why We Keep Coming Back
Some styles fade. Others cycle in and out. But pink glitter ombré nails have something rare—repeatability. They satisfy every craving: color, sparkle, texture, femininity, edge. You can reimagine them a hundred times and never grow bored. They evolve with your moods, your seasons, your style experiments.
And more than that—they’re empowering. They remind you of your attention to detail. Your right to be beautiful. Your ability to hold softness and strength at once.
That’s why we come back to this look. Again and again.

Step into Style: Achieve the Perfect Pink Glitter Ombre Nails
Spring #nails https://t.co/bQTa8NiTxT pic.twitter.com/J5oCPf288U
— Glam Artistry Hub (@glamartistryhub) April 13, 2024
The Ultimate Step-by-Step Guide to Pink Glitter Ombré Nails: A Luxe DIY Masterclass
There’s an art to crafting the perfect pink glitter ombré manicure. It’s not just about brushing on polish—it’s about layering light, building dimension, and knowing how to make soft sparkle feel luxurious instead of overdone. Whether you’re using gel, dip, acrylic, or traditional polish, this in-depth guide will walk you through every stage of the process with professional precision. Think of it as your backstage pass to salon-quality nails you can achieve at home—or bring as a reference to your favorite tech.
This process is broken into three acts: preparation, application, and finishing touches. Master each, and you’ll be wearing a manicure that glimmers like sunlight on water.
ACT I: PREP WITH INTENTION
Beautiful nails begin long before the polish ever touches your fingertips. The prep stage is where you set the tone for longevity, strength, and seamless gradient blending.
1. Start with a Clean Slate
Remove any existing polish using acetone-free remover to avoid over-drying your nails. Wash your hands afterward to get rid of residue and oils. Dry them completely.
2. Shape and Sculpt
Using a glass or fine-grit emery board, file your nails into your preferred shape. For pink glitter ombré, almond or tapered square shapes tend to enhance the gradient effect best. File in one direction only to avoid splits.
Pro tip: Don’t over-file the tips. A rounded edge will help the ombré blend more organically.
3. Cuticle Care Is Queen
Soak your hands in warm water for 2–3 minutes, then use a wooden stick or metal pusher to gently nudge back the cuticles. If you have hangnails or excess skin, trim very carefully using sterilized cuticle scissors.
Massage in a cuticle oil, then blot away excess oil with a lint-free wipe. Your nail bed should be nourished, not slick.
4. Buff for Balance
Using a four-way buffer or gentle grit block, buff the surface of each nail to remove ridges and create a slightly matte surface. This allows polish or gel to grip better, preventing peeling or lifting.
Dust off debris and wipe each nail with a prep solution or 70% isopropyl alcohol.
ACT II: BUILDING THE OMBrÉ BASE
This is the heart of the process—the moment your color story begins to bloom. Choose your shades carefully: a soft pink or nude base with coordinating glitter in a similar or lighter tone creates the most cohesive fade.
You’ll need:
A light pink or nude polish
Loose glitter or glitter polish
Makeup sponge or silicone ombré tool
Nail fan brush or soft fluffy brush
Nail tape or liquid latex (optional)
Top coat (gel or classic)
UV/LED lamp (for gel users)
5. Lay Down the Base
Apply a thin, even coat of your chosen pink or nude base color. Let it dry completely or cure under a lamp if using gel.
Do not skip the base coat. This step protects your nail and ensures smooth color payoff.
If you want a sheer, jelly-like finish, go with one coat. For a more opaque look, apply two.
6. Prepare Your Gradient Tool
Take a clean makeup sponge and dab on a stripe of your pink polish and a stripe of glitter polish directly above it. The two stripes should overlap slightly in the center to help the ombré blend.
Gently press and bounce the sponge onto your nail, starting at the tip and working downward. Keep the pink near the cuticle and the glitter closer to the tip. Layer lightly.
Do two or three passes per nail. Let each layer dry before sponging again to prevent pulling or patching. If the sponge gets too stiff or tacky, swap to a fresh piece.
Gel users: sponge one layer at a time and cure under the lamp between rounds.
7. Enhance the Glitter Fade
For added dimension, pick up loose glitter with a fan brush and gently tap it along the tip of your nail while the polish is still tacky.
You can use chunky glitter at the very edge of the tip and finer glitter as you move toward the center. The fade should look gradual and seamless.
Let the glitter settle, then press it down gently using a clean silicone tool or your fingertip through a protective sandwich bag to avoid fingerprinting.
8. Clean Up the Perimeter
Dip a fine angled brush in acetone or polish remover and carefully sweep around the edges of the nail to clean up any smudges or polish on the skin. If you used nail tape or liquid latex as a barrier, now’s the time to peel it away.
This step polishes the look and makes the gradient appear more professional.
9. Seal It In with Topcoat
Once satisfied with your ombré blend and glitter placement, apply a generous topcoat. For traditional polish, use a high-gloss quick-dry formula. For gel, apply your gel topcoat and cure under the lamp for 60 seconds.
This not only locks in the look but also smooths the texture from the sponge and glitter, giving it a glassy, salon-worthy finish.
Repeat with a second layer if needed for extra smoothness or if the glitter feels too textured.
ACT III: THE LUXE FINISHING TOUCHES
You’ve done the hard part—but a truly radiant set of nails is all in the details.
10. Hydrate and Illuminate
Once your nails are fully dry and set, apply cuticle oil again and massage it in. This revives the skin and adds an extra touch of shine around the nail bed.
Rub in a lightweight hand lotion for that ultra-hydrated, just-left-the-salon glow.
Optional: lightly dust your fingers with a shimmer body powder to enhance the sparkle of your new manicure under lights or in photos.
11. Capture the Look
Ombré nails sparkle best in indirect light, so snap a few photos near a window, outdoors in the shade, or under soft artificial lighting. Use your hand naturally—hold a teacup, fluff your hair, or let your nails rest lightly on textured fabric.
If you’re documenting your designs, keep a little journal of your polish combos, glitter types, and results. It’s a small act of mindfulness that also turns into your personal beauty archive.
EXTRA VARIATIONS TO TRY
Once you’ve mastered the base technique, here are some remix-worthy takes:
Reverse ombré: Start glitter at the cuticle and fade into sheer pink tips for a bold twist.
Chrome overlay: Add a dusting of pink chrome powder over cured gel polish to create a mirror-like ombré.
French-glitter hybrid: Combine a classic French tip with a sparkly fade for a look that blends timeless and trendy.
V-cut glitter tips: Use nail tape to create a V-shape at the tip and fill it with glitter, then ombré the rest downward.
Matte-gloss contrast: Apply matte topcoat to the pink and gloss only on the glitter fade for a modern contrast in texture.
COMMON MISTAKES TO AVOID
Even experienced nail artists run into snags. Here’s what to watch out for:
Too much polish on the sponge: Causes blotchy application and polish flooding the cuticle.
Over-sponging: Can lift underlayers and cause the polish to separate or pill.
Skipping dry time: Each layer must fully dry before applying more or you’ll get bubbling and texture issues.
Overloading glitter: Avoid placing chunky glitter too far down the nail—it breaks the gradient illusion.
Skipping clean-up: Even a beautiful ombré loses impact if surrounded by messy edges.
WHAT TO USE IF YOU’RE IN A HURRY
If you're low on time but still want the pink glitter ombré effect:
Opt for press-on nails pre-designed with a glitter fade
Use a pink base coat and swipe a glitter topcoat diagonally or in a curve
Apply a ready-made ombré glitter polish and add more sparkle at the tip manually
These shortcuts still deliver glamour with minimal effort.
Step into Style: Achieve the Perfect Pink Glitter Ombre Nails
FINAL THOUGHTS
Pink glitter ombré nails are one of the few beauty statements that cross boundaries between soft and fierce, elegant and bold. They’re infinitely customizable and impossible to ignore. Learning to create them yourself offers a sense of creative satisfaction and gives you the power to transform your hands into something truly personal and unforgettable.
Whether you keep it subtle or go full sparkle bombshell, the secret lies in the blend—letting each layer breathe, transition, and shimmer into the next without harsh edges or interruptions. It’s a ritual. A performance. A form of art that starts and ends with your fingertips.
Now that you know every step, every nuance, and every magic touch that brings this look to life, you’re ready to experiment, evolve, and wear your own version of pink glitter perfection.
Let’s explore the captivating world of Pink Glitter Ombre Nails. Whether you’re a nail art enthusiast or a curious beginner, these quality resources will guide you toward creating nails that are both chic and statement-making. So, my fellow nail artist, let’s adorn those tips with geometric elegance!
30+ Pink Ombré Nails for a Soft or Bold Feminine Look:
Add a touch of feminine charm and vibrance to your fingertips by painting them in pink ombré! Pink ombré nails are a versatile and chic choice for nail enthusiasts like you who are looking for a touch of elegance with a pop of color. Explore a plethora of handpicked pink ombré nail designs that cater to different tastes and occasions. From soft pastels to bold fuchsias, pink ombré nails offer a range of shades that will surely suit your style and mood. Get ready to fall in love with stunning white-pink ombré nails, Frenchies, and rhinestones, or flutter hearts with glittery pink butterfly wings and gold dots! 🌺
35 Best Pink Ombré Nail Ideas To Inspire Your Next Manicure:
If you need inspiration for your next manicure, this resource has you covered. Explore 35 pink ombré nail ideas, from subtle to bold, and find the perfect shade that resonates with your style. Whether you’re into soft blush tones or vibrant pinks, there’s something here for everyone! 💅🏼
25 Glitter Ombré Nail Ideas to Try in 2024:
To add extra sparkle to your pink ombré nails, consider incorporating glitter! InStyle’s collection of glitter ombré nail designs will inspire your creativity. From delicate shimmer to bold sparkle, these ideas will make your nails stand out. ✨
85+ Pretty Pink Glitter Nail Designs and Ideas:
Dive into over 85 ideas to inspire your next manicure. Curious about mixing glitter shades or trying an ombre design? Stick around, and you’ll uncover a world of pink glitter nail art you never knew existed. Classic pink glitter polish, anyone? 🌹✨
Remember, pink glitter ombre nails aren’t just about aesthetics; they’re a reflection of your unique style. Blend those shades, add some sparkle, and let your nails make a chic statement! 🙌🏼💫