When the Espresso Turns Velvet: Mocha Espresso Ganache Cheesecake
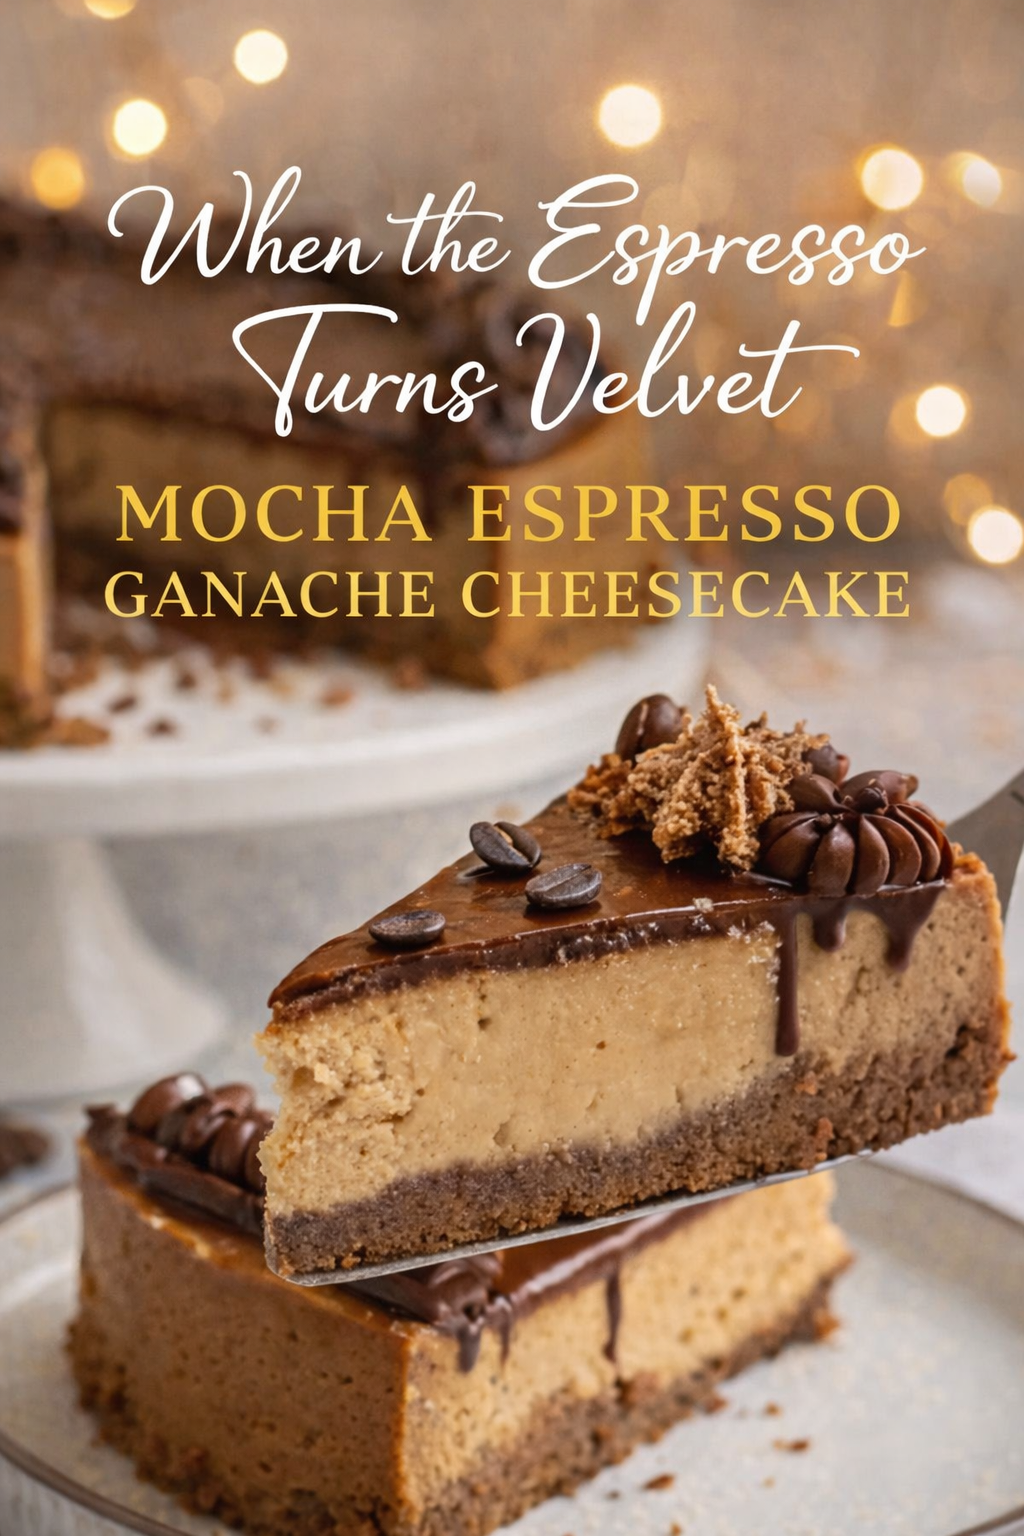
The first thing you notice is the hush—like the kitchen itself knows it’s in the presence of something indulgent. A slice lifts from the plate, steady on the server, and the light catches the glossy top the way it catches polished stone after rain. The surface is dark and lacquered, a smooth ganache sheen that looks almost too perfect to disturb—until you see the slow drip at the edge, chocolate trailing down in a deliberate ribbon. It’s the kind of detail that makes dessert feel dressed up without trying, a small act of drama that belongs on a linen-draped table with soft music and late-night conversation.
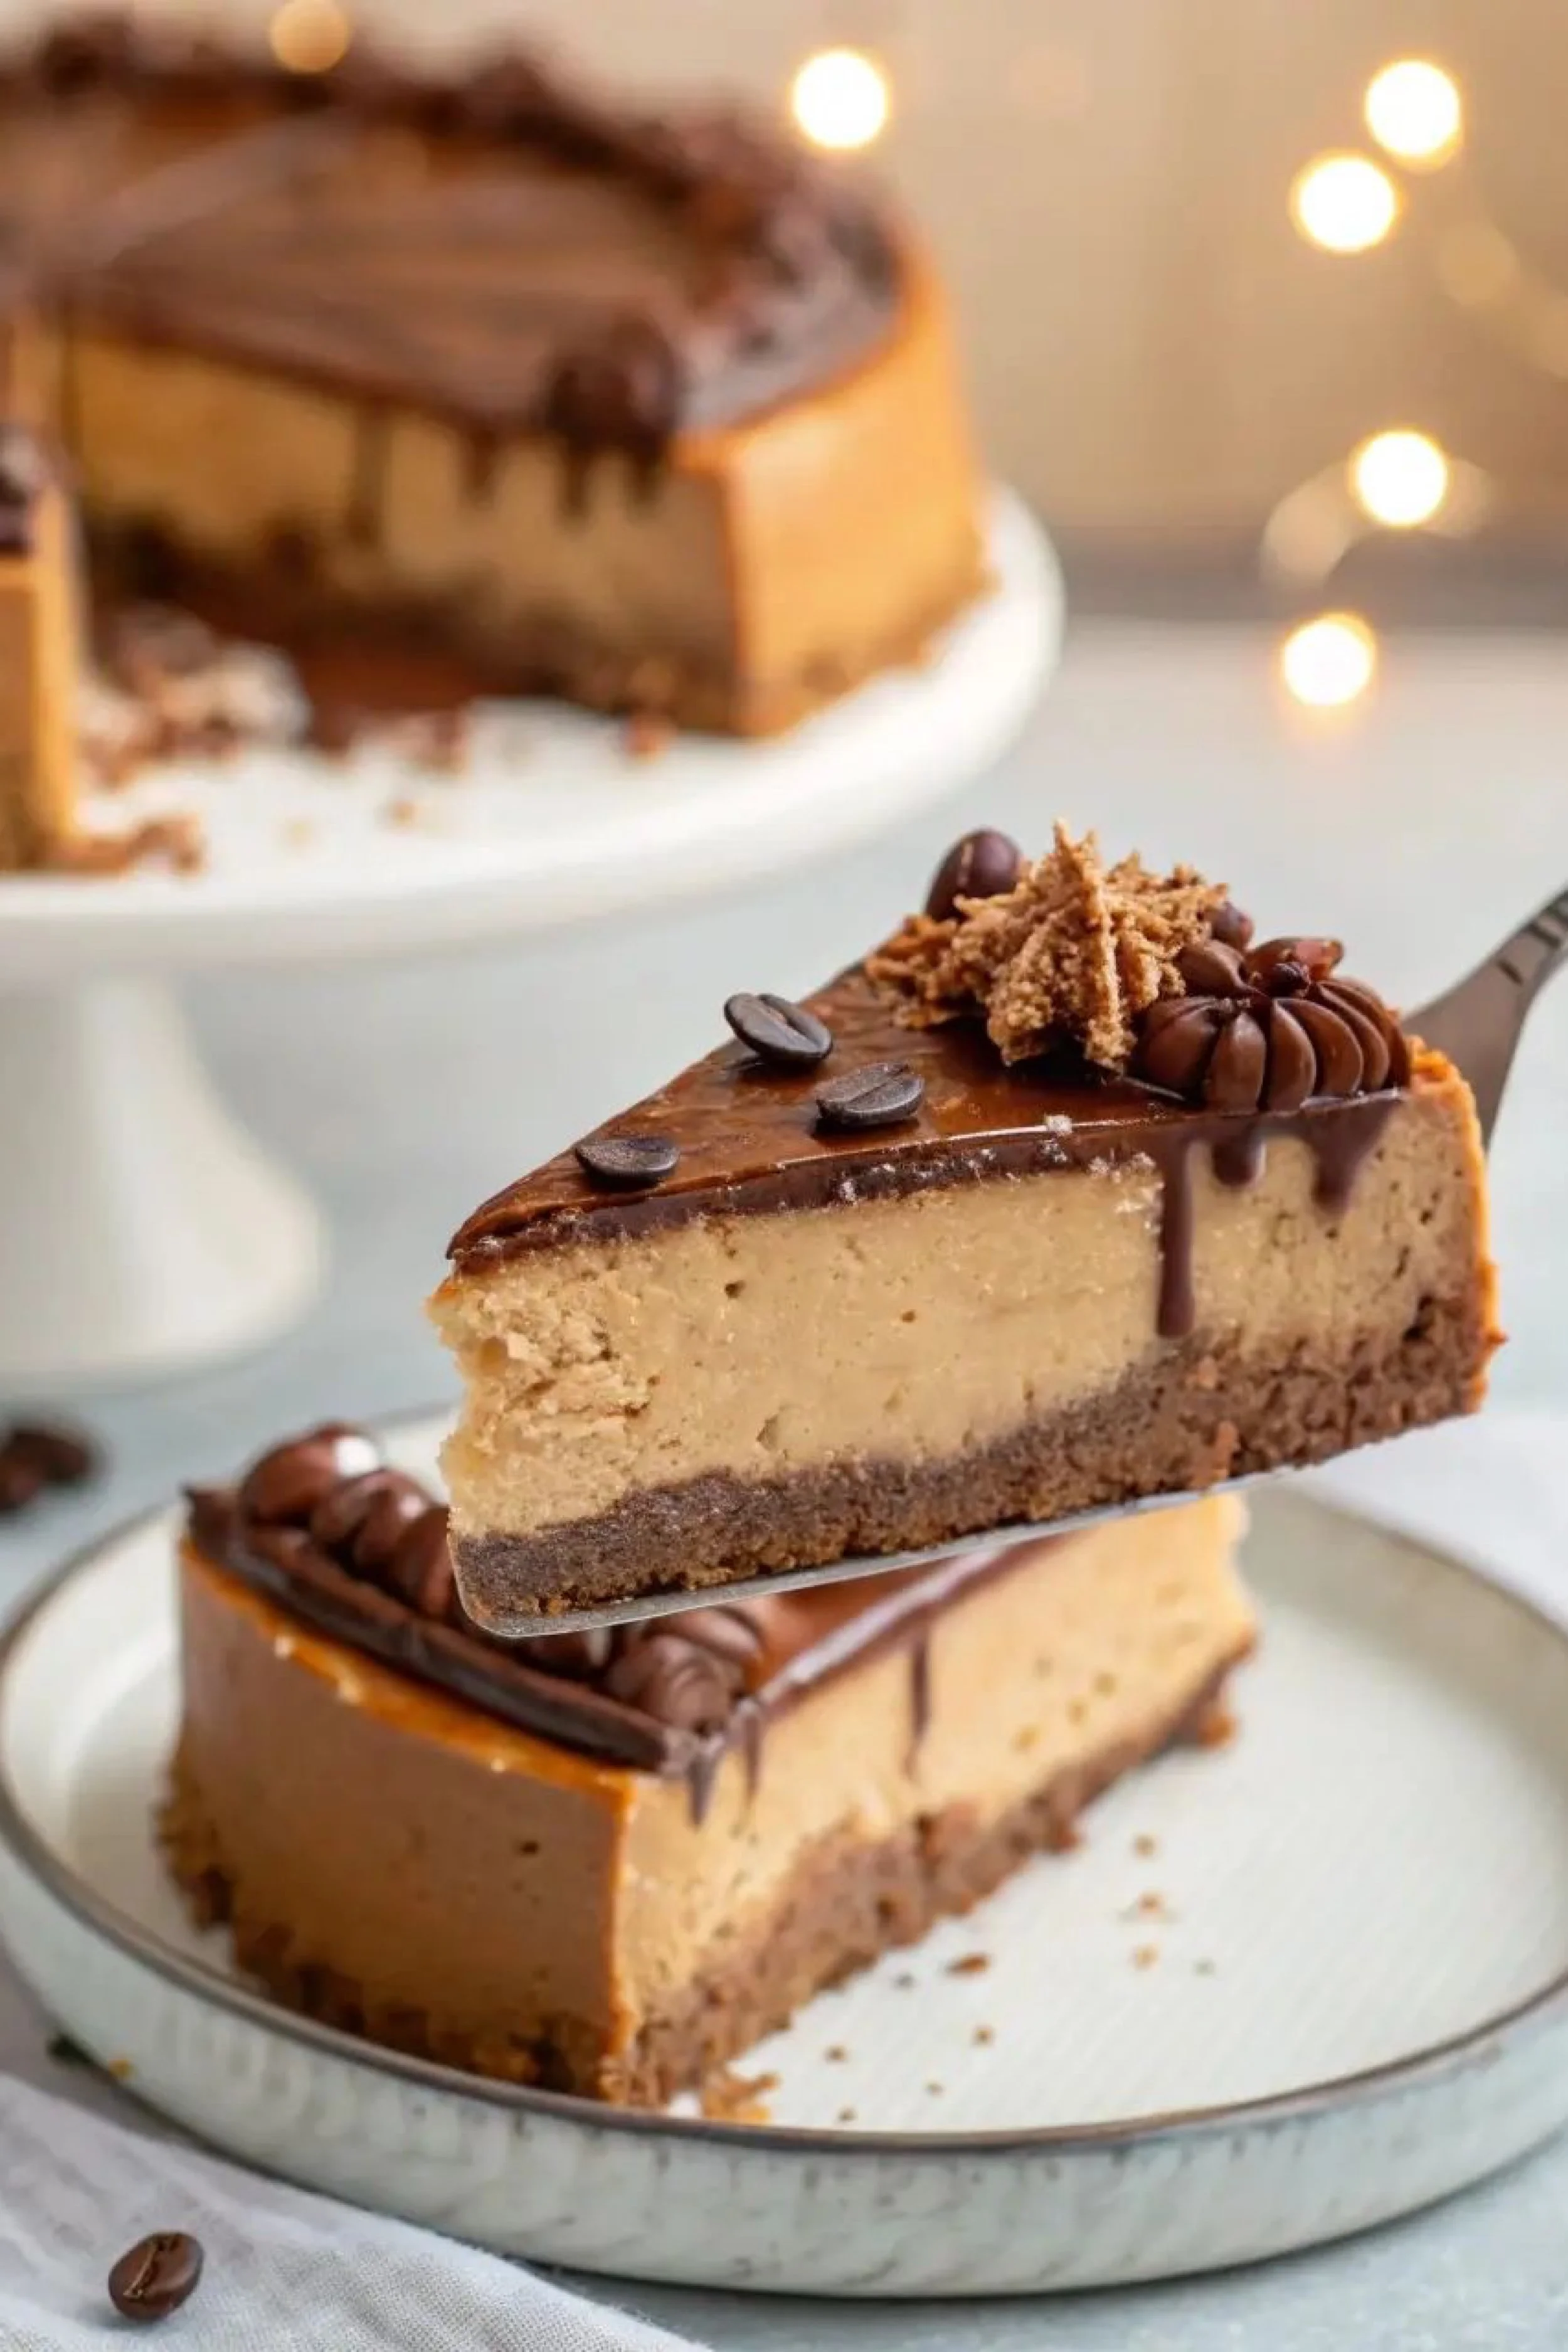
Under that ganache, the cheesecake tells its story in layers. There’s a pale mocha body—dense yet tender—sitting above a deeper, darker base that reads like chocolate and coffee pulled into the crust itself. The slice is clean at the cut, the kind of sharp edge you get when patience meets the right chill time and a well-prepped nonstick springform pan in the classic 9-inch size. The crumb at the bottom looks pressed and confident, not sandy, not soggy—just enough structure to hold the weight of everything above it.
The garnish feels intentional without being fussy: a few coffee beans scattered like punctuation, a piped swirl that suggests a café window fantasy, and a sprinkle of crumble that looks like brown sugar caught in a warm breeze. There’s a balance here—bitterness and sweetness, cream and cocoa, the soft warmth of espresso and the cool certainty of a chilled slice. It’s dessert that doesn’t shout; it leans in. It invites you closer.
In the background, everything blurs into a gentle glow—soft bokeh lights that make the whole scene feel like a quiet celebration. Not a birthday-crowd celebration. More like the kind that happens when you decide the day deserves a finale. You can almost smell it: chocolate blooming in warmth, espresso lifting as it hits cream, that faint toasted note from a crust that’s been pressed firmly with the back of a spoon and lined with a neat collar of parchment paper rounds and strips. Even the air feels sweeter, like it’s learned the shape of what’s coming.
Mocha desserts can be loud, all sugar and swagger, but this one reads like velvet—rich, deep, and controlled. The coffee isn’t there to imitate candy; it’s there to make chocolate feel adult and dimensional. A pinch of espresso powder acts like a spotlight, making cocoa taste more like itself, especially when you use a fragrant instant espresso powder for baking and a bold Dutch-processed cocoa powder that brings a smooth, dark finish. The cheesecake layer looks plush, almost mousse-like at first glance, but the cut reveals that classic, faintly firm set—luxury you can hold.
There’s a ritual to making something like this. It starts with the small, quiet preparations: ingredients brought to room temperature so they blend without resistance, the oven preheated like a promise, the pan wrapped carefully so a water bath can do its gentle work. Cheesecake is never about speed. It’s about steadiness. It’s about using the right tools so your hands can relax—like a reliable stand mixer for silky batters or a simple electric hand mixer that keeps everything smooth without whipping in too much air.
And then there’s that moment when the ganache goes on—still warm, still fluid, poured across the chilled top until it settles into a mirror. It’s a slow pour, the kind you don’t rush. If you’ve ever warmed cream just to the edge of steaming in a small saucepan, you know the feeling: one step from boiling, one step from breaking, right in that sweet spot where chocolate melts willingly. A good heatproof mixing bowl and a flexible silicone spatula make the whole thing feel effortless, like you’re simply guiding something toward its final form.
When the slice finally reaches your plate, it doesn’t crumble or collapse. It holds. The fork goes through with a gentle resistance and comes up coated, glossy at the edges. The flavor lands in stages: chocolate first, then coffee, then the lingering creaminess that makes everything feel rounded and calm. It’s rich, yes—but it’s also clean, not cloying. The kind of dessert that tastes like late light on a countertop and the satisfaction of doing one thing beautifully all the way through.
This is the cheesecake for nights when you want a little elegance without turning your kitchen into a production. It’s for slow weekends, for dinner parties where the candles burn low, for moments when you want dessert to feel like a mood. A slice like this doesn’t just end the evening—it changes it, softens it, makes it glow.
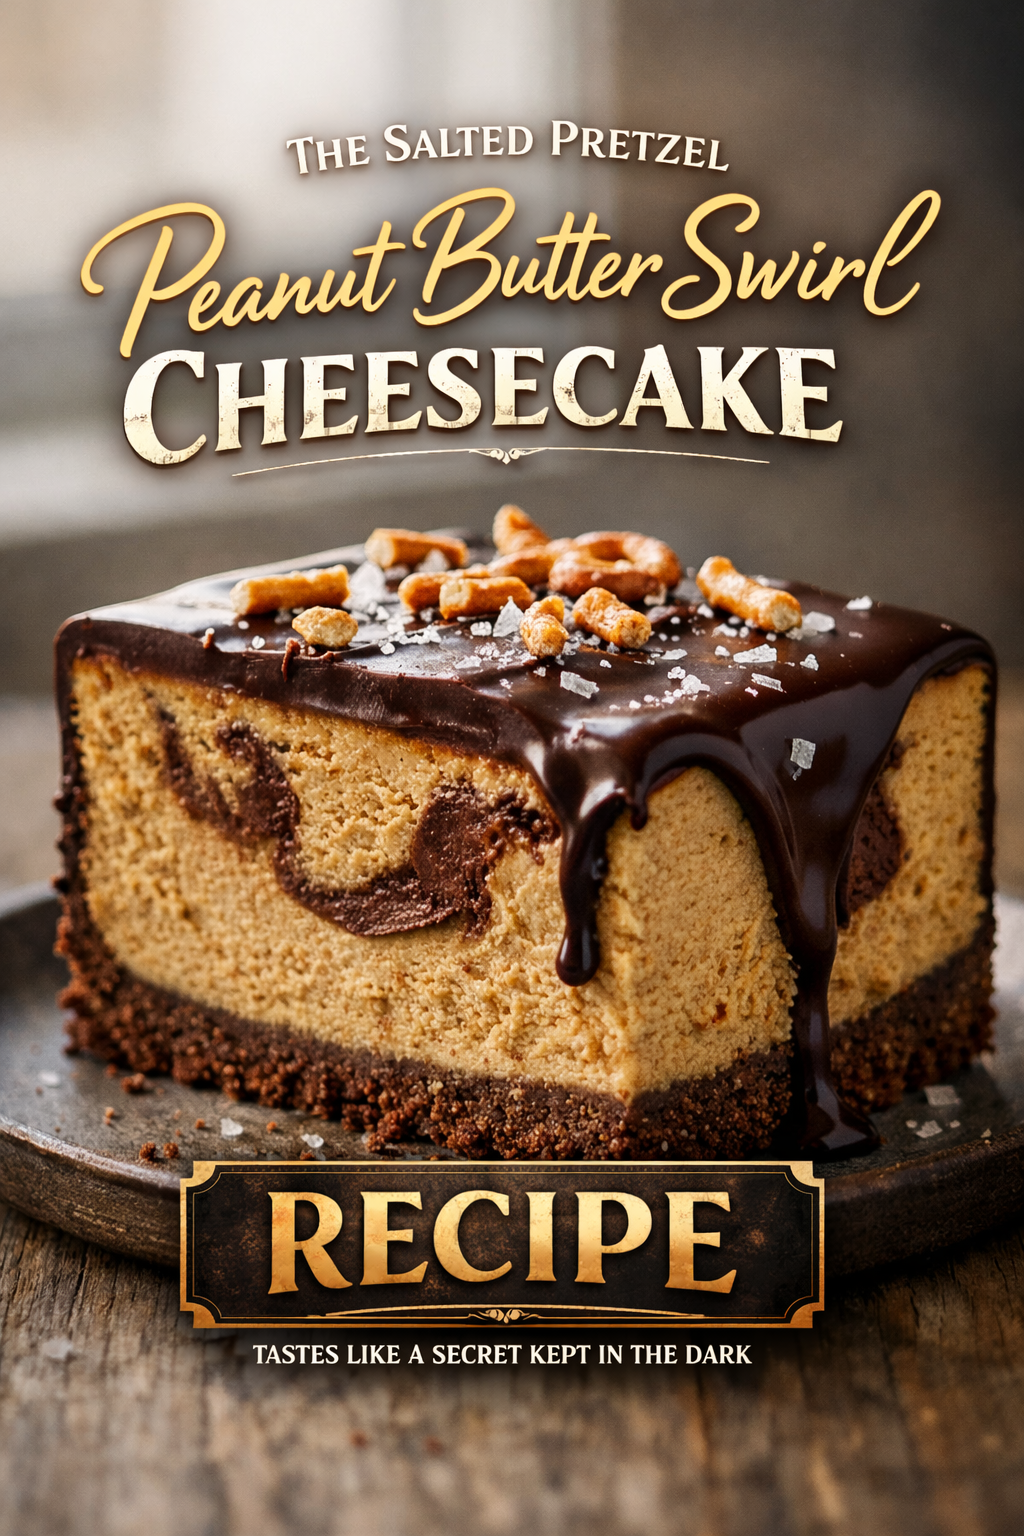
Mocha Espresso Ganache Cheesecake Recipe
A rich, café-inspired cheesecake with a cocoa-espresso crust, creamy mocha filling, and a glossy chocolate ganache finish.
Ingredients
For the cocoa-espresso crust
- 1 1/2 cups chocolate cookie crumbs (or chocolate graham crumbs)
- 2 tbsp granulated sugar
- 1 tbsp Dutch-process cocoa powder
- 1 1/2 tsp instant espresso powder
- 6 tbsp unsalted butter, melted
- Pinch of salt
For the mocha cheesecake filling
- 24 oz cream cheese, room temperature
- 1 cup granulated sugar
- 1 tbsp cornstarch (optional, for extra stability)
- 3/4 cup sour cream, room temperature
- 1/4 cup heavy cream, room temperature
- 3 large eggs, room temperature
- 2 tsp vanilla extract
- 2 tbsp Dutch-process cocoa powder
- 2 tsp instant espresso powder
- 1–2 tbsp brewed espresso or strong coffee, cooled (optional, for deeper coffee note)
- Pinch of salt
For the chocolate ganache
- 6 oz semi-sweet chocolate, finely chopped
- 2/3 cup heavy cream
- 1 tbsp unsalted butter (optional, for extra shine)
- Pinch of salt
Optional garnish
- Coffee beans
- Whipped cream rosettes
- Chocolate curls or cookie crumble
Method / Instructions
- Prep. Heat oven to 325°F. Line a 9-inch springform pan with parchment on the bottom; lightly grease the sides.
- Make crust. Mix crumbs, sugar, cocoa, espresso powder, salt, then stir in melted butter. Press firmly into the bottom (and slightly up the sides). Bake 10 minutes. Cool.
- Mix filling. Beat cream cheese and sugar until smooth. Beat in cornstarch (if using), then sour cream and heavy cream. Add vanilla, cocoa, espresso powder, salt. Mix just until combined. Add eggs one at a time on low, mixing only until each disappears.
- Bake in water bath. Wrap pan in foil. Place in a roasting pan and add hot water halfway up the sides. Pour filling into crust. Bake 55–75 minutes, until edges are set and center still has a gentle wobble.
- Cool slowly. Turn oven off, crack the door, rest 45–60 minutes. Remove and cool to room temp, then chill at least 6 hours (overnight best).
- Ganache. Warm cream until steaming (not boiling). Pour over chopped chocolate; rest 2 minutes, then stir smooth. Stir in butter and salt if using. Cool 5–10 minutes, then pour over chilled cheesecake. Chill 20–30 minutes to set.
- Serve. Slice with a warm, clean knife between cuts. Add garnish if desired.
In-Depth Step-by-Step Guide to Mocha Espresso Ganache Cheesecake
1) Build a cheesecake plan before you touch a mixer
Cheesecake rewards calm. Before mixing, set out the cream cheese, eggs, sour cream, and cream so they can lose their chill. Cold dairy tends to clump, and chasing lumps usually leads to over-mixing—one of the biggest causes of surface cracks. If you’re the kind of baker who likes precision, a simple digital kitchen scale for baking makes the process consistent, especially for crumb crusts and chocolate.
Prep the pan like you mean it: parchment on the base, a light grease on the sides, and if you want ultra-clean edges, add a parchment collar. The goal is a release that feels effortless—no sticking, no torn sides, no stress.
2) The crust: press like you’re laying a foundation
For that dark bottom layer in the slice, you want a crust that’s compact and slightly “set” before the filling goes in. Mix the cookie crumbs with sugar, cocoa, espresso powder, and melted butter until the texture resembles damp sand. When you squeeze a handful, it should hold. Press firmly using the bottom of a measuring cup or a flat glass; a nesting measuring cup set makes it easy to grab the right tool and keep your hands clean.
Bake the crust briefly—about 10 minutes. This step drives off excess moisture and helps it stay crisp under the filling. Let it cool while you mix the cheesecake.
Pro tip: If the crust feels greasy when warm, don’t panic. It firms as it cools. What you don’t want is a crust that looks dry and crumbly; that’s usually under-buttered or under-pressed.
3) Mocha flavor that tastes grown, not sugary
Mocha is a balance. Cocoa brings depth; espresso brings lift. Use a bold instant espresso powder made for desserts rather than instant coffee granules if you can—espresso powder dissolves cleaner and tastes smoother. For cocoa, Dutch-process keeps the vibe dark and plush; a quality Dutch-processed cocoa gives that elegant, less acidic chocolate finish.
If you want an even more pronounced coffee note, add a tablespoon or two of cooled espresso or strong coffee. Keep it modest—liquid changes texture fast.
4) Mixing: smooth, steady, and low air
Beat the cream cheese and sugar until fully smooth, scraping the bowl often. The scraper matters; a flexible silicone spatula for clean bowl-sweeps prevents hidden pockets of unmixed cream cheese that show up as pale dots in slices.
Add sour cream and heavy cream next for that velvety mouthfeel. Then blend in vanilla, cocoa, espresso powder, salt, and (optionally) cornstarch for stability.
Now the rule that saves cheesecakes: add eggs last and mix gently. Eggs trap air when whipped, and air expands in the oven, then collapses into cracks. Mix on low, one egg at a time, just until each disappears. Stop as soon as the batter looks uniform.
Troubleshooting:
- Still lumpy? Your dairy was too cold. Let the batter sit 10 minutes, then mix briefly on low, scraping thoroughly.
- Looks foamy? You mixed too long. Let the batter rest 5–10 minutes so bubbles rise; tap the bowl gently.
5) Water bath: the quiet secret behind that perfect slice
A water bath moderates heat and keeps the cheesecake from baking too aggressively at the edges. Wrap the springform pan in foil (two layers is safer), place it in a roasting pan, and pour in hot water to reach about halfway up the sides. A sturdy large roasting pan for water baths makes this less nerve-wracking.
Pour the batter onto the cooled crust and smooth the top. If you see bubbles, tap the pan gently on the counter.
Bake at 325°F until the edges are set but the center still wobbles like soft pudding. Depending on your oven, that can be 55–75 minutes. Don’t chase a fully firm center—that’s how cheesecakes overbake.
How to tell it’s done without guessing:
- The outer 2–3 inches look set.
- The middle jiggles as one piece, not like liquid sloshing.
- If you like tools, an instant-read thermometer can help: the center is typically ready around 150–155°F.
6) Cooling: the crack-prevention ritual
When baking is done, turn the oven off and crack the door. Let the cheesecake sit inside for 45–60 minutes. This slow cool prevents a sudden temperature drop that can split the surface.
Then remove it from the bath, peel off the foil, and cool to room temperature. Once it’s no longer warm, chill for at least 6 hours—overnight is ideal. This rest is where the texture becomes sliceable and luxurious.
If cracks happen anyway: Ganache is your best friend. Cracks disappear under a glossy top, and nobody needs to know.
7) Ganache: glossy, dramatic, and easy
Finely chop the chocolate so it melts quickly. Warm the cream just until steaming—don’t boil. Pour it over the chocolate, let it sit two minutes, then stir from the center outward until smooth. A small pat of butter adds shine, and a pinch of salt sharpens flavor.
Use a heatproof bowl so the cream stays warm long enough to melt everything evenly. If the ganache looks grainy, it likely got too hot or the chocolate seized—warm it very gently over a low simmer while stirring.
Cool the ganache 5–10 minutes so it thickens slightly, then pour it over the chilled cheesecake. Let it settle into a smooth layer and nudge it to the edges for that signature drip. Chill again 20–30 minutes to set.
8) Slicing like a bakery case
For clean edges, use a long knife warmed under hot water, then wiped dry. Slice, wipe, repeat. If you want extra sharp lines, a long chef’s knife makes it easier to cut in one confident motion.
Garnish simply: a few coffee beans, a rosette of whipped cream, a pinch of cookie crumble. The cheesecake already has presence—garnish is just a wink.
9) Variations that keep the vibe
- Extra espresso: Add 1 more teaspoon espresso powder (don’t overdo it; bitterness can take over).
- Dark chocolate mood: Swap semi-sweet for dark chocolate in the ganache and add an extra tablespoon cream for softness.
- No water bath option: Place a pan of hot water on the rack below and bake a little lower and slower. The texture won’t be quite as silky, but it’s still delicious.
- Gluten-free: Use gluten-free chocolate cookies for the crust.
10) Storage and make-ahead
Cheesecake loves being made ahead. Chill covered for up to 4 days. For longer storage, freeze slices individually; wrap well. Thaw in the fridge overnight so the texture stays creamy.
The final result should look like the slice in the scene: a dark, glossy top; a plush mocha center; and a base that holds steady. Rich, clean, and café-elegant—dessert that feels like dim lights and a slow smile.