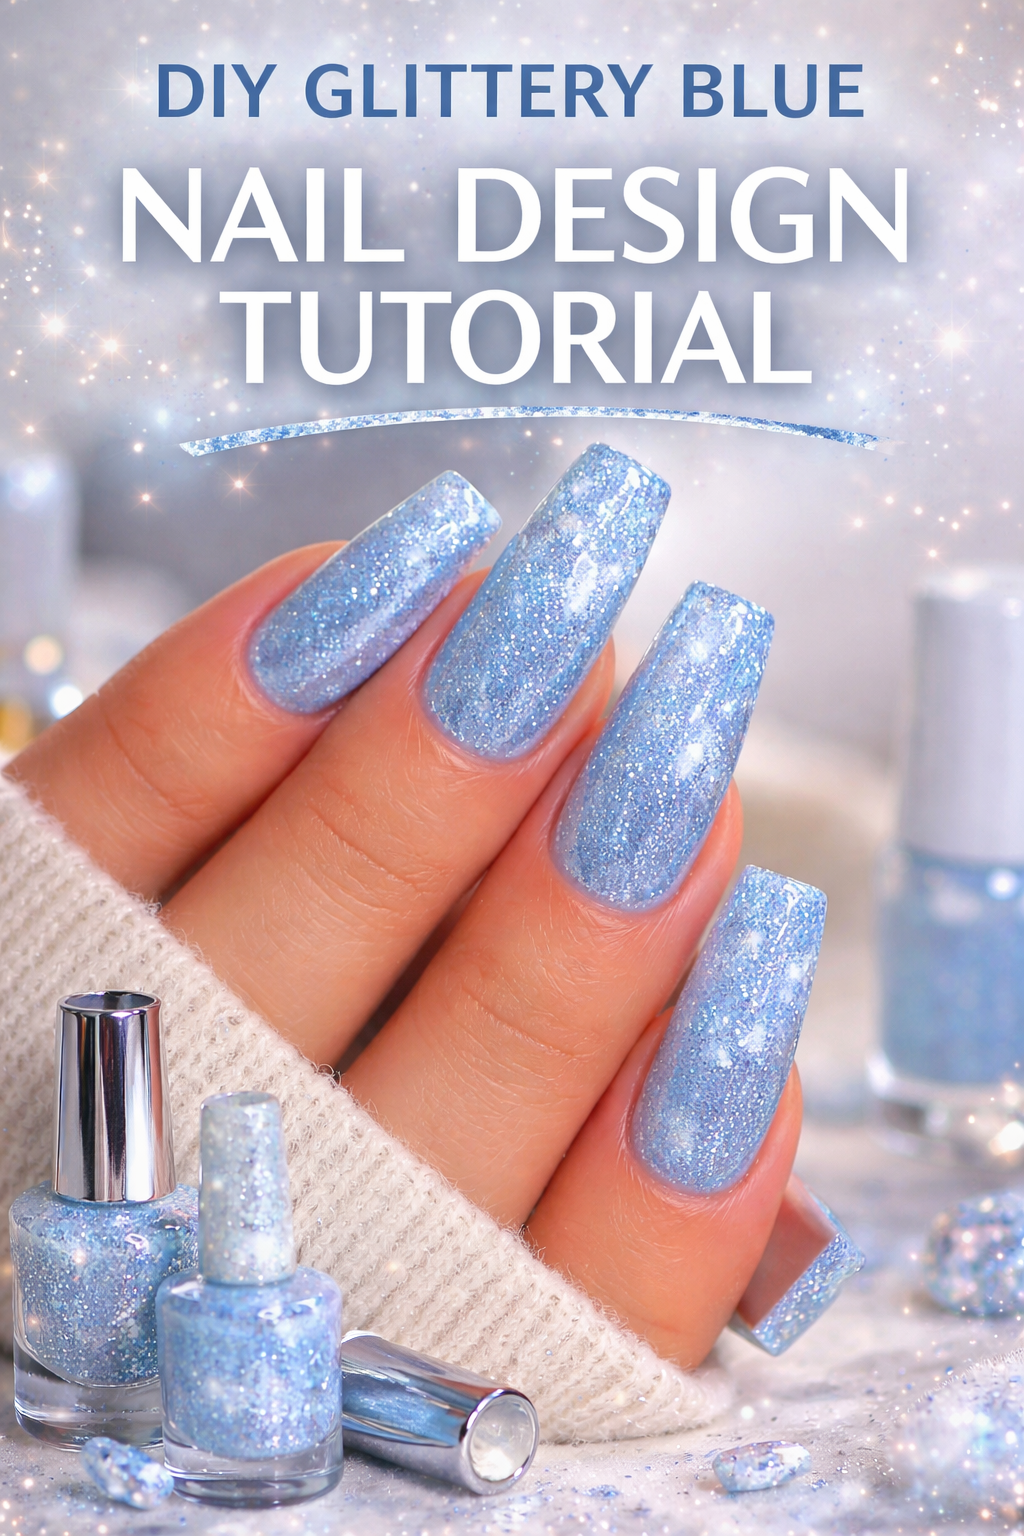
DIY Glittery Blue Nail Design Tutorial

Shimmer Like the Sky: The Allure of Glittery Blue Nails
There is something captivating about the color blue. It evokes the open sky, the vast ocean, the sparkle of ice, and the ethereal shimmer of distant stars. Blue has always stood apart in the world of nail artistry—it holds moods, carries dreams, and exudes an elegance that can shift from playful to regal in a single stroke of polish. When paired with glitter, it becomes more than just a color choice. It becomes a statement.
Glittery blue nails are not new, but they’ve evolved. What once felt like something you’d wear to a prom now feels like high fashion when done right. It’s no longer about chunky sparkles and heavy-handed coats. It’s about balance, layering, placement, and hue. From sapphire chrome gradients to icy pastel tips sprinkled with iridescent flecks, today’s glittery blue nails are both wearable and editorial. And in a beauty world where individuality reigns, they give you full permission to be whimsical, dramatic, or subtle—sometimes all at once.
This post is your comprehensive journey into that spectrum.
But first, let’s talk about why glittery blue nails continue to capture the collective imagination.
Blue: A Color of Contrast and Power
In the world of beauty, blue is rarely neutral. It can be serene, fierce, cool, or bold. While red screams and pink flirts, blue listens—and commands. When you see someone with cobalt shimmer nails or a seafoam ombré decked with tiny silver stars, it isn’t just a polish job. It’s a mood board. A quiet confidence. A chosen identity.
Blue flatters every skin tone, works in every season, and suits both edgy and elegant aesthetics. It can be mystical, futuristic, aquatic, or celestial. Add glitter and it becomes a spell. That’s why glittery blue nails are the perfect DIY medium—they’re forgiving, layered, and full of personality.
The Evolution of Glitter Nails
There was a time when glitter polish meant goopy formulas, hours of drying time, and the dreaded chunky removal. But nail innovation has come far. Micro-glitter formulas, reflective foil flecks, buildable shimmer gels, holographic topcoats—today’s options are not only beautiful but wearable for everyday life.
Nail artists now layer glitters instead of piling them on. They strategically place sparkle to highlight shape, texture, and depth. Instead of overcoating every nail, they accent one or two. Sometimes the sparkle comes only from negative space, giving a glassy illusion of light.
What we’re seeing now is glitter used with intention. And when that intention meets blue, magic happens.
Why DIY It?
There’s something uniquely satisfying about doing your own nails. It’s more than saving money or skipping the salon. It’s a form of expression. A ritual. A way to unwind, get creative, and control your look from fingertips to finish. Blue glitter nails are especially fun because they offer so much flexibility in how you apply, layer, and finish.
Do you want a frosty sheer look with a dusting of shimmer? Or a jewel-toned base with holographic flakes that catch every light? Do you want to build a story on each nail or keep things cohesive with a glossy monochrome glaze?
The best part about going DIY is that there’s no wrong answer. You control the canvas.
Tools of the Trade
Before diving into the tutorials, it’s worth prepping your space and tools. The right products can make the difference between a Pinterest fail and a pin-worthy manicure.
Essential Prep:
Nail file and buffer block
Cuticle pusher and clipper
Base coat (preferably ridge-filling if your nails are textured)
Blue polishes in varying shades (sapphire, sky, baby blue, icy teal)
Glitter polishes and loose glitters (micro-glitter, chunky foil, holographic, iridescent)
Detail brushes and dotting tools
Liquid latex or peel-off barrier (for clean lines and easy glitter cleanup)
Top coat (quick dry, glossy, or gel-effect)
Optional Enhancements:
Chrome powders in blue or silver
Nail stickers or foil stars
Nail glue and rhinestones
Gel polish and UV lamp (for extended wear and smoother layering)
With these on hand, you can create anything from understated elegance to mermaid-core chaos.
Techniques Worth Mastering
Before layering glitter, it helps to understand how it plays with color and light. Glitter is best applied with patience and strategy.
1. Sponge Application:
Want intense glitter payoff? Apply the glitter polish to a makeup sponge first. The sponge soaks up the base clear polish and leaves concentrated glitter behind. Dab onto your nails for high-impact shimmer without thick layers.
2. Glitter Fade or Ombré:
Start with a solid blue base. Use a sponge or brush to concentrate glitter at the tip or base of your nail, fading it out as you move upward or downward. It adds drama without looking busy.
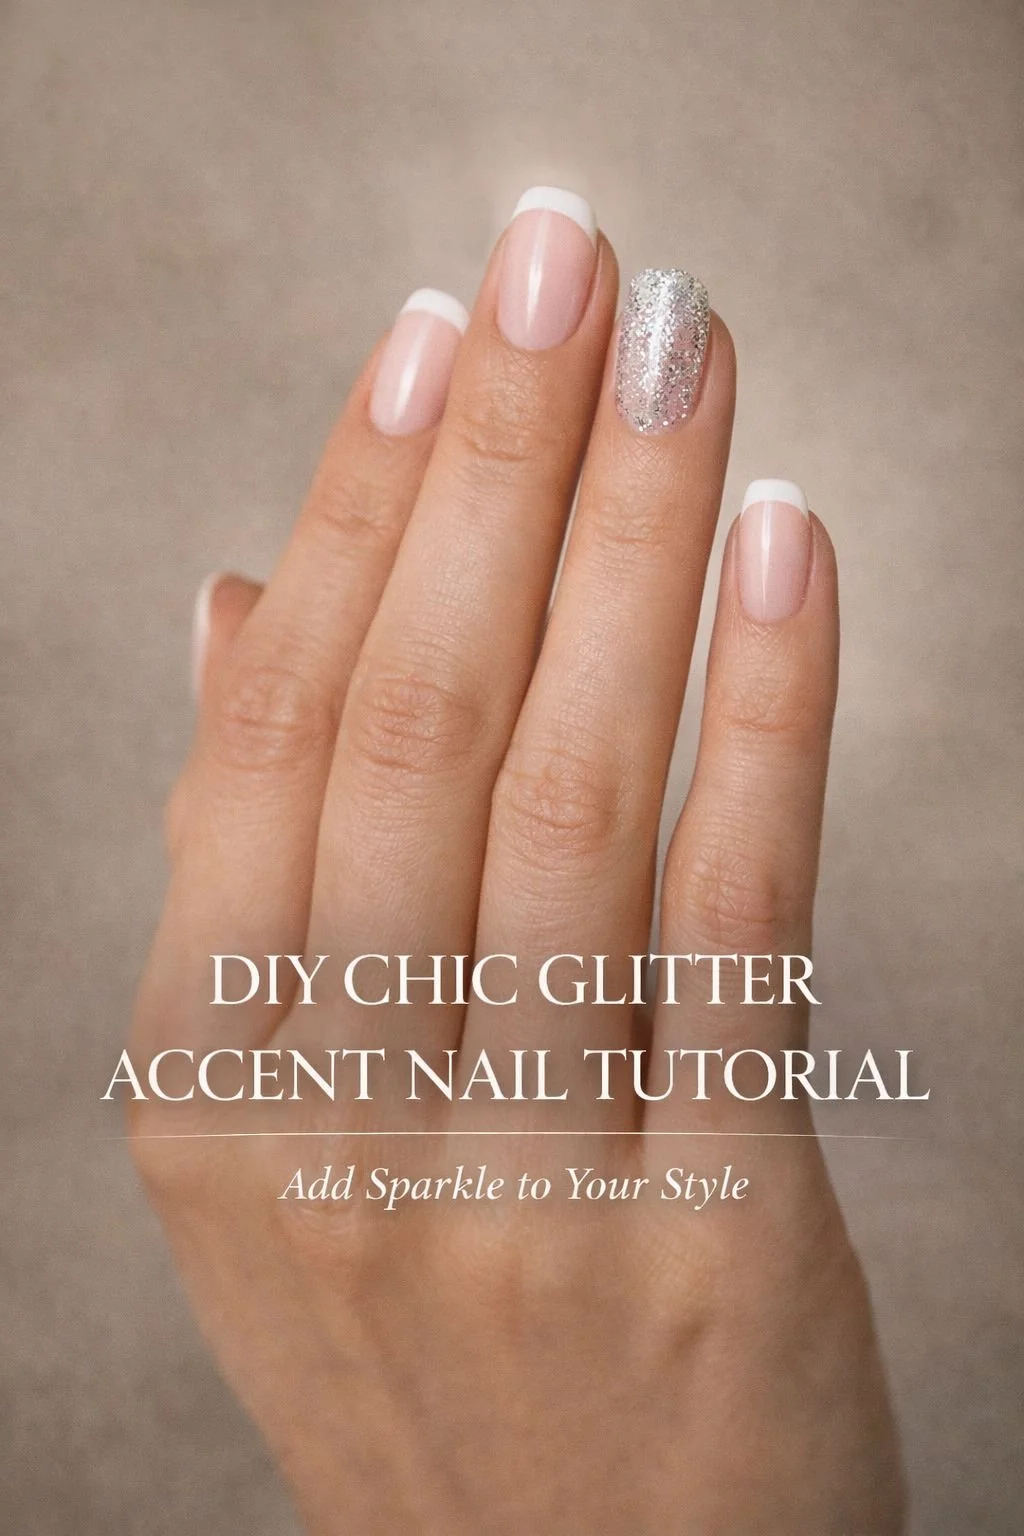
3. Accent Nail Design:
Choose one or two nails to go all out. Use the rest as supporting actors. A glitter-heavy statement nail on the ring finger, for instance, pairs beautifully with solid blue polish on the others.
4. Clear Base with Suspended Glitter:
Use a sheer or jelly blue base coat and layer suspended glitter over it for a dimensional, water-glass effect. It’s subtle and incredibly chic.
5. Negative Space and Line Art:
Use striping tape or nail vinyls to create crisp shapes or leave parts of the nail bare. Apply blue glitter polish over the taped area, let it dry, then peel away for a clean, geometric look.
6. Sandwiching:
Start with a base coat, add a layer of glitter, then top with a sheer blue jelly polish. Repeat this a couple of times for a “buried treasure” effect. It makes the glitter look like it’s glowing from within.
When to Wear Glittery Blue
This look isn't limited to winter or New Year's Eve parties. Here’s how it fits into everyday life:
Beach Days: Sea-inspired shades with iridescent shimmer echo ocean waves and sunny skies
Weddings: Soft pastel blues with fine glitter or a glossy topcoat look dreamy and sophisticated
Evening Looks: Deep navy or cobalt with chrome flecks adds instant glam
Everyday Casual: Sky blue nails with one or two glitter accents keep things playful without going overboard
Work-Appropriate: Opt for sheer blue bases with micro-glitter or pearlescent polish—it's understated and office-friendly
Whether you're dressing up or down, the right shade and sparkle level let glittery blue nails flex into any occasion.
Trends to Watch
The nail world is constantly evolving, and glittery blue is keeping pace with innovation. Here are a few of-the-moment trends:
Holographic Blue Tips: French manicures reinvented with holographic polish just at the tips
3D Glitter Embeds: Using gel layers to embed flakes, pearls, or glitter shapes for a dimensional effect
Matte and Gloss Mix: Glossy glitter paired with matte blue polish creates unexpected texture play
Watercolor Blue Washes: Soft brush-blended blues layered with transparent glitter or flakes
Frozen Glass Nails: A sheer blue base with frosty shimmer and a topcoat that mimics the look of icy glass
A Final Word Before You Begin
This post is for everyone who’s ever stared at a glitter polish bottle and hesitated. Don’t. Dive in. Glitter is joy in liquid form, and blue is the perfect canvas to experiment with.
Whether you’re a seasoned DIYer or this is your first brush with shimmer, the tutorials below will walk you through a series of inspiring looks you can recreate at home. You’ll learn to play with light, balance intensity, and give your nails a finish that catches eyes and compliments alike.
Now that you’re fully prepped and inspired, it’s time to roll up your sleeves, shake that glitter, and start creating. From icy glam to ocean goddess, your next manicure masterpiece is waiting.
Let’s get into the tutorials.

DIY Glittery Blue Nail Design Tutorial
#springnails #nails pic.twitter.com/pWnx6U5G55
— Glam Artistry Hub (@glamartistryhub) April 1, 2024
DIY Glittery Blue Nail Design: A Detailed Step-by-Step Tutorial
So you’re ready to paint your nails with the shimmer of a star-strewn sky. Whether you’re crafting a sapphire-soaked masterpiece or adding a subtle splash of sparkle, this glittery blue nail design tutorial is made to guide you through each phase of the process with clarity and style. Let’s walk through each step in luxurious detail—from prep to final topcoat—so you get a professional-grade finish from the comfort of your vanity.
Step 1: Set the Scene and Prep Your Tools
Before polish ever touches your nails, your setup matters. Find a space with good lighting and lay down a paper towel or a reusable nail mat. Set up your products:
Essentials:
Nail polish remover
Cotton pads or lint-free wipes
Cuticle oil
Nail file and buffer
Base coat
Blue nail polish (sheer, medium, or deep tone of your choice)
Glitter polish (matching or contrasting blue shimmer, holographic, or iridescent)
Top coat
Small flat brush or Q-tips for cleanup
Optional: makeup sponge, nail tape, dotting tools, or embellishments like crystals
Step 2: Nail Shaping and Buffing
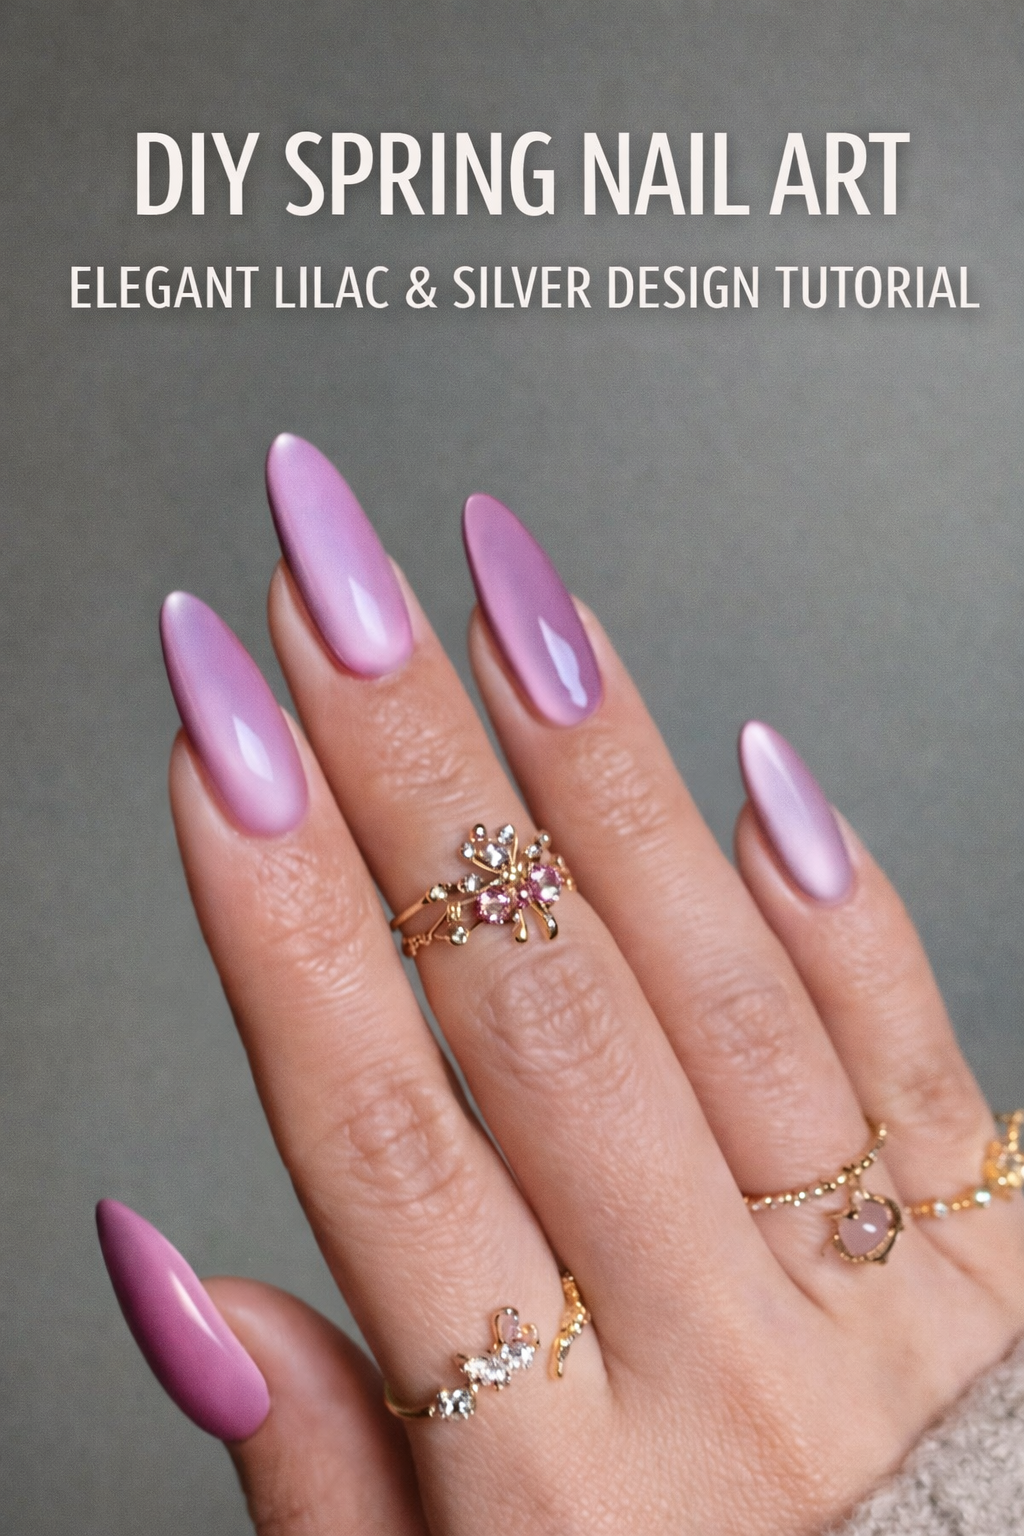
Start by shaping your nails to suit the look. Oval and almond shapes lend themselves well to glitter fades, while square or coffin shapes add bold structure to a more solid glitter look. Use your nail file to gently shape, moving in one direction to prevent splitting. Then use a buffer block to smooth the nail surface, focusing on ridges that could interfere with a clean polish application.
Step 3: Cleanse and Dehydrate
Dip a cotton pad in nail polish remover or rubbing alcohol and wipe each nail to remove any remaining oils, lotions, or dust. This step ensures better polish adhesion and helps your manicure last longer. If you used cuticle oil earlier, make sure it's fully absorbed or wiped away.
Step 4: Base Coat Application
A good base coat is more than a formality—it protects your nails from staining and evens out the surface for smoother polish layers. Use a thin, even coat and let it dry for 1–2 minutes. If your nails have ridges or are prone to staining, choose a ridge-filling or strengthening base coat.
Step 5: First Layer of Blue Polish
Now it’s time for color. Choose a blue shade that suits your mood or skin tone—icy baby blue for softness, sky blue for fun, royal blue for drama, or navy for evening elegance. Apply the first thin coat, starting with a brush stroke down the center, then one on each side. Allow it to dry for 2 minutes before proceeding.
Tip: Thin coats dry faster and prevent bubbling. You can always build opacity with a second layer.
Step 6: Second Coat for Saturation
Apply your second coat of blue polish in the same manner. This layer will deepen the color and ensure even coverage. If you want a translucent effect for a glassy or jelly-style finish, opt for a sheer polish or stop after one coat. Let dry completely—about 3 to 5 minutes depending on your formula.
Step 7: Planning the Glitter
Before you open the glitter polish, decide on your effect:
Full Glitter: Cover the entire nail for a bold look.
Gradient or Fade: Concentrate glitter at the base or tip.
Accent Nails: Choose one or two nails to sparkle while the others stay solid blue.
Overlay Sparkle: A light coat of glitter on all nails for subtle dimension.
Sandwich Effect: Glitter between layers of sheer blue polish for depth.
Have your makeup sponge, detail brush, or sponge wedge nearby if you want a high-intensity glitter payoff.
Step 8: Applying the Glitter (Fade Technique)
For a glitter fade:
Paint glitter polish onto a makeup sponge. Let it soak for a second so the sponge absorbs most of the clear base.
Dab the sponge lightly onto the tip or base of your nail, building up layers as needed.
For a smoother fade, use a dry corner of the sponge to dab just above the glitter area and blur the transition.
Repeat once more if you want more intensity. Let each layer dry for a minute.
This creates a soft gradient without building too much thickness on the nail.
Step 9: Applying the Glitter (Full Coverage)
If you want a full glitter look:
Apply the glitter polish directly to the nail using the brush in thin coats.
Allow each layer to dry before adding another to avoid pulling up the previous coat.
For chunky glitters or shaped confetti (stars, hexagons), use a toothpick or dotting tool to place them precisely on the nail.
Press each piece gently with a fingertip or silicone tool to keep it flat.
For maximum dazzle, top with one more coat of a fine micro-glitter or holographic topper.
Step 10: Glitter Detailing and Accents
If you’re doing accent nails or custom designs, take this moment to play:
Use striping tape for geometric shapes and fill in with glitter.
Dab a glitter polish into the center of the nail and blend outward.
Use a toothpick to create glitter stars or dot patterns.
Apply crystals, decals, or foil at this stage if desired.
Make sure the base underneath is tacky but not wet, so everything adheres well.
Step 11: Glitter Sandwiching Technique
For a layered, depth-filled finish, try this:
Apply one coat of blue polish.
Add a glitter layer.
Paint another thin layer of sheer blue over the glitter.
Repeat the glitter and sheer polish steps again if desired.
Finish with a topcoat.
This creates a dimensional look where the glitter seems to float inside the color.
Step 12: Clean the Edges
Use a small flat brush or angled eyeliner brush dipped in acetone or remover to clean up any polish or glitter around your cuticles and sides. This step makes the manicure look clean and salon-level.
For added precision, run the brush along the lower edge of each nail in one swift motion. Do not scrub or use too much remover at once—gentle strokes are best.
Step 13: Top Coat Finish
Seal everything with a glossy, high-shine topcoat. This does more than add shine—it locks in glitter, smooths out texture, and prevents chipping. Use two coats if the glitter feels rough to the touch. Let dry fully for 10–15 minutes.
If you want a gel-like finish but are using regular polish, pick a plumping or gel-effect topcoat. For longer wear, reapply topcoat every 2–3 days.
Step 14: Hydrate and Protect
Once your nails are completely dry, rub cuticle oil into the skin around each nail to rehydrate and soften. Moisturize your hands with a light cream and avoid water for the next hour if possible.
For best results, wear gloves when washing dishes or cleaning. Your nails will last longer and your glitter will stay locked in place.
Step 15: Optional Add-Ons
To elevate your look even more:
Apply a chrome powder over your blue polish before adding glitter for a futuristic glow.
Use matte topcoat on select nails to play with texture contrast.
Add star or snowflake decals for a seasonal theme.
Pair with matching toe polish for a coordinated look.
Layer iridescent flakes under the glitter for a multidimensional shimmer that catches the light at every angle.
This methodical, sensory-rich tutorial empowers anyone—from nail art newbies to design pros—to master the glittery blue look. The techniques are flexible, the tools are accessible, and the results are always a little bit magical.
Let your hands become a canvas. Glitter. Shine. Play. It’s your moment.

DIY Glittery Blue Nail Design Tutorial
The Power in the Sparkle: Why This Manicure Goes Beyond Beauty
There’s something quietly empowering about staring down at your hands and seeing them glisten. Glittery blue nails are not just a design choice—they’re a personal statement wrapped in color, texture, and light. They remind you that you’re allowed to be luminous. You’re allowed to show up bold. You’re allowed to find magic in the tiniest details.
The process of creating this look isn’t about perfection. It’s about presence. It’s the steady rhythm of brush strokes, the shimmer that builds with every layer, the moment you swipe on that final topcoat and feel the transformation lock into place. You didn’t just paint your nails—you gave yourself time, attention, and creative space. And that matters.
What makes glittery blue nails so irresistible is how deeply adaptable they are. You can shift their meaning with a single brushstroke—icy and ethereal, moody and electric, soft and subtle, or high-voltage glam. They work for dinner parties, late-night concerts, everyday errands, and daydreaming at your desk. They flicker in the light and catch the eyes of strangers who wonder if you just might be a little bit enchanted.
But more than anything, these nails are a reminder that beauty can be both playful and powerful. They give you permission to sparkle unapologetically. To treat your hands like art. To reflect your mood without saying a word. And the best part? You created it. By hand. On your own terms.
So wear your glittery blue nails like armor. Like jewelry. Like the exclamation point on an outfit that didn’t ask for permission.
And the next time you catch them twinkling under a café light or a late sunbeam, let that be your little reminder:
You are your own masterpiece—and you deserve to shine.
Dive into the sparkling world of DIY nail art with our “Glittery Blue Nail Design Tutorial.” This guide is your ticket to achieving a dazzling look that’s perfect for any occasion. To ensure you have all the resources at your fingertips, we’ve compiled a list of sources, each linked by a keyword, to help you navigate the process with ease and confidence. Let these sources be your guiding stars as you embark on a creative journey to adorn your nails with the shimmering beauty of the night sky.
Glittery Blue Nail Design Sources:
Techniques: Natalie Mugridge Nail Artist shows three ways to apply glitter to your nails.
Beginner-Friendly: Nailed It NZ offers a quick and adaptable glitter gradient tutorial.
Acrylic Tips: Jammylita provides a detailed tutorial on encapsulating glitter in acrylic nail.
Ombre Style: Learn how to create a coffin-shaped glitter ombre nail design with Swarovski elements.
Design Ideas: Zohna has 52 perfect blue nail designs and a DIY video tutorial to try.
May these sources inspire you to create a nail design that’s as unique and radiant as you are. Shine on!