Mastering Seafoam Marble Nail Art: A Step-by-Step Tutorial

Seafoam Marble Dreams: The Subtle Power of an Aquatic Aesthetic
Seafoam is not just a color. It is a mood, a memory, a whisper of sea spray on your cheek and sunlight diffused through mist. It evokes the moment just before a wave crests, the blend of ocean air and serenity that floods your senses. To wear seafoam marble on your nails is to carry that moment with you. It’s an invitation to glide rather than walk, to breathe rather than rush. This aesthetic is about grace with a little mischief, elegance that isn’t trying too hard, and layers of softness rippling over something deeper.
When marble and seafoam collide, what emerges is an art form that sits at the crossroads of the ethereal and the elemental. The swirling textures mimic water in motion—chaotic and calm, bold and barely-there. Unlike harsher graphic designs or solid color trends, seafoam marble tells a more nuanced story. It is for those who crave the meditative beauty of tide pools and the intrigue of hidden coves. The technique is surprisingly versatile, equally at home with minimalist aesthetics, coastal luxe themes, or celestial-meets-oceanic vibes. Whether paired with gold accents, seashell charms, or simply worn solo, this look makes a subtle statement with lasting impact.
The Psychology Behind Seafoam
Color psychology offers some insight into why seafoam green draws us in so powerfully. It sits between green and blue, borrowing tranquility from both but anchoring itself in neither. Green soothes and balances, while blue cools and calms. Seafoam, a dreamy intersection of the two, becomes a refuge color. It can signal clarity, emotional healing, and open-heartedness. For many, wearing it on the nails acts as a kind of grounding ritual, whether consciously or not. It’s like choosing your armor each morning and deciding it will be water.
We live in an era where nail art is no longer just a beauty statement. It is personal expression at your fingertips, a micro-meditation you carry through the day. With seafoam marble, that expression becomes fluid. It shifts depending on the light. It softens the hard edges of your mood. It reminds you to exhale.
Craft Meets Canvas: Why Marbleizing Works So Well on Nails
Marble nail art has stood the test of trend cycles because it speaks to both artists and perfectionists. It’s the illusion of complexity that’s surprisingly easy to achieve once you understand the technique. But unlike flat polish or matte trends, marbling gives you something to look at. It catches the eye not by screaming for attention, but by moving subtly. Each nail becomes a tiny ocean current, a fluid topography of pigment.
When executed in seafoam tones, the look has a cooling effect on your entire aesthetic. It works with silver and gold jewelry alike. It flatters every skin tone. It plays well with linen in the summer, knits in the winter, and breezy dresses when the weather decides to behave. Even more importantly, it looks luxurious. A well-marbleized nail has the aura of expensive taste. And with the right method, you can do it yourself at home.
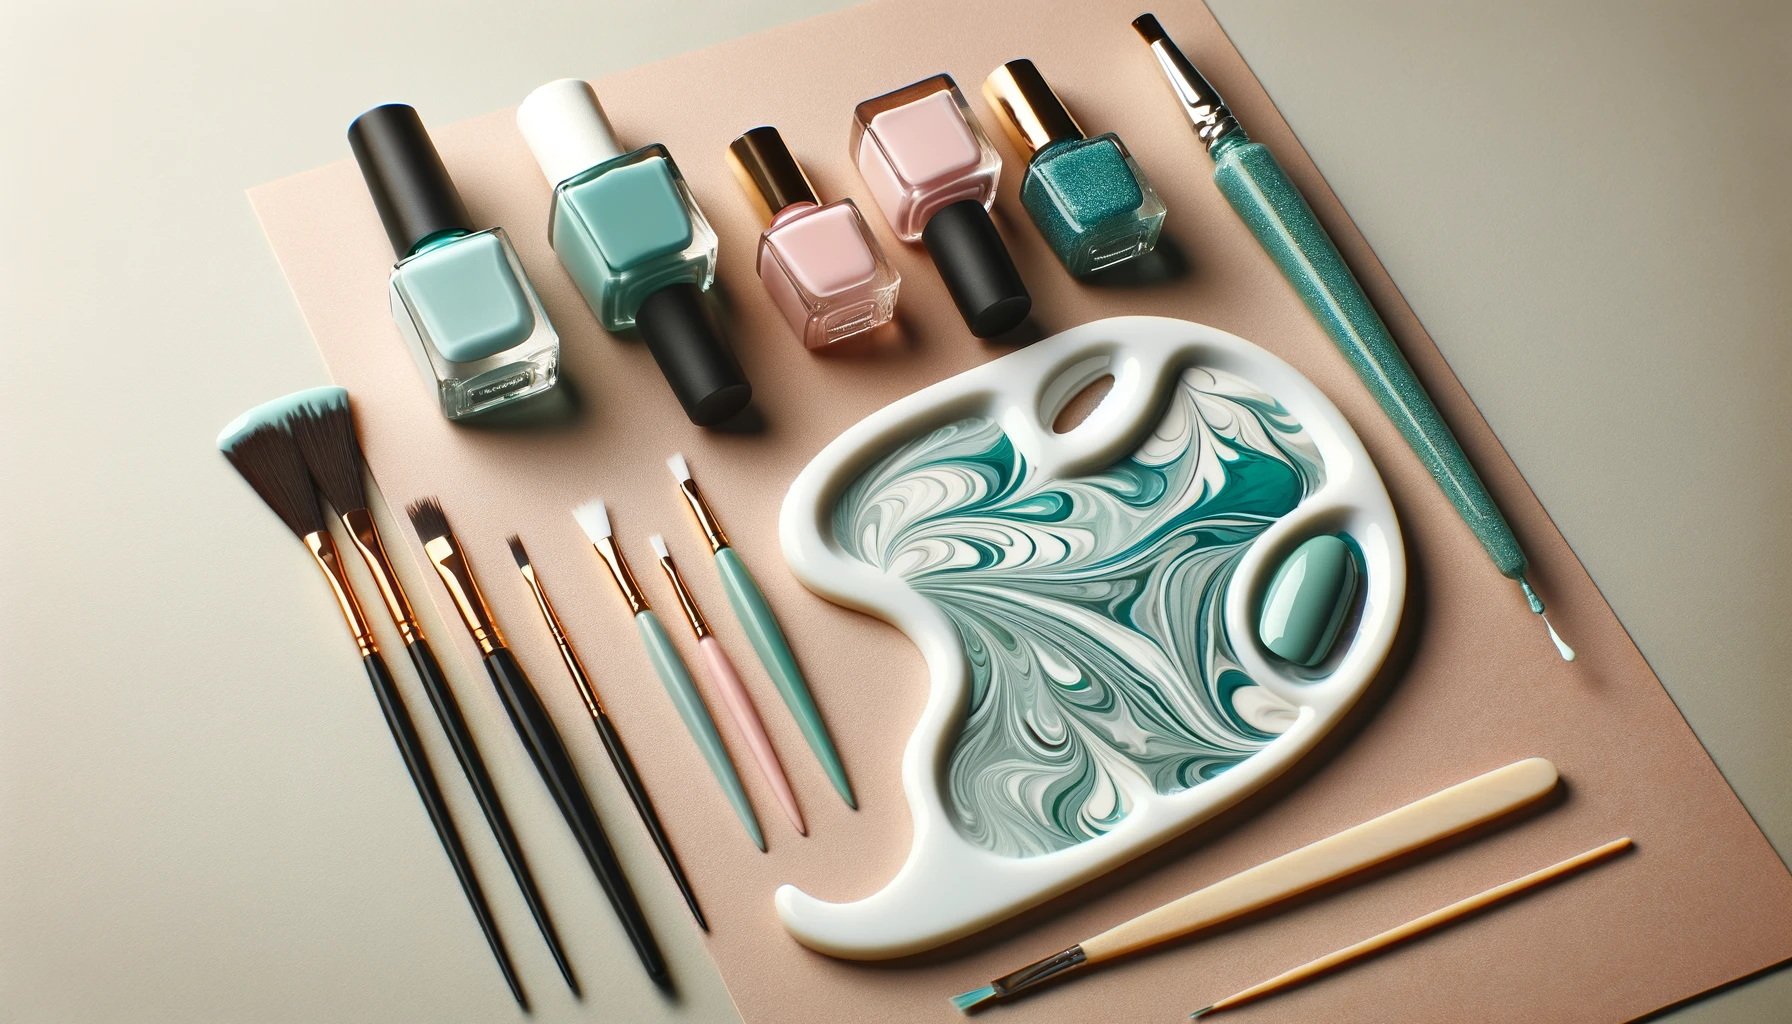
Tools of the Sea: Gathering Your Materials
Before diving into the step-by-step process, let’s talk tools. Seafoam marble is achievable with a minimalist toolkit, but investing in a few extras can take your results from decent to dazzling. At minimum, you’ll want:
A seafoam green polish (choose one with slightly milky undertones)
A white polish or polish pen for veining
A transparent or sheer blue to help blend
A dotting tool, bobby pin, or toothpick
A thin nail art brush (optional but highly recommended)
A silicone mat or plastic palette (for mixing)
A fine glitter top coat (optional, for a pearlescent finish)
A high-gloss clear top coat
Bonus tools like a sponge or fan brush can add dimension, and if you’re feeling experimental, a bit of foil or gold leaf can edge the design into high fashion territory.
But most of the magic will come from your motion—your swirls, dabs, and gentle pulls. Marble is movement frozen in time, and once you understand the flow, your fingertips become tidepools of art.
What Makes This Technique Different
Unlike water marbling, which can be messy and unpredictable, this dry marbling technique offers more control. You’re building the design directly on the nail or on a palette for transfer, which means you can customize each nail without fully committing until you love the look. It also uses less product, dries faster, and gives you the ability to remix the design across your full set without it feeling repetitive.
What’s special about the seafoam marble variant is the softness of color transitions. You don’t want harsh lines or overly dramatic contrast. The goal is to emulate what you might see if you scooped a piece of ocean up in a glass—translucent, suspended layers of color, movement, and occasional sparkle. This design relies heavily on layering, opacity control, and trust in your own hand’s fluid motion.
Setting the Mood
Before you paint, set your scene. Play oceanic ambient music or soft lounge jazz. Lay out your tools neatly on a clean surface. Pour a glass of something cold. Light a candle or crack a window to let the real sea breeze in if you’re lucky enough to live near the coast. The difference between a rushed DIY and a luxe at-home manicure is your mindset. This is not a chore. This is a ritual.
Prep your nails with care. Push back your cuticles, file into soft almond or squoval shapes, and apply a ridge-filling base coat. Seafoam marble shines best on a smooth canvas. Then, take a breath. You are not trying to match anyone’s version of perfect. You are about to paint the sea.
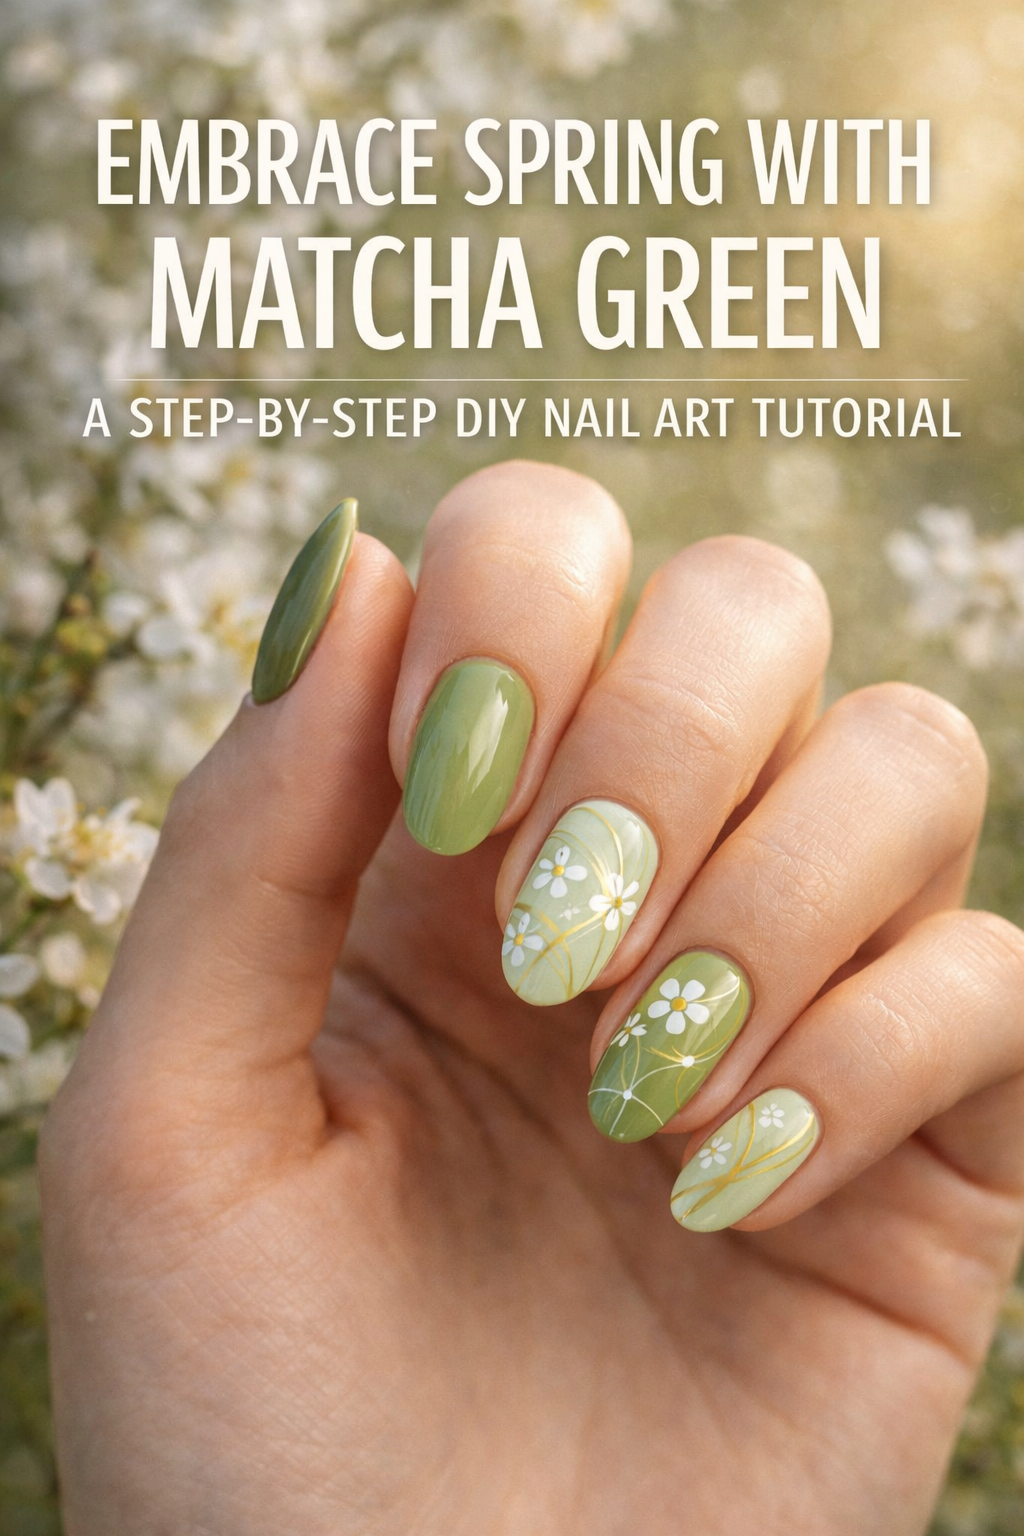
Seafoam in Every Season
What’s beautiful about this look is that it transcends seasonal expectations. In spring, pair it with linen trousers and shell earrings. In summer, it becomes a heatwave-chic contrast to bronzed skin and salty hair. In fall, it softens heavier wardrobe textures like wool or leather. And in winter, it evokes crystalline frost and arctic lagoon energy—especially with a hint of shimmer top coat.
For those who keep their nails short and neat, seafoam marble brings unexpected elegance. For long almond nails, it looks editorial. You can shift the vibe with accent nails—add a seashell charm on one, or edge another in gold leaf. Or keep every nail identical for that satisfying mirrored flow.
Either way, you’re creating your own shoreline with every stroke.
The Emotional Power of Nail Art
It may seem like “just nails,” but the truth is that small rituals carry enormous emotional weight. When you paint your nails, you are taking time for yourself. You are deciding how you want to show up. You are engaging in an act of micro-identity design. That little glint of color at the end of your fingertips? It sets the tone for the handshake, the coffee cup, the keyboard, the steering wheel. You’re seeing it dozens of times a day. And when it’s seafoam marble, you’re being reminded—gently, constantly—of the calm you painted for yourself.
This is self-care disguised as style. Art therapy distilled into fifteen square centimeters.
So yes, seafoam marble is gorgeous. But it’s also functional, emotional, spiritual. It gives you something to anchor to on days when everything feels like it’s moving too fast.
Transitioning Into the Tutorial
Ready to try it yourself? The beauty of this look is in its imperfection. Every nail should look slightly different, just like no two waves ever crash the same way. This is about embracing flow. Below, you’ll find a step-by-step tutorial that breaks down the process into manageable strokes and swirls. Whether this is your first time attempting nail art or you’re already deep in your gel polish era, this technique is adaptable, forgiving, and endlessly rewarding.
Let the ocean guide your hand.
Mastering Seafoam Marble Nail Art: A Step-by-Step Tutorial
@glamartistryhub @𝗖𝗲𝗿𝗶𝘀𝗲 ♡ Currently obsessing over marble nails & this gorgg claw from @honeyluxsilk ! 🦋🩵🌊 code ‘glossy20’ for $$off <3 Using @gelcare.official • Bare BB Creme • Synthwave • Dusty Mint • Memphis Green • Denim • Lagoon code ‘glossytipped’ to save 🩵* *affiliate _____ #marblenails #nailideas #springnails #2024nails #nailinspo #clawclip #acetateclips ♬ Saturn X Slow Dancing In The Dark - reavesaudios
The Seafoam Marble Nail Tutorial: A Tidal Ritual in Layers and Swirls
Creating seafoam marble nails is less like painting and more like sculpting water in slow motion. It’s not just about color—it’s about depth, translucence, and gentle movement. The goal is to make each nail feel like it belongs in a tide pool kissed by light. This tutorial is built for at-home ease but delivers professional results with the right attention to detail.
Take your time. This is not a process to rush. Seafoam marble, when done right, rewards patience with luminous serenity at your fingertips.
Step 1: Nail Prep as a Ceremony
Start by cleansing your hands and nails thoroughly. Use a non-acetone polish remover to take off old polish, oils, or residue. Wash with a mild hand soap and gently exfoliate the cuticle area using a soft brush or sugar scrub. Pat dry.
Shape your nails into your preferred silhouette—almond, squoval, soft square, or oval all look divine with this design. File gently in one direction to avoid frayed edges. Push back your cuticles, and if needed, trim sparingly. Buff the nail surface just enough to remove shine, allowing polish to adhere smoothly.
Now apply a ridge-filling base coat. This not only prevents staining but creates a flawless, even canvas for the semi-sheer layering to come. Let it dry completely.
💡 Tip: The base coat sets the tone. If your natural nails have ridges or discoloration, consider a slightly tinted ridge-filler to start on an already luminous note.
Step 2: Your Base Layer — The Seafoam Mist
Choose your base polish wisely. A soft seafoam green that leans milky rather than minty is ideal. You want it to whisper rather than shout.
Apply one thin, even layer and let it dry. Then apply a second coat for richness. If the formula is sheer, you may need a third layer, but avoid building too thickly—what matters most is that the color is soft, dreamy, and ready to act as the watery foundation for the marbling to sit upon.
💡 Optional: Add a drop of sheer iridescent shimmer to your base layer before it dries completely if you want a diffused, pearl-like undertone. Think tide sparkle under moonlight.
Step 3: Mixing Your Marble Palette
On a small silicone nail mat or piece of wax paper, place small dots of the following polishes:
White polish (for veining)
Sheer or jelly seafoam green (for translucent layering)
Transparent pale blue or silver shimmer (for glow and dimension)
Optional: a slightly deeper green for contrast
Optional: a gold or champagne foil polish if you're feeling celestial
Use a dotting tool or toothpick to swirl the colors gently together in small curved motions. You’re not blending into one uniform color—you’re dragging and coiling the tones to create delicate feathered lines and clouded puddles. You’re mimicking the motion of water meeting air.
Step 4: Transfer Technique — Canvas to Nail
There are two methods to transfer your marble to the nail. Choose whichever fits your comfort level:
A. Direct On-Nail Marbling (Beginner Friendly):
Place a sheer coat of your seafoam base polish on the nail—you’ll work on this wet surface.
While it’s still tacky, use a thin nail brush or toothpick to dab small amounts of the swirled marble polish mix onto the nail.
Drag and swirl gently. Less is more. Use C-shaped motions or soft curves. Aim for cloudy edges and wispy lines rather than hard streaks.
Let the first pass dry. Then repeat with a second layer, adjusting placement and depth. This builds a layered marble effect with oceanic dimension.
B. Decal Transfer Method (For More Control):
On your silicone mat, create a marble puddle about the size of your nail. Let it dry for 5–7 minutes until it becomes tacky and flexible.
Peel it off gently with tweezers.
Trim it with cuticle scissors to fit your nail.
Apply a thin coat of base polish and place the decal onto the wet surface, gently pressing it down.
Use a silicone tool to smooth out bubbles and wrap the edges around the nail.
File away any overhang, then seal.
This method gives more precision and lets you redo designs until you love them. It’s like crafting a mini painting for each nail before installation.
Step 5: Add Depth with Veining
After the main marble layer has dried, use a fine-tipped nail brush or detail pen to create subtle white veining. This mimics the mineral striations in real marble. Lightly drag the brush through the curves of your previous swirls. Don’t overdo it—veining should feel like water running over quartz, not drawn-on lines.
Use a barely-there hand and dilute the white polish with clear top coat if needed. You're creating tension and interest within softness.
💡 Optional: Highlight one or two veins with silver or champagne foil to catch the light like a seashell.
Step 6: Blend and Seal
Once your marble and veining are completely dry, apply a layer of sheer seafoam or jelly blue polish over the design. This acts like a glaze in painting—it softens the edges, ties the design together, and creates that “suspended in water” illusion.
Finish with a high-gloss, glassy top coat. This locks everything in and adds the wet-look shine that really makes marble come alive. Wrap the tips of your nails to prevent chipping.
Let dry thoroughly. Seafoam marble rewards stillness. Let the top coat cure completely before you use your hands. If you want to double up on gloss, apply a second top coat layer the next day for a salon-quality finish.
Step 7: Finishing Touches
Once your nails are fully dry, take a nourishing cuticle oil and apply it around the nail beds. Massage gently. This not only hydrates but gives your nails that editorial glow.
Admire your work. Move your hands in the light. You’ve just bottled the ocean.
Customizations and Variations
Accent Nails:
Add a single gold seashell charm or pearl to one finger on each hand for a luxe beach-inspired vibe. Place it just above the lunula (the base crescent) for a regal finish.
Matte vs Glossy:
For a completely different energy, try a matte top coat. It transforms your seafoam marble into something like ocean mist on sea glass.
Ocean Ombre:
Instead of a uniform base, create an ombre that fades from pale seafoam to deeper aqua, then marble on top.
Galaxy Meets Ocean:
Incorporate black and dark blue veining, then layer with shimmer and star decals for a cosmic-tide version of the marble look.
Negative Space:
Leave half the nail bare and marble only the top or sides for a more editorial, asymmetrical vibe.
Troubleshooting & Pro Tips
Too thick? Use thinner layers. Let each dry before adding more.
Not marbling well? Your polish may be drying too fast. Work in smaller sections or try a thinner top coat to keep things workable.
Colors muddying? Keep your swirling gentle. You want distinct ribbons, not a soup of polish.
💡 Always test your swirl mix on a swatch nail or tip before committing to your hands. Adjust tones as needed. Seafoam should feel bright yet cool, milky yet airy.
The Ritual of Maintenance
To keep your marble seafoam looking salon-fresh:
Reapply top coat every 2–3 days
Avoid soaking your nails in hot water for long periods
Moisturize your cuticles daily
Use gloves when cleaning or doing dishes
Your seafoam marble nails can last a week or more with care. And the longer they stay pristine, the more the hypnotic beauty sinks in. It becomes a part of your self-presentation, a reflection of your inner calm and outer edge.
Seafoam marble is more than a look—it’s an atmosphere you create on your own fingertips. It’s sensual but serene, experimental but wearable. And now, it’s yours to master.
Whether you follow this tutorial step by step or remix it to suit your style, what you’re really doing is capturing motion and stillness in the same breath. The sea doesn’t ask for permission to be stunning. Neither should your nails.

Mastering Seafoam Marble Nail Art: A Step-by-Step Tutorial
There’s a quiet power in a manicure that doesn’t scream but still stops someone in their tracks. Seafoam marble nails whisper luxury, intention, and a kind of deep self-awareness. They don’t chase trends—they drift in like the tide and leave a lasting impression. When you wear this look, you’re not just polished. You’re telling a story. You’re setting a mood before you speak a word.
In a world that so often demands speed and sharpness, choosing to embody softness is a radical act. Swirls of seafoam are a reminder to move gently, feel deeply, and make beauty part of your daily rhythm. Whether you crafted each wave yourself or brought this tutorial to your nail tech for inspiration, what you’ve created is wearable art—and a subtle declaration of self-care on your own terms.
So next time someone asks where you got your nails done, you’ll smile, glance at your fingertips glinting under soft light, and know that it wasn’t just about the polish. It was about honoring your own aesthetic tide.
Dear nail art enthusiasts, if you’re ready to dive into the serene world of seafoam marble nail art, I’ve curated a collection of exquisite resources to guide you step-by-step. Whether you’re dreaming of ocean waves or simply want to evoke the tranquility of seafoam, these high-quality tutorials will have your nails looking like a coastal masterpiece. Let’s create some magic:
Whimsical Water Marble Nails: This beginner-friendly water marble nails tutorial will have you creating beautiful nail art in no time. Imagine soft swirls of seafoam dancing on your fingertips! 🌊💙
Seafoam Freehand Marble Recreation: Inspired by the amazing Chelsea from @nailqueenie, this tutorial takes you through the steps of recreating a seafoam-inspired look. Chelsea’s creativity is truly an inspiration! 🌟🐚
DIY Seafoam Marble Nails: Prepare to be mesmerized! This video tutorial shares pro tips on achieving the best results with water marbling. Get ready to have your jaw drop as you create seafoam magic. 🌊✨
Remember, each link holds the secret to unlocking your inner mermaid. Happy marbling! 🧜♀️💅