DIY Spring Nail Art: Elegant Lilac & Silver Design Tutorial
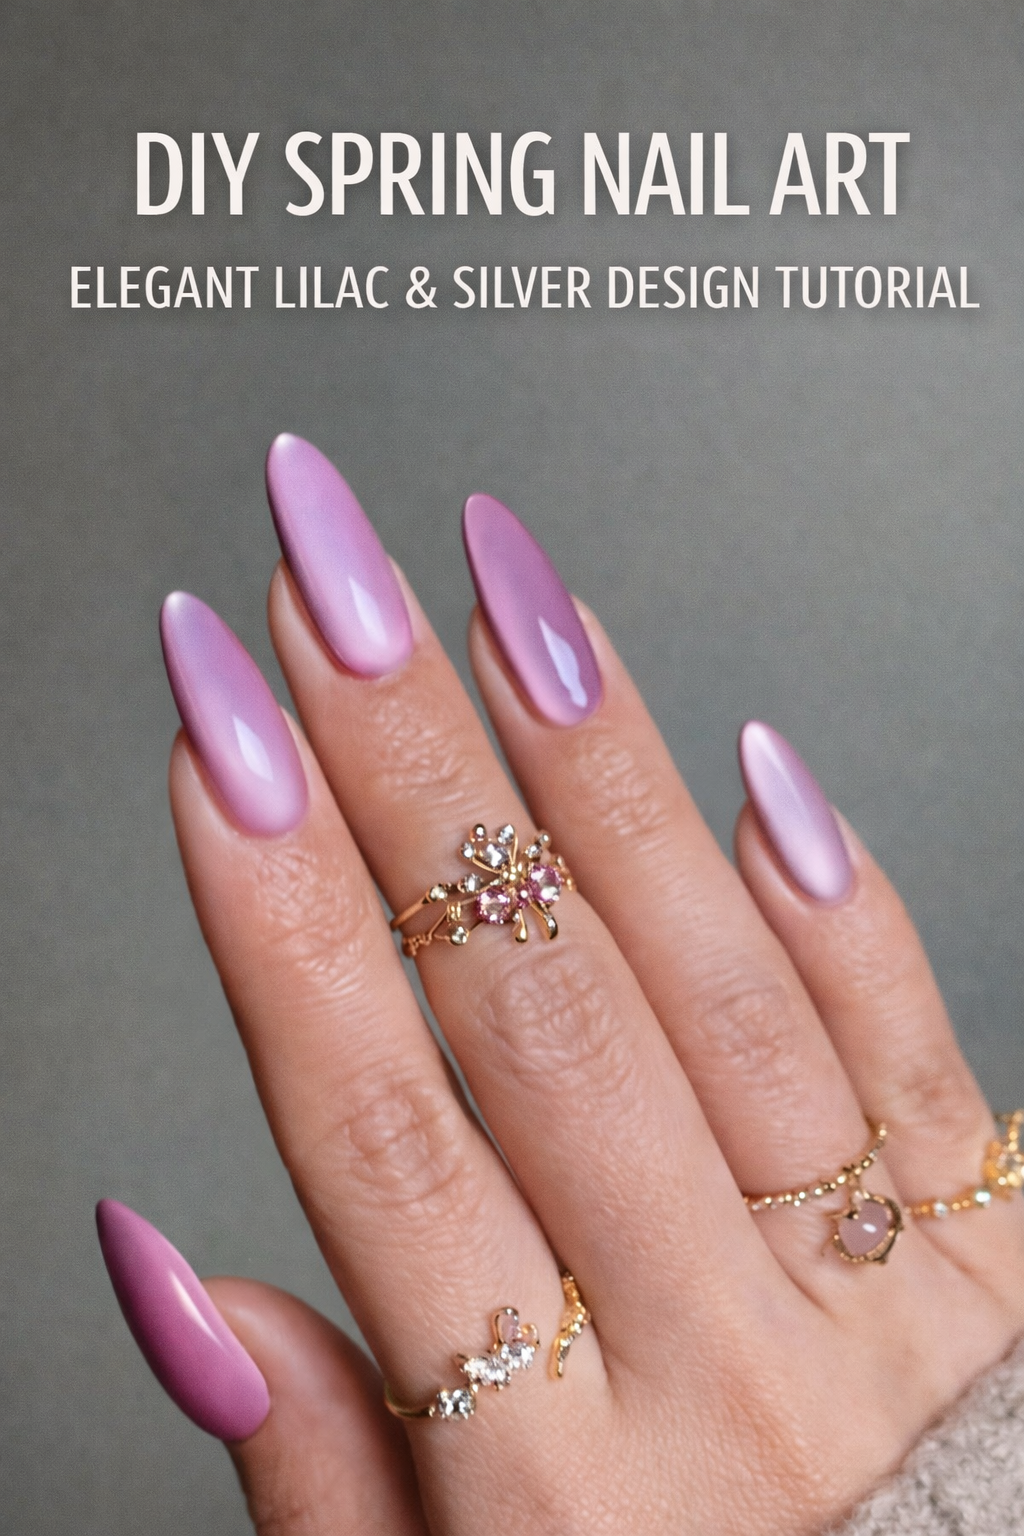
Whispers of Spring: A Nail Lover’s Journey Into Lilac and Silver Elegance
Every year, spring arrives not with a bang, but a murmur. A breeze that no longer bites. A glimmer of light that lasts just a bit longer in the evenings. Buds begin to breathe open and the air shifts, quietly promising rebirth. In this soft season of emergence, the need to express beauty—delicate, polished, personal—finds new outlets. For many of us, this desire blossoms not in wardrobes first, but at our fingertips. The canvas may be small, but the impact is intimate. It’s where our mood meets our mirror. And in spring, no nail combination sings more poetically than lilac and silver.
There is something magnetic about lilac. It is not merely purple softened. It is its own spell. Evoking wisteria in bloom, soft hyacinths brushing the morning sun, or the first shimmer of periwinkle in twilight, lilac is a color that says renewal without the noise. It has always sat gracefully between girlish charm and mature restraint, and when paired with silver, it ascends. Silver adds clarity and edge. It’s moonlight draped over petals. It is structure. Shine. Cool glamour that tempers the sweetness of spring.
In a beauty world overflowing with loud patterns, maximalism, and rapid-fire trends, lilac and silver nails offer an elegant rebellion. They whisper instead of scream. They honor the season without overpowering it. They are timeless yet timely. Minimal yet magical.
Why This Nail Look Resonates Now
More than ever, people are turning toward a “quiet luxury” aesthetic in beauty. The focus is shifting from elaborate shapes and busy designs to tonal layering, texture play, and subtle detailing. What we wear on our nails is now seen as part of a full-body expression of intentional style. Whether you’re wearing cashmere and linen or vintage denim and ballet flats, a well-crafted lilac and silver manicure feels like the final poetic note in a carefully composed look.
But there’s another reason this pairing speaks so loudly to the season. It feels like the physical embodiment of possibility. Just as bare trees dress themselves in blooms and bare shoulders reacquaint themselves with sunlight, your nails become one more place to manifest what’s next. Whether you are softening your edges after a long winter or sharpening your shine for a fresh start, this lilac and silver design becomes a ritual in renewal.
The Feminine Power of Colorplay
There is great feminine strength in choosing softness. That is not weakness. In the hands of the right wearer, pale lilac becomes a power move. It draws people in. It commands a second glance not because it shouts, but because it invites. Add to it the architectural polish of silver—whether in foil, glitter, striping, or chrome—and you’ve transformed that softness into something almost sculptural.
Nail art is one of the few beauty rituals where transformation is entirely in your hands—literally. You choose the palette. You shape the canvas. You steady your breath as you paint line by line. And unlike more performative forms of beauty, this one is for you. You glance down and see your fingertips gleaming like frost on lavender. It becomes your little secret until someone else notices.
Spring’s Palette as Lifestyle
This is more than a nail tutorial. It’s a mindset. A palette shift. A sensory reset.
Lilac and silver carry with them a visual softness that begins to transform how we view everything around us. Imagine drinking your coffee from a glass mug that catches the morning light. Wearing a pearl gray robe while watering lavender plants. Spraying your wrists with a lilac-tinted floral mist. Choosing a soft satin clutch instead of leather. Replacing your loud phone case with one that glows in lilac shimmer.
The more we integrate elegance into the little things, the more elegant we become. The more we soften our edges, the more defined we look. It’s a paradox—but that’s where true beauty lives.
Who This Look Is For
This isn’t a design for the impatient. It is a design for the daydreamer. The detail-lover. The one who still pauses at blossoms on the sidewalk or who arranges flowers in the kitchen even when no one’s visiting. It’s for the girl who likes a clean canvas, but also the one who lives for that one well-placed shimmer.
Whether you're an introvert reclaiming your softness, a romantic who still buys lilac-colored candles, or a woman on her third reinvention, this nail look is your silent signature. You don’t need to explain it. You wear it, and the world adjusts.
What Makes This Design Special
The elegance of this look is in its simplicity, but also its unexpected depth. The base is lilac—soft, matte or glossy, depending on your mood. Over this, silver appears sparingly but meaningfully. Not in chaotic swirls, but in intention. Perhaps it’s a sliver of silver foil that catches the light when you raise your glass. Or a whisper-thin silver stripe at the tip, like a modern take on the French manicure. Maybe it's an accent nail entirely in chrome, reflecting the soft hues around it.
This design is customizable to your skill level and mood. It can be minimalist or ornate. You can switch out lilac for a lavender with blue undertones, or even a sheer violet wash. You can choose between holographic glitter and smooth metallic striping tape. And best of all, it doesn’t require a salon.
With a little patience and the right tools, you can craft this look at home with as much polish as the professionals.
Ritual Over Routine
When you sit down to paint your nails, it’s more than a beauty task. It’s a pause. A breath. A ritual that slows time.
Light a candle. Put on a playlist that reminds you of spring mornings. Brew your favorite tea. Take your time shaping and buffing your nails. Moisturize your hands like you would a lover’s skin. Take care of each fingertip like it matters—because it does. You do.
Beauty becomes sacred not when it’s flawless, but when it’s intentional.
From Bloom to Brush: The Spring Nail Moodboard
Before you begin, create a visual environment that inspires. Imagine:
A field of soft lavender stretching under a silver sky
The shimmer of morning dew on a lilac blossom
Silver jewelry against pale skin
Lavender ice cubes in a sparkling drink
Cloudy skies after rain kissed by faint sun
These images live in this nail look. You’re not just painting—you’re recreating nature on a tiny canvas.
Why DIY Matters More Than Ever
In a world pushing for immediacy and convenience, DIY nail art is a quiet rebellion. You’re taking time. You’re choosing intention. And you’re creating something only your hands have touched.
That time spent—alone, focused, creative—is not just about appearance. It’s about self-reclamation. About reminding yourself that beauty doesn’t always need an appointment. You are allowed to create art for no one but yourself.
Even if you smudge a line or get glitter in the wrong spot, it’s yours. That mistake becomes part of your season. Like a blossom that fell before it bloomed. Still beautiful. Still worth it.
The Mood This Look Creates
After you finish this design and step into the sunlight, something happens. Your gestures become more expressive. Your hands linger in your pockets or graze your hair a little more slowly. When you touch your phone, your nails reflect the light back at you. You sip your drink like you’re in a slow-motion film. You catch yourself glancing down—not to check your work, but to admire your softness. Your shine.
And others notice too. Not because the nails are loud. But because they’re perfectly you.
That is the true power of a great spring nail look. It doesn’t just decorate. It transforms. From fingertips to self-perception.
Ready to Recreate the Look?
Now that your mindset and mood are aligned with the season, it’s time to bring this vision to life. Below, you’ll find a detailed step-by-step guide to creating this exact lilac and silver nail design at home. Whether you’re a beginner or a seasoned DIY nail artist, these instructions will walk you through every stage of the process—from prepping your nails to layering polish, placing accents, and locking in your look for long-lasting elegance.
Let’s begin the transformation.

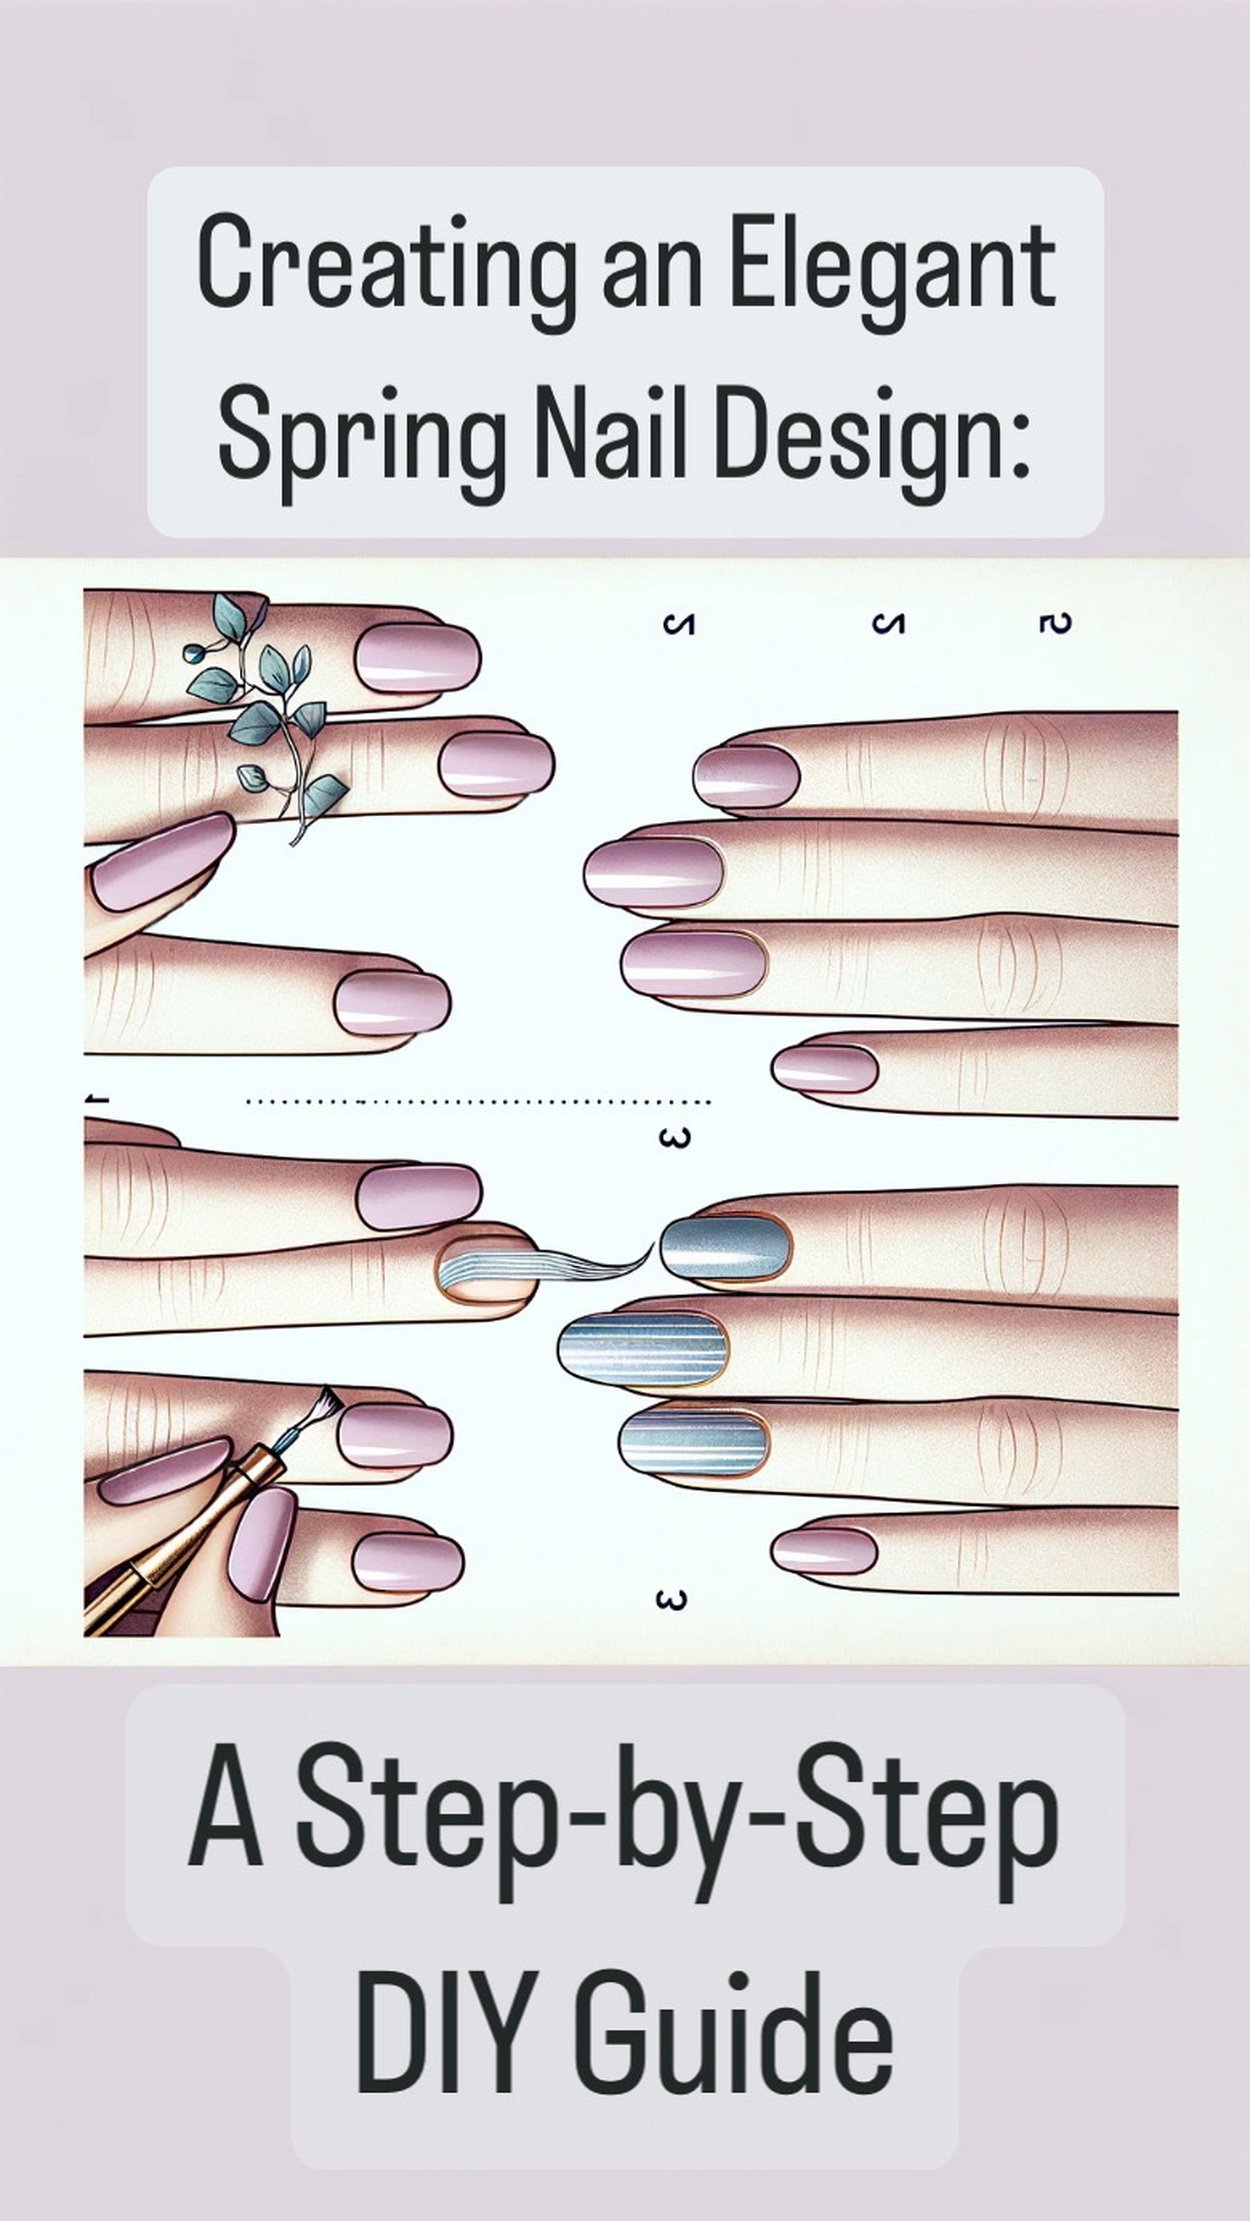
Creating an Elegant Spring Nail Design: A Step-by-Step DIY Guide
#nails #naildesign #springnails pic.twitter.com/8qo6TuFJIa
— Glam Artistry Hub (@glamartistryhub) March 30, 2024
Step-by-Step Guide: Crafting the Perfect Lilac and Silver Spring Nail Look
This design is delicate but striking, soft with a touch of brilliance. Lilac meets silver in a dance that’s equal parts floral grace and lunar shimmer. Whether you’re prepping for a brunch date, spring wedding, or just need a touch of beauty that makes typing feel like poetry, this tutorial takes you from bare nails to polished perfection.
Step 1: Create a Luxurious Setup
Transform your nail routine into a self-care ritual. Start by cleaning your workspace, laying out your tools, and lighting a softly scented candle if you wish. Pour yourself something floral—a lavender latte, an elderflower soda—and play music that matches the mood. Think Parisian café mornings or ambient piano over rain.
Gather your materials:
Nail polish remover
Cotton pads or reusable nail wipes
Nail file and buffer
Cuticle pusher or orangewood stick
Base coat
Lilac nail polish (creamy or sheer, your call)
Silver nail accents (glitter, striping tape, foil, chrome powder, or polish)
Fine nail brush or dotting tool
Top coat
Nail polish corrector pen or thin angled brush dipped in acetone
Cuticle oil
A small glass of ice water can also be helpful to “freeze” your design if you need to set polish quickly.
Step 2: Cleanse and Prep the Canvas
Clean nails are everything. Remove any polish, wash your hands, and dry thoroughly. Push back your cuticles gently and file your nails into your desired shape—oval, almond, or soft square work beautifully with this look.
Buff the surface of each nail very lightly. You’re not sanding—just smoothing out ridges so the polish glides and grips better. If you’re working on natural nails, avoid over-buffing to prevent thinning.
Once prepped, wipe each nail with a lint-free pad soaked in remover or rubbing alcohol. This removes residue and helps the base coat adhere.
Step 3: Apply the Base Coat
Think of your base coat like primer for makeup—it preps the nail and extends the life of your look.
Use a thin layer and be precise, capping the tips to avoid chipping. Let it dry fully. If your nails are prone to staining or breaking, go for a ridge-filling or strengthening base.
This layer will make a difference in how long your final look lasts and how smooth the lilac color appears.
Step 4: Lay Down the Lilac
Choose a lilac that fits your vibe. Creamy for romantic softness. Sheer for an airy, fairy-like finish. Iridescent for magic in motion.
Apply your first coat in three swipes—center, left, right. Do not overload the brush. Thin coats are key. Let it dry fully before adding a second.
Your second coat should bring full opacity. If you’re using a sheer polish intentionally, one coat might be enough for a dewy wash of color. For more intensity, a third coat can be added, but only if it stays thin.
If your polish has shimmer, tilt your hands under light between coats to see how the shimmer distributes. Adjust your angle or application if needed.
Step 5: Plan Your Silver Accents
Before opening any glitter or foil, pause. This is your design moment.
Decide on your silver placement:
Single accent nail (usually the ring finger or thumb)
French tip in silver
Diagonal striping
Silver cuticle crescent
Scattered glitter gradients from tip or cuticle
Lay your ideas out mentally or test on a practice nail. Less is more with silver. You want to contrast, not compete.
Step 6: Apply Silver Details
There are a few options for silver accents, depending on the finish you’re after. Here’s how to approach each one:
Option A: Silver Glitter Gradient
Dab silver glitter polish at the base or tip of your nail, then use a sponge or brush to gently fade it out. A fan brush helps create a soft scattering effect. For more drama, build up layers. Always let each layer dry before adding more.
Option B: Striping Tape
Cut thin silver striping tape and place it across the nail horizontally, diagonally, or vertically. Press it down with a silicone tool or your finger. Trim the edges perfectly flush with the nail tip. Press it in again. Add top coat generously to seal.
Option C: Silver Chrome Accents
Rub chrome powder into a cured gel layer or sticky polish base using an eyeshadow sponge. You can do this all over one accent nail or in geometric shapes. Buff gently to make it shine like liquid metal.
Option D: Silver Foil Flakes
Use tweezers to place tiny pieces of foil across a semi-wet base. Tap gently to press into place. You can scatter foil randomly or place it along edges for a fractured-glass look. Seal with a thick top coat.
Option E: Painted Silver Designs
Use a silver polish and a fine brush to paint swirls, lines, or crescent shapes. Keep strokes minimal for elegance. For example, a slim silver arc at the cuticle or a crescent moon halfway up the nail can add modern edge.
Step 7: Clean and Perfect the Edges
Now’s the time to neaten everything up. Use a clean-up brush dipped in acetone to trace around your cuticles and remove any excess polish. This sharpens the look and makes it feel like a salon finish.
Don’t skip this step—it’s one of the biggest separators between a DIY job and a professional result.
Let the polish set fully before continuing. If using gel polish, cure under lamp as needed.
Step 8: Apply Top Coat Generously
A high-gloss top coat makes everything melt together. Apply generously but carefully. Cap the tip of each nail to prevent peeling. If you’ve used 3D elements or foil, consider a thicker gel-like top coat for better encapsulation.
Let it dry for at least 10 minutes without touching anything. That means no scrolling, no petting the dog, no adjusting your hair.
Top coat can be reapplied every couple of days to maintain shine and durability. For gel, you’ll only need one application.
Step 9: Nourish and Finish
Once dry, massage a rich cuticle oil into the base of each nail and your hands. This softens the skin and brings life to the overall look. Use an oil with lavender or citrus to complement the fresh spring theme.
If you’re planning to photograph your nails for social media or your blog, this is the time. Capture shots in natural light, near a window or outdoors, holding something soft—a cup of tea, a flower, a crystal, or even a linen napkin. Let the light catch that lilac-silver magic.
Step 10: Maintenance and Tips
To keep your look pristine:
Wear gloves when cleaning or washing dishes
Reapply top coat every few days
Avoid picking or tapping your nails harshly
Carry a nail file and cuticle oil pen in your bag
If a silver accent starts to lift, gently remove it and reapply or buff the area and switch to a minimal touch-up
This manicure should last 5–10 days depending on how well you care for it and the formula used.
Optional Add-Ons
Want to take this look further?
Matte top coat over lilac and glossy silver accents for contrast
Tiny pearl or rhinestone at the base of one nail
Pastel ombré effect fading lilac into sheer pink
Lavender scent balm rubbed onto pulse points for full sensory spring vibes
Wear It Like a Signature
Now that your nails are gleaming in lilac and silver, let them become a thread in your story this season. Style your look around them—silver hoops, pastel tops, flowy skirts, or minimalist flats.
This is your permission slip to move slower. To reach for things intentionally. To gesture with grace. To allow your hands to become part of your narrative.
Lilac and silver say you bloom on your own time. That you know how to shine without asking. That your softness is your power.
And with every flick of your hand, you carry a little piece of spring.
Creating an Elegant Spring Nail Design: A Step-by-Step DIY Guide
Final Thoughts: When Beauty Meets Intention
There is a quiet kind of confidence that comes from polished fingertips. Not loud or demanding. Just... present. It’s the way your hand lingers on a wine glass. The way you brush hair behind your ear. The glance downward that catches a glimpse of lilac shimmer and makes you smile—because you did that. You created something beautiful in a world constantly rushing you to skip over those little details.
This design is not about trends. It’s about the soft audacity of choosing beauty for yourself. It’s about bringing grace into the everyday. It’s a gentle rebellion against the idea that things need to be fast, loud, or flashy to be powerful. Lilac and silver whisper that there’s another way—one where elegance is effortless and every gesture becomes a statement.
So whether you followed every step to the letter or let this guide inspire your own version, you’ve participated in something meaningful. You didn’t just paint your nails. You carved out time for ritual. You made space for softness. You layered on intention.
And maybe, just maybe, you’ll carry that same energy into the rest of your day. Into the way you move. The way you speak. The way you create.
After all, spring is not just a season. It’s a state of becoming.
So go ahead. Bloom boldly—one lilac fingertip at a time.
As the gentle warmth of spring awakens the world around us, it’s the perfect time to refresh our style with an elegant spring nail design. This step-by-step DIY guide is crafted to help you infuse your nails with the season’s joy and sophistication. To enhance your experience and provide you with a wealth of creative ideas, we’ve compiled a list of sources, each linked by a keyword, to guide you on this artistic endeavor. Let these curated resources inspire you to create a nail design that captures the essence of spring’s renewal and elegance.
Elegant Spring Nail Design Sources:
May these sources be the wind beneath your wings as you soar into the realm of nail artistry. Embrace the season and let your nails tell a story of spring’s elegance and charm.