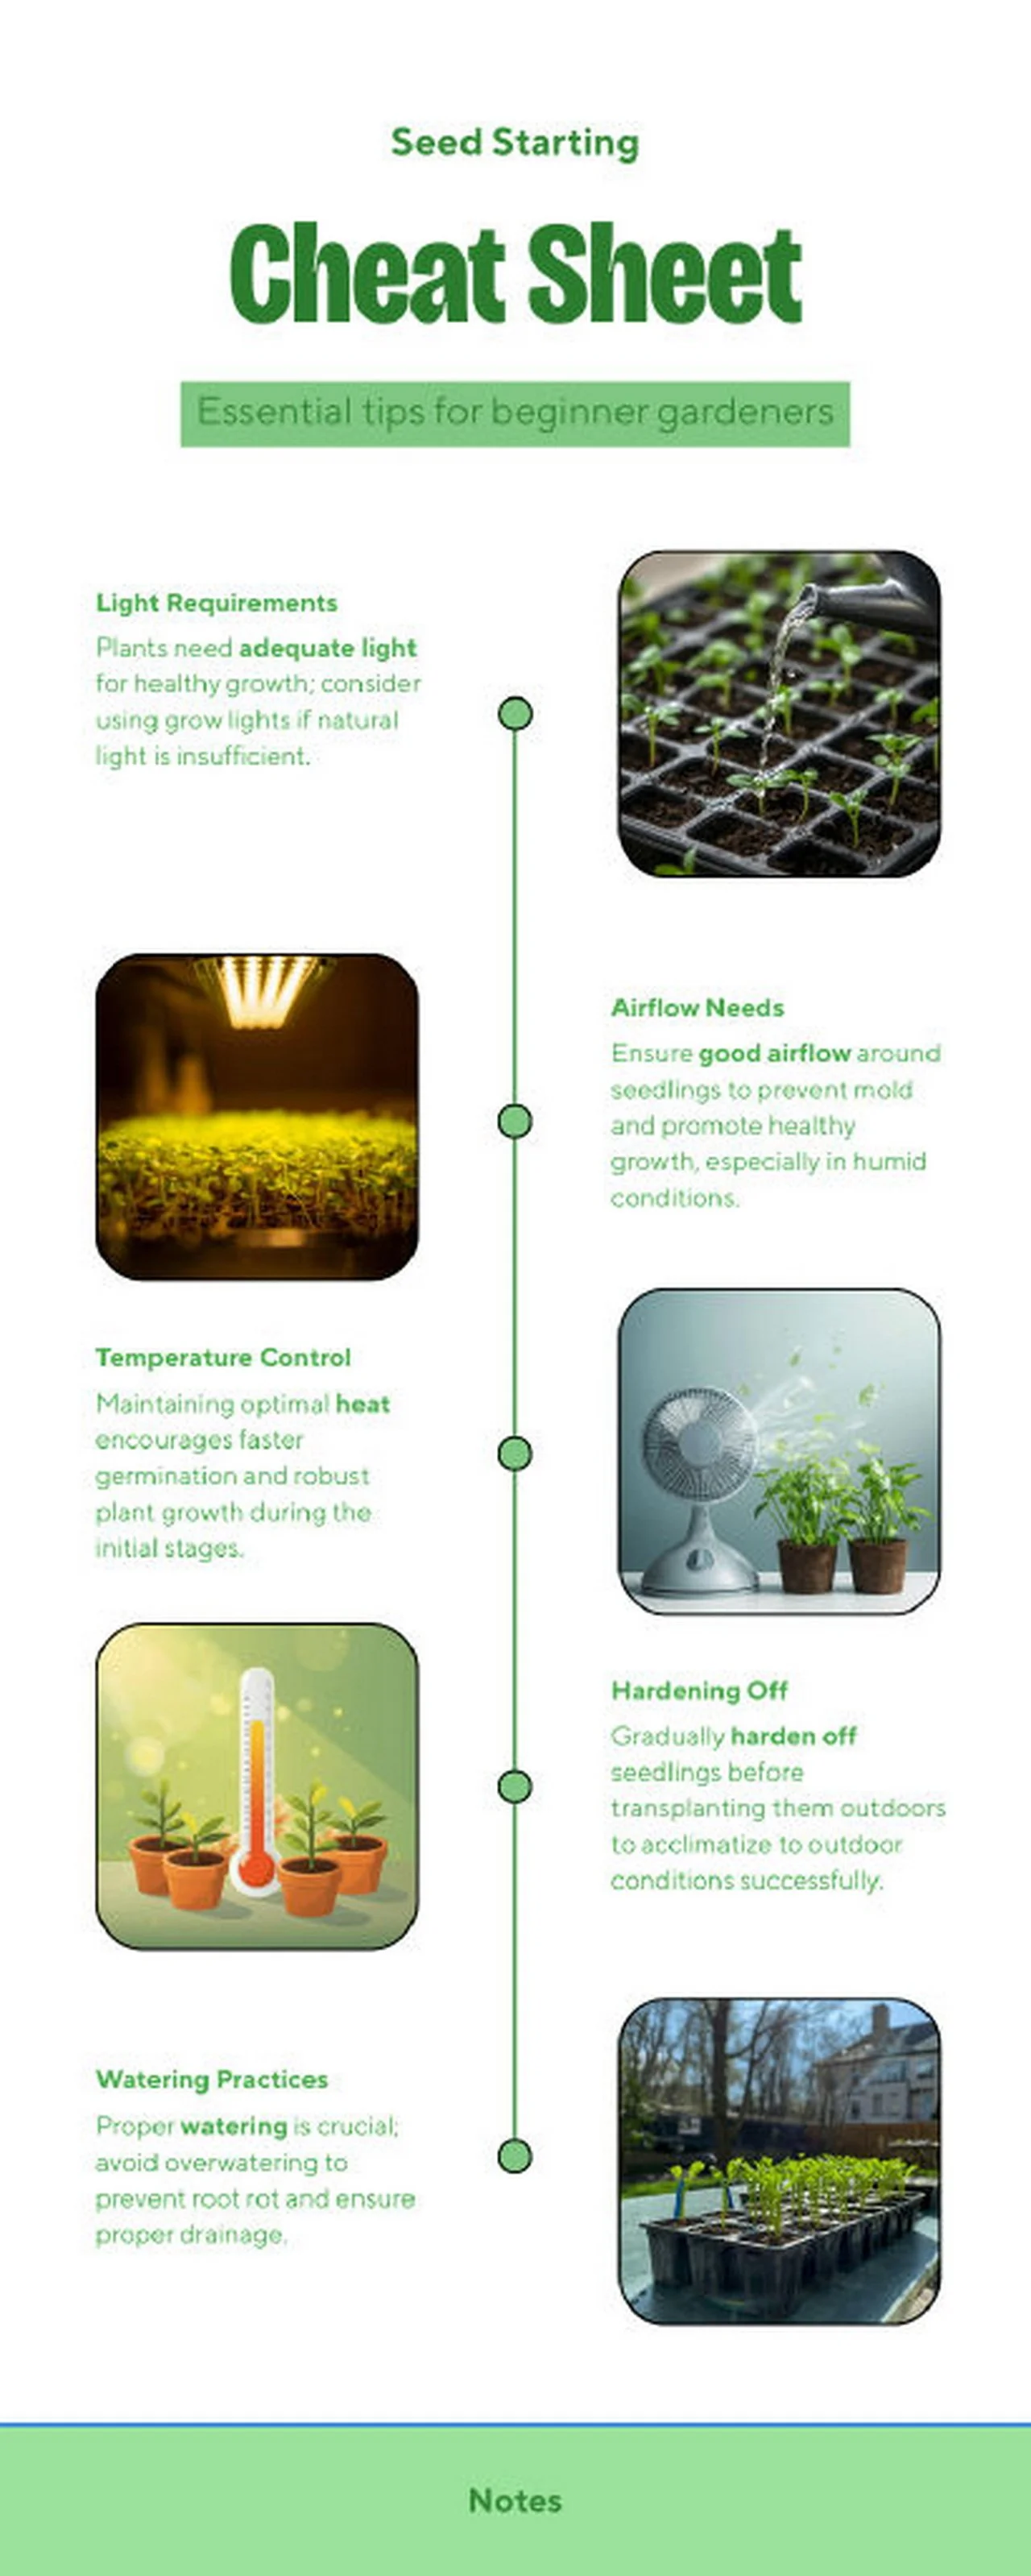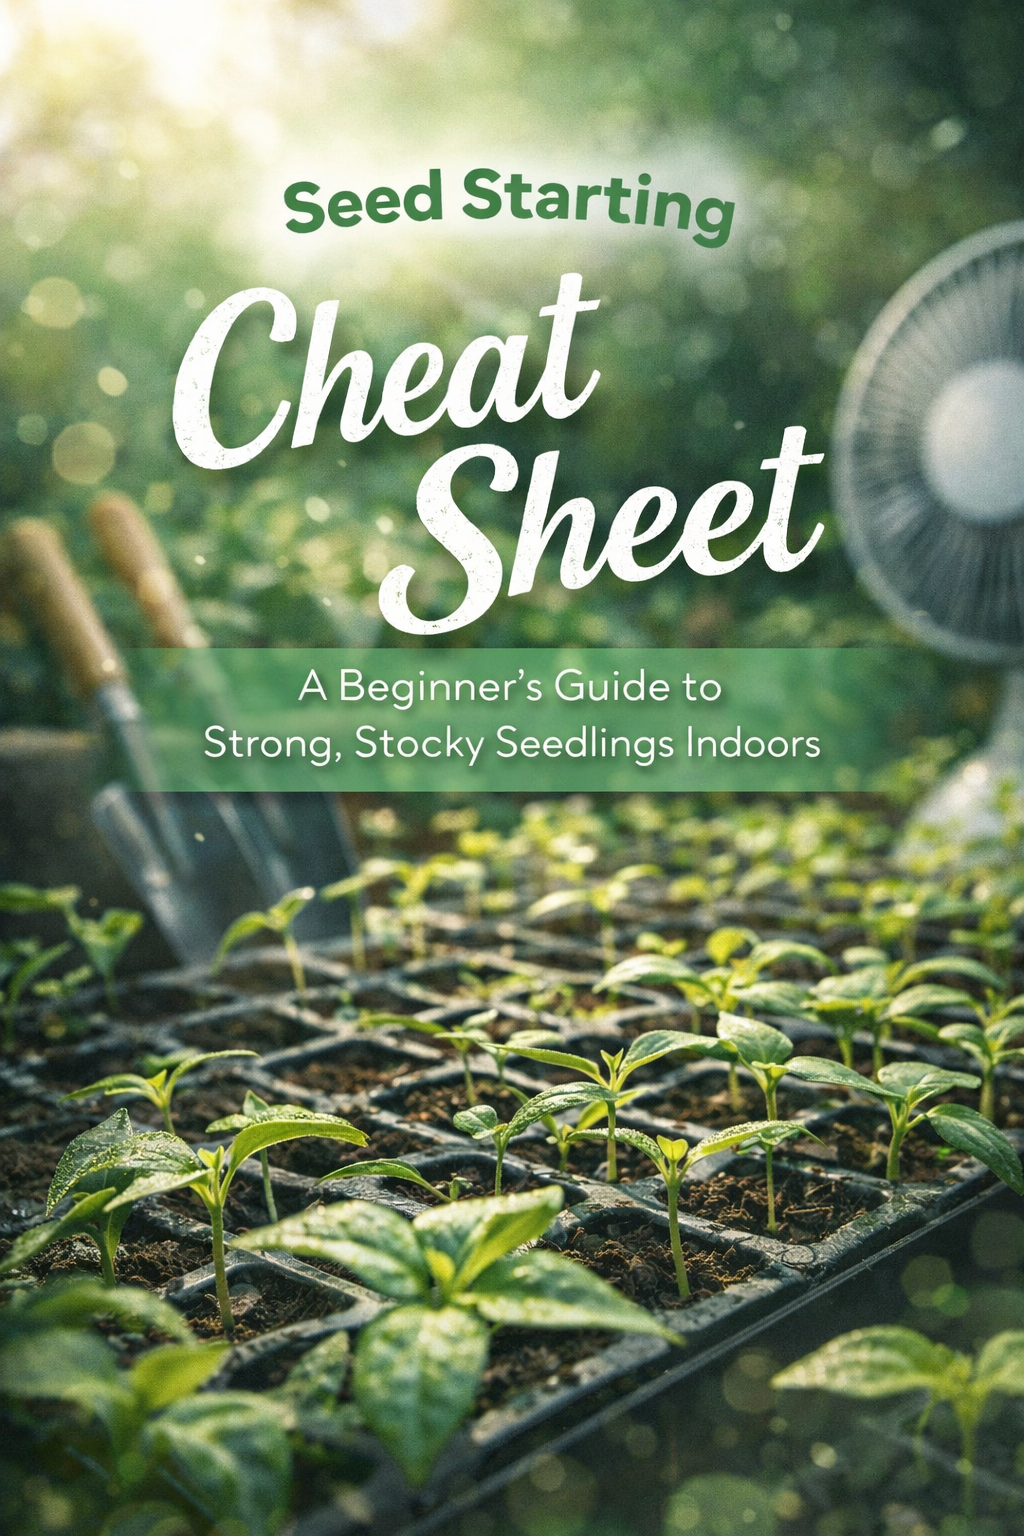
Seed Starting Cheat Sheet: A Beginner’s Guide to Strong, Stocky Seedlings Indoors

Hook + Why It Matters
There’s a moment every indoor seed-starter hits: the trays look promising… until seedlings stretch into pale, leggy noodles, a fuzzy layer of mold appears on the soil, or everything stalls like it’s stuck in slow motion. The good news? Most “seed starting failures” aren’t mysterious—they’re almost always light, temperature, airflow, watering, or the transition outdoors.
This cheat-sheet-style guide turns those five essentials into a simple routine you can repeat all season. Do it consistently, and you’ll get sturdier stems, faster germination, and transplants that actually thrive once they leave the windowsill.
At-a-Glance Summary
- Seedlings need adequate light—and most windows don’t provide enough on their own.
- If natural light is weak, use grow lights to prevent leggy growth.
- Warmth speeds germination and supports early, robust growth.
- Good airflow discourages mold and keeps seedlings healthier, especially in humid rooms.
- Water carefully—too much invites root rot; drainage matters as much as moisture.
- Harden off gradually so indoor plants don’t get shocked by sun, wind, and temperature swings.
- Consistency beats complexity: a few daily checks prevent most problems.
- Set up your space once, then follow a repeatable rhythm (light → heat → air → water → transition).
Light Requirements: Adequate Light = Stocky, Happy Seedlings
The infographic nails the biggest lever: seedlings need adequate light for healthy growth, and if natural light is insufficient, grow lights are worth considering. Translation: if your seedlings lean toward the window or stretch tall and thin, they’re begging for more light.
What to do next
- Aim for bright, consistent light from the moment seedlings emerge.
- If using a window, prioritize the brightest spot you have—but be realistic: winter/early spring sun angles are weak in many homes.
- With lights, place them close enough to be effective and raise them as plants grow so seedlings stay compact rather than reaching.
- Rotate trays if light is uneven to avoid seedlings developing a permanent “lean.”
A simple upgrade that makes everything easier is a reliable grow light setup—something like a seed-starting grow light can turn a frustrating windowsill project into a dependable system.
Common mistakes to avoid
- Letting seedlings “make do” with dim window light (they’ll stretch fast).
- Keeping lights too far away so plants still reach and flop.
- Forgetting to adjust light height as seedlings grow.
Temperature Control: Warm Soil, Faster Germination, Stronger Starts
The infographic emphasizes that maintaining optimal heat encourages faster germination and more robust growth during the initial stages. Many seeds germinate inconsistently when they’re chilly, which can lead to uneven trays—some plants thriving while others lag behind.
What to do next
- Focus on warmth during the germination phase (before and just after sprouting).
- Once seedlings are up and growing, you can often back off slightly on heat while keeping conditions stable.
- Keep trays off cold surfaces (like a stone countertop) that can steal heat from the soil.
- If your home runs cool, a heat source under the tray can make germination more reliable.
A beginner-friendly solution is a seedling heat mat, especially for peppers, tomatoes, and other warmth-loving seeds.
Common mistakes to avoid
- Starting seeds in a chilly corner and wondering why nothing pops.
- Overheating trays and drying out cells quickly.
- Treating all seeds the same—some prefer cooler starts, but many common garden favorites love warmth early.
Watering Practices: Moist, Not Soggy (Drainage Saves Trays)
The infographic’s watering reminder is simple and crucial: proper watering matters, and you should avoid overwatering to prevent root rot and ensure good drainage. Overwatering is the easiest way to lose seedlings—especially in cell trays where moisture hangs around.
What to do next
- Think of soil as a wrung-out sponge: evenly moist, never swampy.
- Water in a way that encourages roots to grow downward—many gardeners prefer watering from the bottom so soil wicks moisture up evenly.
- Make sure your containers can drain. If water can’t escape, roots suffer.
- If the surface stays wet for days, you likely need more airflow and/or less water per session.
If you want to tighten up your routine, a bottom-watering seed tray setup can make moisture control far more consistent.
Common mistakes to avoid
- Watering on a schedule instead of checking the soil first.
- Letting trays sit in water too long (roots need oxygen).
- Using containers without reliable drainage.
Airflow Needs: Prevent Mold, Build Tougher Plants
The infographic calls out airflow for a reason: good airflow around seedlings helps prevent mold and supports healthy growth, especially in humid conditions. Still air plus wet soil is basically an invitation for fuzzy problems and weak stems.
What to do next
- Create gentle air movement near seedlings—enough to keep air from going stale, not enough to blast plants.
- Space trays so air can move between them; overcrowding traps moisture.
- If you use any kind of dome early on, remove it once seedlings are up so humidity doesn’t linger.
- Airflow also helps seedlings develop stronger stems because they “practice” resisting movement.
A small, simple tool that pays for itself is a small fan for seedlings to keep air moving lightly across your setup.
Common mistakes to avoid
- Keeping humidity domes on too long after germination.
- Crowding trays tightly together with no breathing room.
- Mistaking “airflow” for “wind”—strong blasts can dry seedlings out fast.
Hardening Off: The Step That Makes Transplants Actually Survive
The infographic highlights hardening off as a must: gradually harden off seedlings before transplanting outdoors so they acclimate successfully. Indoor-grown plants are not prepared for full sun, wind, and temperature swings. Skipping this step is how you end up with scorched leaves and stalled growth right when you want your garden to take off.
What to do next
- Start with short outdoor sessions in a protected spot, then increase time outside gradually.
- Avoid throwing seedlings into harsh midday sun immediately—ease them in.
- Watch the weather: cold snaps, strong wind, or intense sun can undo weeks of indoor progress.
- Keep watering consistent during this transition; outdoor breezes dry trays quickly.
If you want a practical way to protect seedlings while they adjust, a plant frost cover / garden fabric is handy for wind and surprise cold nights.
Common mistakes to avoid
- Going from indoors to full sun in one day (leaf scorch happens fast).
- Hardening off during a rough weather week instead of waiting for a calmer window.
- Forgetting that small pots dry out quicker outside.
Quick Start Checklist
- Set seedlings where they’ll get adequate light (or set up grow lights).
- Keep germinating seeds warm and steady (especially in a cool house).
- Water for even moisture, not saturation; confirm containers drain well.
- Add gentle airflow to discourage mold and strengthen stems.
- Once seedlings are ready for outside life, harden off gradually over several days.
- Do a daily 60-second scan: light distance, soil moisture, any mold, any stretch, any wilting.
FAQ
1) Why are my seedlings tall and floppy?
Most often, it’s not enough light. Increase brightness and consistency, and keep the light source appropriately close so seedlings don’t stretch.
2) Do I really need grow lights?
Not always—but if your natural light is insufficient (common in early spring), grow lights make success much more predictable.
3) How do I know if I’m overwatering?
If soil stays wet for long periods, seedlings look droopy despite wet soil, or you notice a sour smell/mold, reduce watering and increase airflow.
4) What does “good airflow” actually mean?
Gentle, steady air movement—enough to prevent stale, humid pockets around seedlings and discourage mold.
5) When should I focus most on heat?
Heat matters most during germination and the earliest growth stage. Once seedlings are established, stable conditions matter more than maximum warmth.
6) How long should I harden off seedlings?
Long enough that they’re not shocked by sun and wind—start small, build up gradually, and adjust based on weather conditions.
7) Should I keep humidity domes on the whole time?
No—domes can help with germination, but once seedlings are up, removing the dome helps reduce excess humidity and mold risk.
Conclusion + Next Step
Seed starting gets dramatically easier when you treat it like a simple system: light, heat, water, airflow, then hardening off. If you’re struggling, don’t overhaul everything—pick the one factor that’s clearly off (usually light or watering) and fix that first.
Next step: set up your trays today so you can do a quick daily check. A calm, repeatable routine beats emergency rescue every single time.