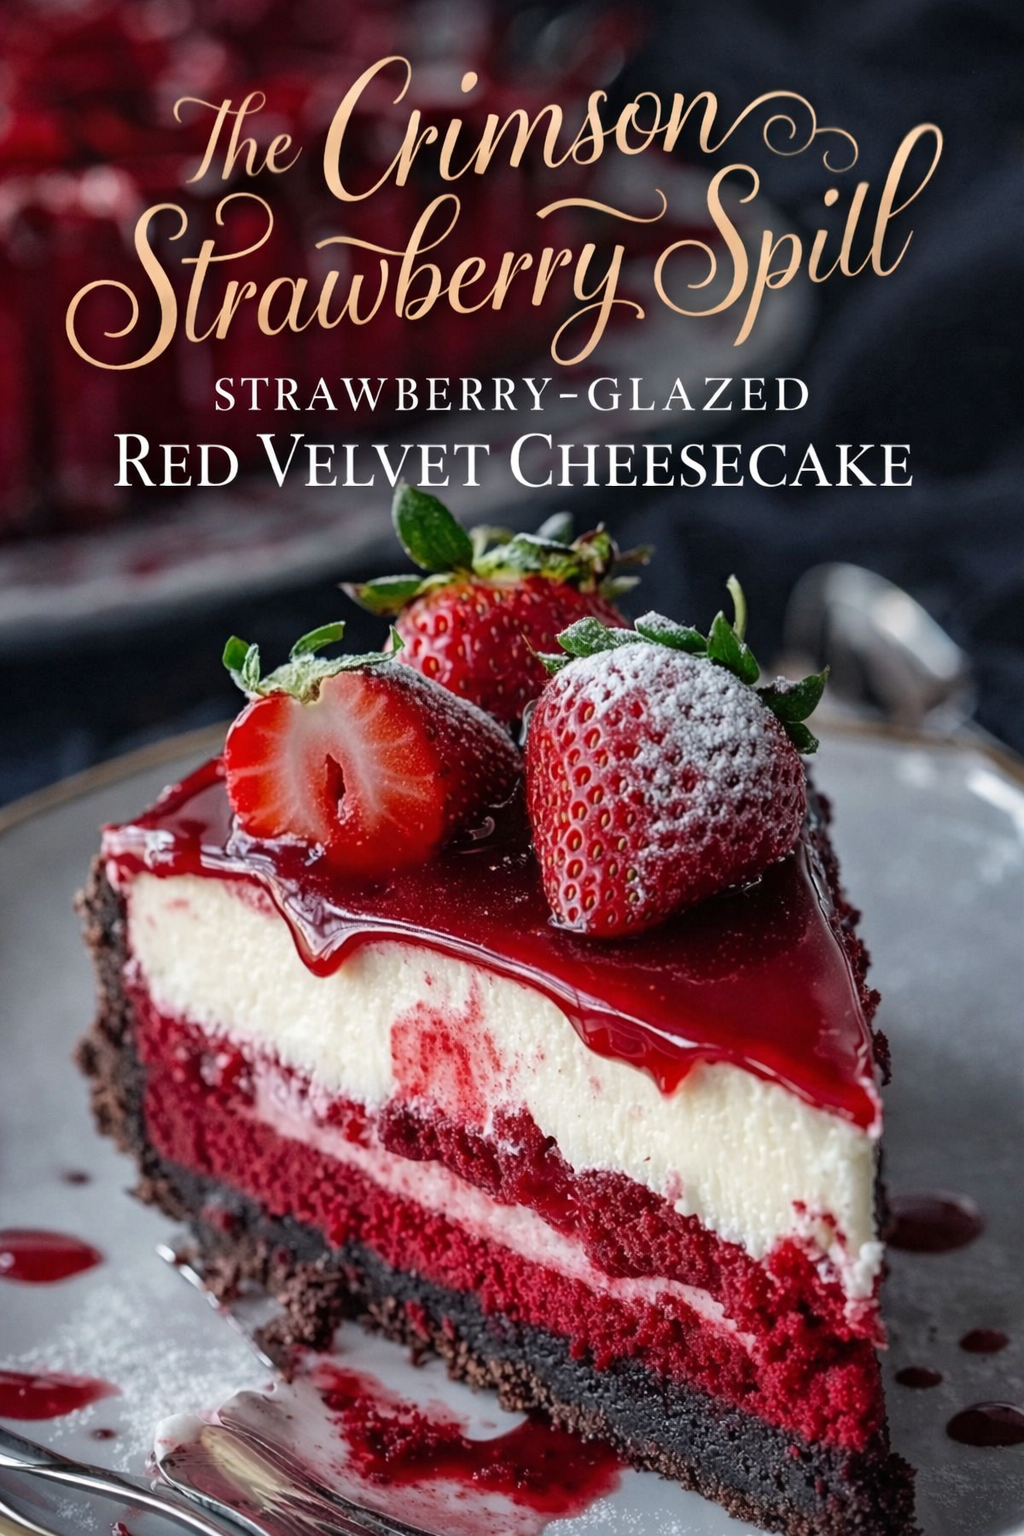
The Crimson Strawberry Spill: Strawberry-Glazed Red Velvet Cheesecake

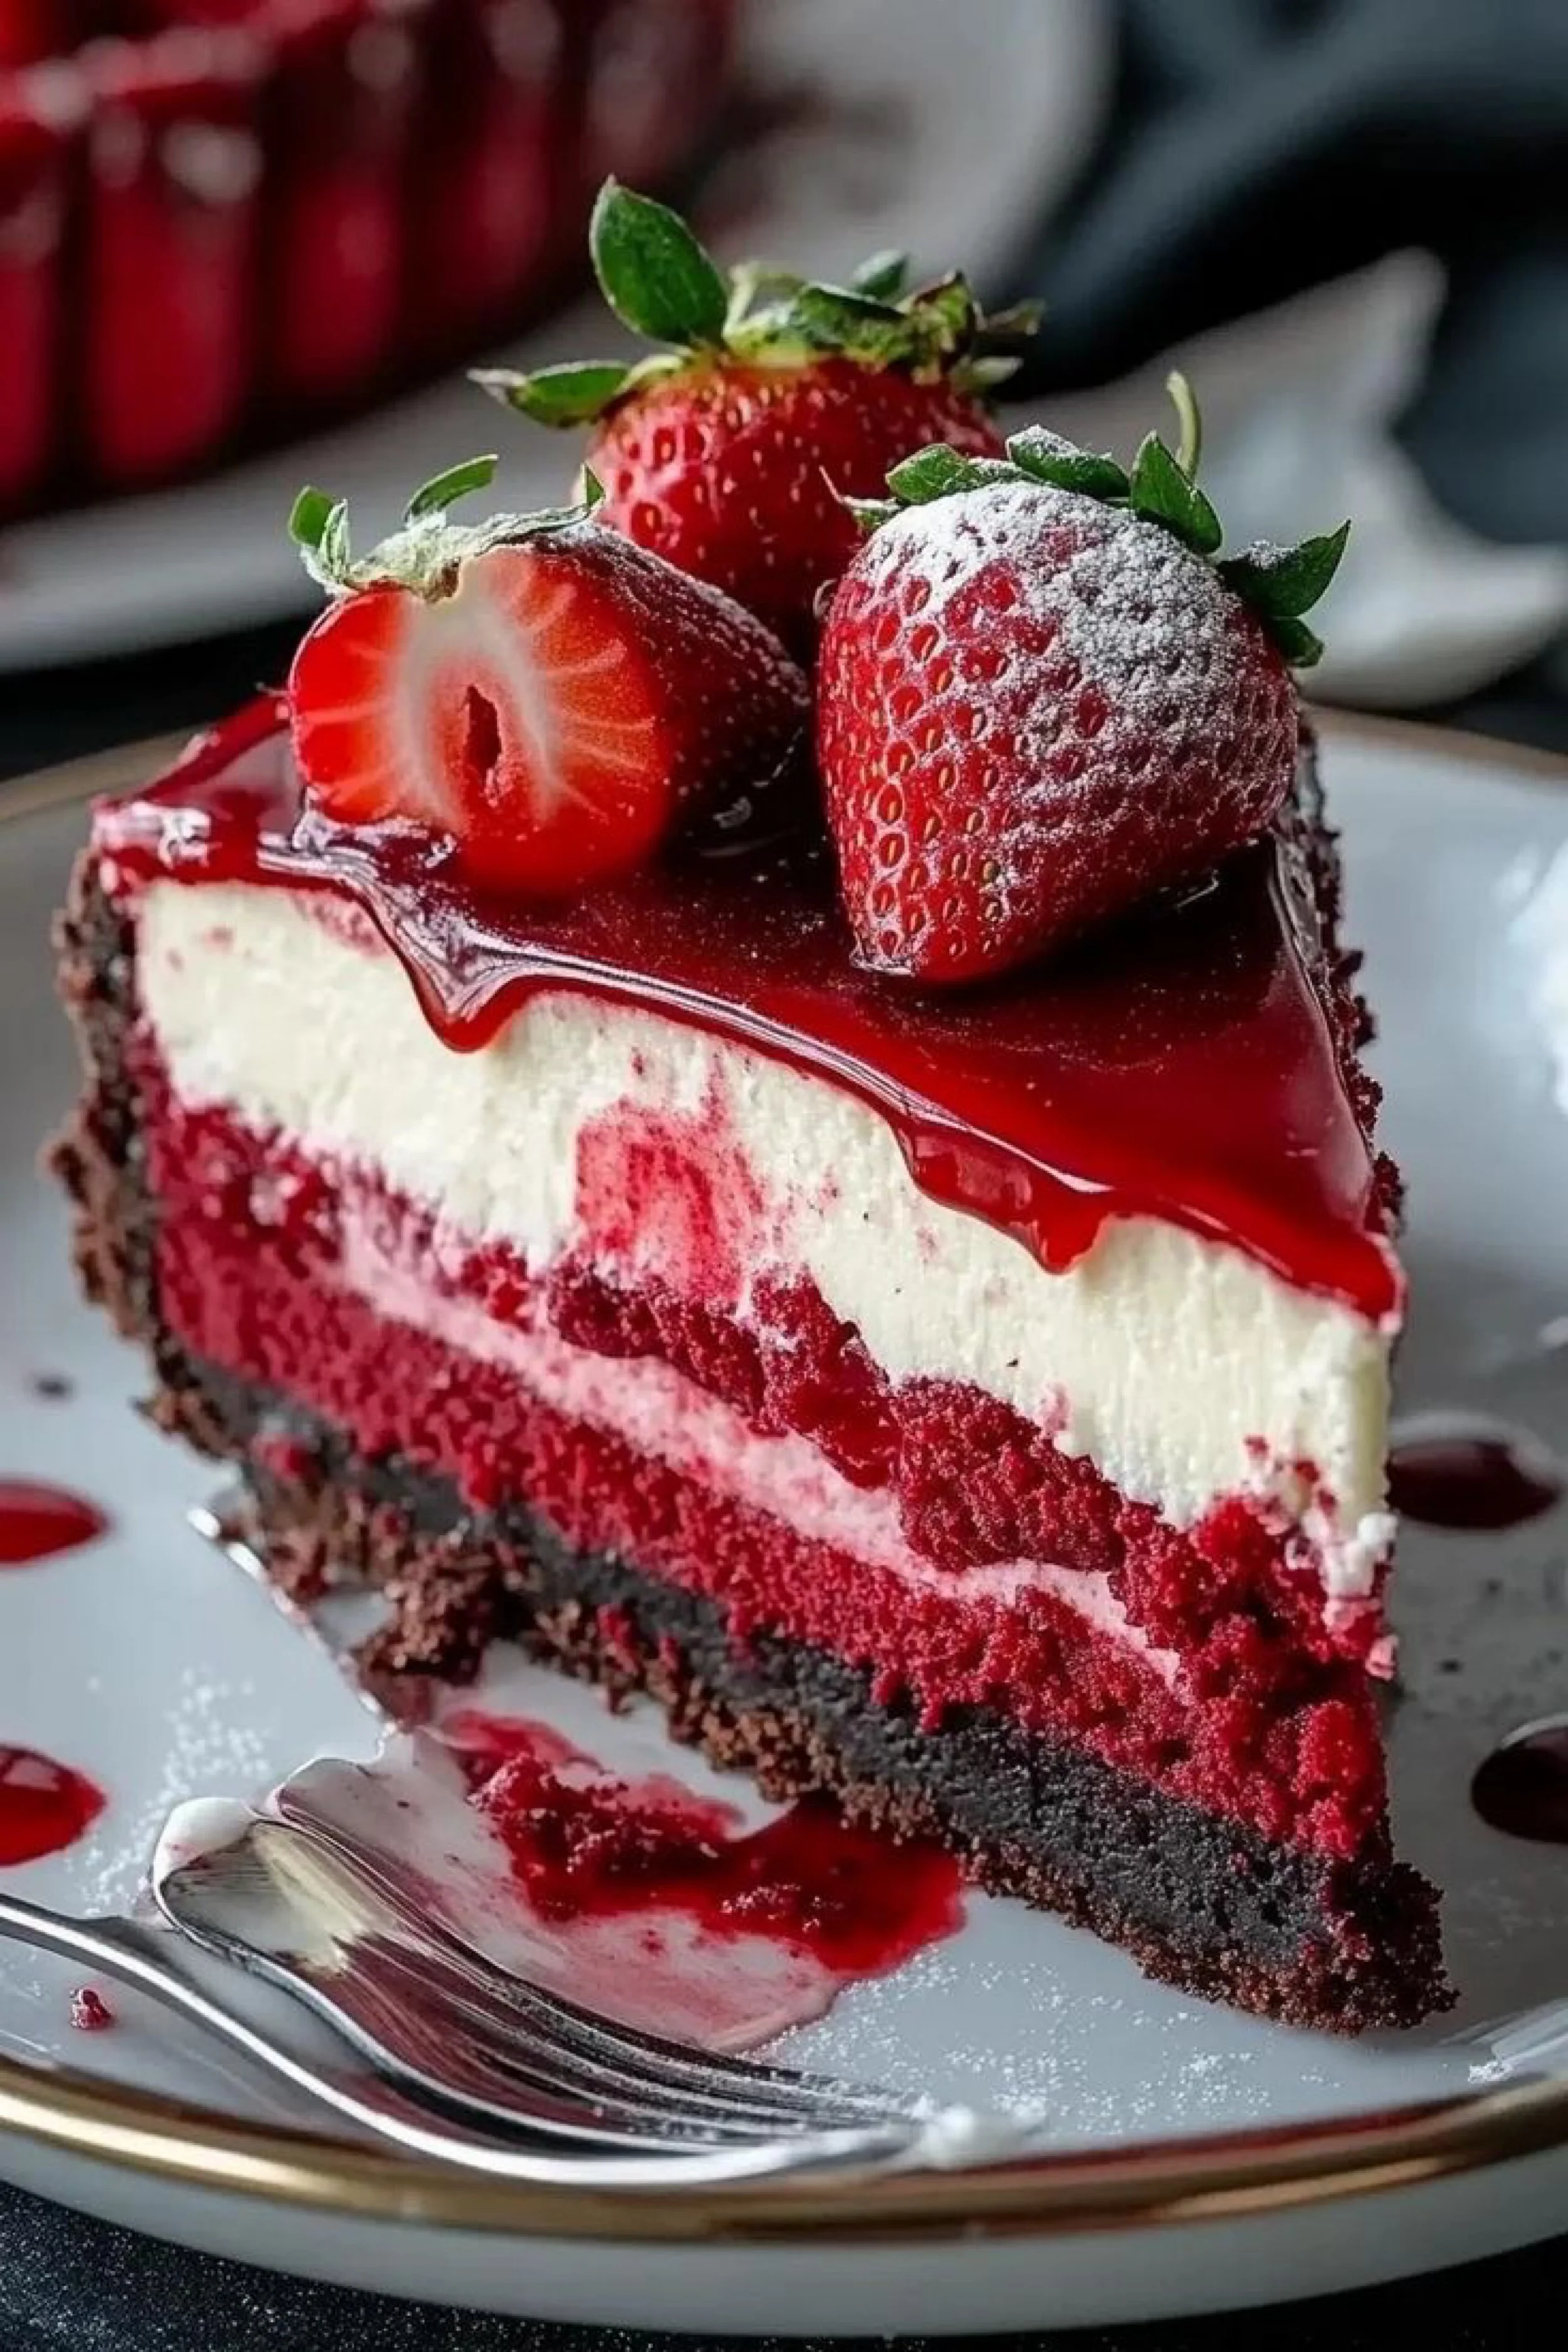
A white plate catches the drama like a spotlight—clean porcelain, a thin golden rim, and the kind of quiet that makes a dessert look louder. The slice sits tall and architectural, three distinct worlds stacked into one clean triangle: a dark, almost-black crumb crust at the base, a ruby velvet layer that looks plush enough to press a fingerprint into, and a pale cheesecake crown that holds its shape with calm confidence. Over the top, a glossy red glaze slides in a slow-motion cascade, clinging to the edge before it finally gives in and drips—one perfect droplet caught mid-fall, like it knows it’s being watched.
The strawberries aren’t decoration so much as punctuation. They’re bright, ripe, and slightly imperfect in the way real fruit always is—seeds catching the light, leaves still vivid and alive. One is split, showing that translucent, juicy interior that smells like summer even in a cold kitchen. A dusting of powdered sugar falls across the fruit like fresh snow, softening the shine and making the reds feel deeper, more cinematic. In the background, everything fades into blur—kitchen shadows, a hint of red cookware—so the slice becomes the entire scene, the entire mood.
This is the kind of dessert that makes a room go quiet for a second. Not because people are being polite—because they’re recalibrating. It looks like celebration and indulgence, yes, but also like precision. Every layer is deliberate. Every texture is a choice. The crust is bitter and chocolatey enough to keep the sweetness in check, the red velvet brings that gentle cocoa warmth and the faint tang of buttermilk, and the cheesecake layer is cool, creamy, and steady—an anchor for all that scarlet shine.
The magic starts long before the glaze ever hits the top. It starts with the tools that make clean edges possible: a reliable 9-inch springform pan that releases without drama, and a sheet of parchment rounds for baking that keeps the base pristine when you lift and slice. It starts with a crust crushed fine—either with patience and a rolling pin, or with the satisfying efficiency of a food processor for cookie crumbs—until the chocolate crumbs look like dark sand at the edge of a tide.
There’s a particular hush that happens when cheesecake batter comes together the right way. Cream cheese loosens, sugar disappears, and the mixture turns glossy without ever becoming airy. A stand mixer for creamy batters makes it feel effortless, but the real luxury is restraint—mixing just enough to smooth it out, not enough to whip in air that later becomes cracks. Even the smallest details matter: a rubber spatula set that scrapes the bowl clean so nothing unmixed hides in the corners, a fine-mesh sieve for powdered sugar that turns a simple dusting into something that looks intentional.
The red velvet layer is where the dessert turns theatrical. Cocoa blooms into the batter, and the red deepens from bright to jewel-toned—less cartoon, more couture. You can feel the difference in the batter: thicker than a typical cake, almost like it’s preparing to become a foundation rather than a sponge. The cheesecake goes over it like snowfall—pale, thick, and slow-moving—settling into a seamless top that bakes into that clean, creamy band you see when the slice is cut.
And then there’s the glaze: a strawberry finish that looks like glass and tastes like fruit, not candy. It’s the kind of topping you want to spoon over everything—thick enough to cling, glossy enough to reflect light, and bright with that unmistakable berry tang. It’s easiest when you have a saucepan set for small-batch glazes that heats evenly, and a whisk for silky fruit sauce that keeps cornstarch from clumping. The final pour is pure satisfaction: a slow red river that finds the edges and decides where to fall.
This slice doesn’t just taste good—it performs. The fork drags through the top layer with a soft resistance, then slips into velvet, then crunches into that dark crust like the final note of a song. A smear of glaze streaks the plate, and suddenly the dessert looks even better, like it’s being enjoyed properly. That’s the real point of something like this: not perfection for perfection’s sake, but the kind of careful effort that makes the first bite feel like a payoff.
Strawberry-Glazed Red Velvet Cheesecake
A dramatic, layered cheesecake with a chocolate cookie crust, a tender red velvet base, and a classic vanilla cheesecake top finished with a glossy strawberry glaze.
Ingredients / Materials
Chocolate Crust
- 2 cups chocolate cookie crumbs
- 5 tbsp unsalted butter, melted
- 1 tbsp sugar (optional)
- Pinch of salt
Red Velvet Layer
- 1 1/4 cups all-purpose flour
- 2 tbsp unsweetened cocoa powder
- 1/2 tsp baking powder
- 1/2 tsp fine salt
- 1/2 cup vegetable oil
- 3/4 cup granulated sugar
- 1 large egg
- 1/2 cup buttermilk
- 1 tsp vanilla extract
- 1 tsp white vinegar
- Red gel food coloring (to desired depth)
Cheesecake Layer
- 24 oz cream cheese, room temp
- 3/4 cup granulated sugar
- 3 large eggs, room temp
- 3/4 cup sour cream
- 2 tsp vanilla extract
- Pinch of salt
Strawberry Glaze + Finish
- 2 cups strawberries (fresh or frozen), chopped
- 1/3 cup sugar
- 1 tbsp lemon juice
- 1 tbsp cornstarch + 2 tbsp water (slurry)
- Pinch of salt
- Fresh strawberries + powdered sugar for topping
Helpful Tools
Method / Instructions
- Prep
- Heat oven to 325°F. Wrap the outside of the springform pan with 2–3 layers of foil.
- Crust
- Mix cookie crumbs, melted butter, salt (and sugar if using). Press firmly into pan. Bake 10 minutes. Cool slightly.
- Red Velvet Layer
- Whisk flour, cocoa, baking powder, salt.
- In another bowl, whisk oil, sugar, egg, buttermilk, vanilla, vinegar, and coloring.
- Fold dry into wet just until combined. Spread evenly over the crust.
- Cheesecake Layer
- Beat cream cheese and sugar until smooth. Mix in eggs one at a time (low speed). Stir in sour cream, vanilla, salt.
- Gently pour over red velvet layer and smooth the top.
- Bake (Water Bath)
- Place pan in a larger roasting pan. Add hot water halfway up the sides.
- Bake 60–75 minutes until edges are set and center jiggles slightly (about 150°F in the center).
- Cool + Chill
- Turn oven off, crack door 1 hour. Cool at room temp 1 hour, then chill at least 6 hours (overnight best).
- Strawberry Glaze
- Simmer strawberries, sugar, lemon, salt 6–8 minutes. Stir in cornstarch slurry; cook 1–2 minutes until glossy and thick. Cool to room temp.
- Finish
- Spread glaze on chilled cheesecake. Top with strawberries and a dusting of powdered sugar. Slice with a warm, clean knife.
The secret to a cheesecake that slices like a dream is simple: control the air, control the heat, and let time do the heavy lifting. This one just happens to do it while wearing a red velvet underlayer and a strawberry shine that looks like lacquer.
Start with the crust, because the crust sets the tone. Chocolate cookie crumbs need to be fine and even; large chunks create weak spots that crumble when you cut. A food processor for ultra-fine crumbs makes quick work of it, but the real cue is texture—think damp sand when you stir in melted butter. When you press it into the pan, press harder than you think you should. The bottom of a measuring cup or a flat glass works beautifully, or you can use a tamper-style crumb press for that crisp, compact base. Baking the crust briefly is non-negotiable: it sets the butter, dries out excess moisture, and keeps the crust from going soggy under the red velvet layer.
Next comes the red velvet, and this is where balance matters. Red velvet is not “just red cake.” It’s cocoa-forward but subtle, tangy but not sharp, and tender without being fragile. Using oil keeps the layer moist even after a long chill—important because cheesecake needs time in the fridge, and a butter-based cake layer can firm up too much. When you mix, stop as soon as the flour disappears. Over-mixing develops gluten, and that leads to a tougher, bouncier layer that feels wrong against creamy cheesecake. For color, gel is your friend; it deepens the tone without watering down the batter. A small gel food coloring set gives you control—add a little, stir, decide, then add more. You’re aiming for that rich crimson you see in the slice, not neon.
Spreading the red velvet batter evenly is worth a minute of care. If the layer is thicker in the center, it can dome slightly as it bakes, and that can push into the cheesecake layer above. An offset spatula for smooth layers makes it easy to level the batter into a clean, flat plane. Think of this layer like a stage: you want it stable, even, and ready for the main act.
Now, the cheesecake layer—the part everyone notices when it’s perfect and everyone remembers when it’s not. The biggest mistake is mixing too fast or too long. Cheesecake batter should be smooth, not fluffy. Fluffy means air, and air expands in the oven, then collapses as it cools, which can cause cracks and a slightly spongy texture. A stand mixer with a paddle attachment is great, but the speed should be low, and your patience should be high. Start with room-temperature cream cheese so it blends without lumps. Scrape the bowl often with a flexible silicone spatula. Those little unmixed pockets are exactly what create surprise lumps in an otherwise silky slice.
Add eggs one at a time and mix just until each disappears. If you dump them in all at once, the batter can emulsify unevenly, and you’ll be tempted to over-mix to “fix it.” Don’t. Keep it calm. Sour cream adds tang and tenderness; it also helps the cheesecake stay creamy even when fully chilled. Vanilla should be noticeable but not perfumey—two teaspoons is a sweet spot.
The water bath is your insurance policy. Cheesecake hates harsh, dry heat. A water bath softens the oven’s intensity and keeps the edges from setting too quickly while the center is still catching up. Wrap the springform pan tightly in foil—two or three layers—and place it in a roasting pan. Then pour in hot water until it comes about halfway up the sides. If you bake cheesecakes often, a large roasting pan for water baths is one of those unglamorous tools that quietly upgrades everything.
Bake at 325°F and watch for cues, not the clock. You’re looking for edges that are set and slightly puffed, and a center that jiggles like soft gelatin—not like liquid. If you like precision, check the center with an instant-read thermometer: around 150°F is the sweet spot for a cheesecake that will set fully as it cools. Overbake it and you’ll get a drier texture and a higher chance of cracks. Underbake it and the center can remain too loose, making slices slump.
Cooling is a process, not a step. Sudden temperature changes are crack territory. When the bake is done, turn off the oven, crack the door, and let the cheesecake sit in that gentle warmth for about an hour. This gradual cooldown prevents the top from contracting too quickly. Then move it to the counter for another hour to come closer to room temperature. Only after that should it go into the fridge—because chilling a hot cheesecake can create condensation and a gummy surface.
Now the strawberry glaze—the glossy finish that makes the whole thing feel like a dessert display case fantasy, except it tastes like fruit. You want a glaze that is thick enough to cling to the top and slowly drip at the edge, but not so stiff it turns jammy. Simmer chopped strawberries with sugar and lemon until the berries collapse and the liquid turns bright. Lemon is important here; it sharpens the berry flavor and keeps the glaze tasting vivid instead of flat. Whisk cornstarch with water to make a slurry, then add it and cook until the glaze turns shiny and thick. A small saucepan for sauces and a whisk that reaches the corners help you avoid lumps. Let the glaze cool before it goes on the cheesecake—hot glaze can melt the surface and ruin that clean top layer.
For slicing, temperature and tools matter. A cold cheesecake cuts cleanest, but the knife needs warmth. Run a long knife under hot water, wipe it dry, then slice in one confident motion. Wipe the blade between cuts. If you want bakery-level edges, a long serrated slicer for cakes can help, but even a standard chef’s knife works if it’s sharp and warm.
Variations that still keep the vibe:
- Chocolate-strawberry twist: add a thin layer of melted chocolate over the crust before the red velvet batter goes in.
- Extra tang: swap half the sour cream for full-fat Greek yogurt.
- No buttermilk? Make a quick version with milk plus a splash of vinegar, then let it sit 5 minutes.
- Frozen strawberries work perfectly for glaze; fresh berries shine best for topping.
Troubleshooting, quickly:
- Crack on top: usually overbaking or cooling too fast. The glaze covers it beautifully either way.
- Lumpy batter: cream cheese wasn’t warm enough or wasn’t scraped down often. Next time, let it sit longer at room temp and scrape more.
- Soggy crust: foil wrap wasn’t tight, or water bath seeped in. Use extra foil layers and keep the water level steady, not sloshing.
When everything lands, you get exactly what the slice promises: bitter crunch, plush velvet, cool cream, and a bright berry finish that makes the whole dessert feel alive. The strawberry glaze doesn’t just sit on top—it turns the final bite into something that lingers, like a red stain of sweetness you don’t want to rinse away.